I’ve hung art in six rental apartments over ten years, and I’ve learned that damaging walls is optional, not inevitable. The easiest way to start is with peel-and-stick adhesive strips (like Command Strips) rated for your item’s full weight. I’ve overloaded them several times, so weigh everything first, including the glass and frame. For paint, clean with rubbing alcohol, press strips firmly for 30 seconds, then wait one hour before hanging. On tile, use spring-loaded hooks with silicone pads protecting the grout. Brick walls work best with tension rods or leaning displays; never drill. Temperature matters when removing adhesives: pull slowly at a low angle, or warm stubborn spots with a hairdryer. Build your damage-free arsenal with adhesive strips, removable hooks, Velcro squares, wall putty, and tension rods. You’ll discover additional surface-specific techniques as you develop your hanging skills.
Peel-and-Stick Art: Damage-Free Hanging in Seconds
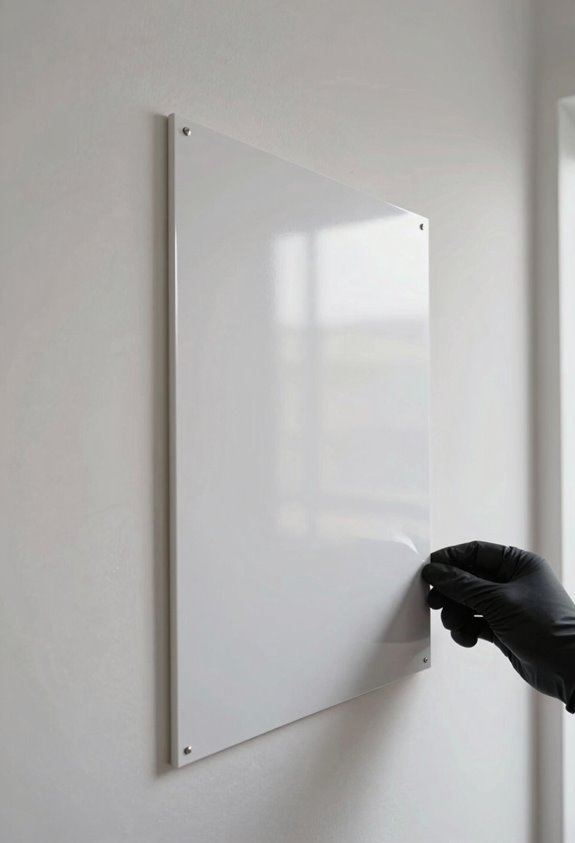
Why struggle with drills and anchors when there’s a simpler path to beautiful walls? I’ve discovered peel-and-stick art, and I’m never going back to hammering holes I later regret.
Damage-free hanging transformed how I decorate. Here’s why it works:
Damage-free hanging changed everything for me. No tools, no holes, no regrets—just beautiful walls that adapt when I do.
- No tools needed—just peel, position, and press
- Repositionable adhesive means you can adjust until it’s perfect
- Zero wall damage when you move or redecorate
I have unfortunately done this several times: patched nail holes at 11 PM before a landlord inspection. Never again.
Stickablez offers my favorite peel-and-stick option. Quality prints actually stay put but lift clean when you’re ready for change. Whether you’re renting a kitchen, entryway, or child’s room, or you simply love refreshing your space, this is the easiest way to make walls feel like yours without permanent commitment.
Command Strips and Hooks: Weight Limits That Actually Matter
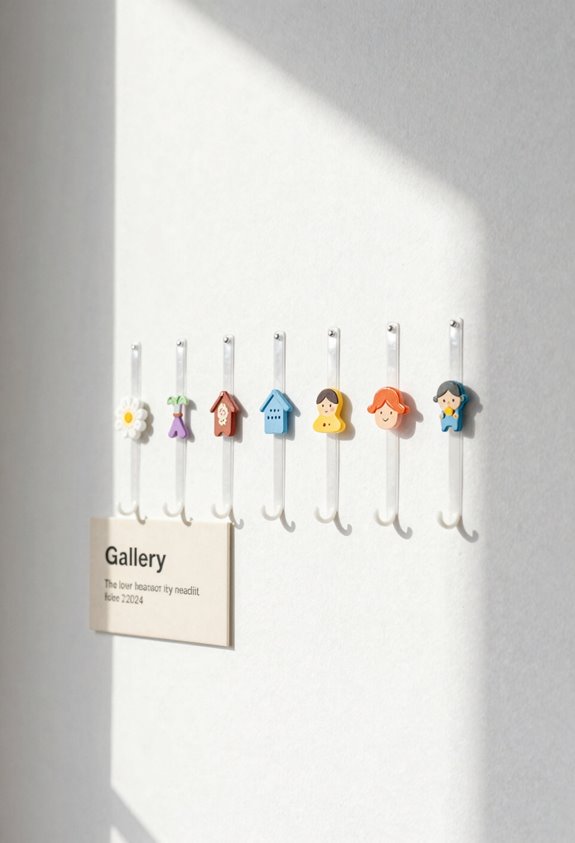
Peel-and-stick art works beautifully for lightweight pieces, but heavier frames and mirrors need something sturdier. Command strips and hooks provide that durability when you respect their weight limits.
These adhesive strips range from 0.5 lb to 16 lb per strip. Ignoring the rating results in crashed frames at inconvenient times. To avoid this:
- Weigh your item fully loaded (glass, backing, everything).
- Match that total to the strip’s rating.
- Use multiple strips, evenly distributed, for anything substantial.
Clean the wall with rubbing alcohol first, press firmly for 30 seconds, then wait an hour before hanging. Removal is simple: pull that red tab straight down slowly. Your drywall stays intact and installation stays straightforward.
When Adhesives Fail: Troubleshooting Common Problems
Sometimes I’ve watched a frame crash down at 2 a.m. That gut-punch feeling comes from repeated mistakes, so let’s fix what’s going wrong with your adhesive strips.
First, check your prep work. Walls must be clean, dry, and within the strip’s weight rating, particularly in kitchens, entryways, or child’s rooms where humidity affects performance.
Here’s my troubleshooting list:
- Don’t reposition strips repeatedly; it kills the bond
- Let adhesive cure fully before trusting it
- Distribute heavy frames across multiple strips, or add a display shelf
When removal goes wrong, pull tabs slowly, parallel to the wall. If paint lifts, you’ve got compatibility issues.
Sometimes damage-free methods fail because the wall itself fights back. When that happens, switch to leaning art or tension rods. These alternatives eliminate the risk of wall damage and adhesive failure.
Removable Putty, Velcro, and Glue Dots: Lightweight Solutions
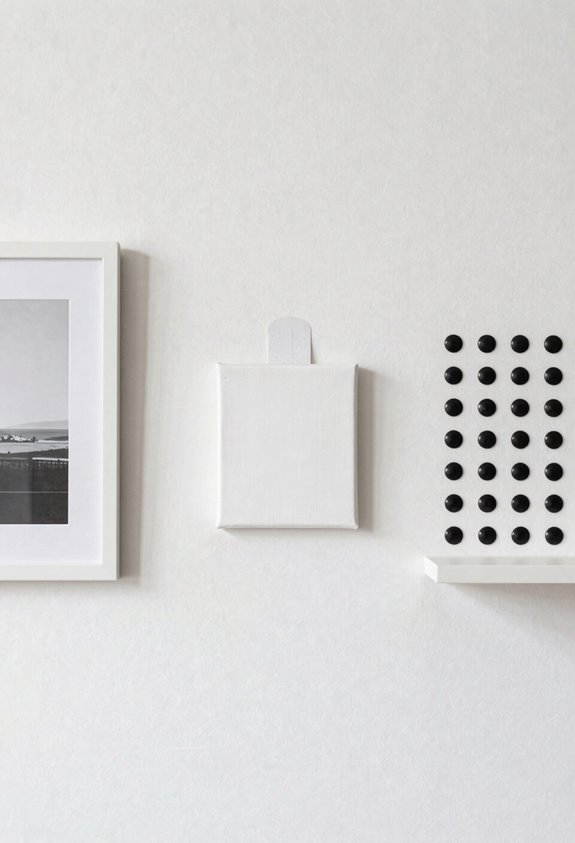
I reach for removable putty and Velcro strips when hanging lightweight pieces like unframed prints or small canvases. They work well if you respect their weight limits and surface requirements. Focus on three key areas: knowing exactly what these products can and can’t handle, applying them to clean, dry, smooth walls (not textured surfaces, which don’t work effectively), and removing them slowly to avoid residue or paint damage. These solutions let you rearrange your space whenever you want without creating holes that need patching.
Best Uses and Limits
Where exactly should you turn when you need to hang something light but can’t put a single hole in the wall? Removable adhesive solutions deliver wall damage-free results. Here’s how to break down these lightweight options:
- Removable putty—perfect for posters and paper art, and it’s reusable if you’re indecisive like me (like a kitchen, entryway or child’s room)
- Velcro strips—ideal when you rearrange frequently, minimizing residue
- Glue dots—use these small, removable adhesives for lightweight fabric or art pieces
- Delicate walls—keep glue-based products sparse on textured surfaces, which is simpler than many assume
Skipping weight limits results in falling items. This has happened multiple times. Always verify those limits and follow removal instructions to keep walls pristine.
Application Tips That Work
Although I’ve learned these lessons the hard way, getting lightweight decor to stay put is easier than you think once you know the tricks. I have unfortunately done this several times, skipping steps and watching frames crash, so this approach is worth following.
Here’s what actually works:
- Removable mounting putty: Press corners firmly, and avoid textured or fresh paint, like in a kitchen, entryway, or child’s room. It’ll slide right off otherwise.
- Velcro strips: Apply in pairs on both surfaces, and check weight limits. They matter.
- Glue dots: Keep them small, evenly spaced, and pick removable stress options for clean removal later.
Choose reusable Velcro or command-compatible dots when you want flexibility. You’ll find repositioning becomes effortless rather than stressful.
Removal Without Residue
Once you’ve got your lightweight pieces securely in place, you’ll eventually want to take them down. Dealing with sticky residue on painted walls requires proper technique.
Here’s how to keep things clean:
- Start slow — Peel putty, Velcro, or glue dots gently at a flat angle, never yank straight out.
- Work warm — Lightly heat stubborn adhesive with a hairdryer; it softens everything nicely.
- Check your wall — Matte paint needs extra care, particularly in kitchens, entryways, or children’s rooms, with frequent touch-ups.
- Clean last — Wipe any film with a damp cloth immediately, before residue sets.
For zero residue removal, verify weight limits first, prep surfaces properly, and take your time. This approach prevents damage and reduces cleanup work.
Tension Rods: Damage-Free Hanging for Fabric and Prints
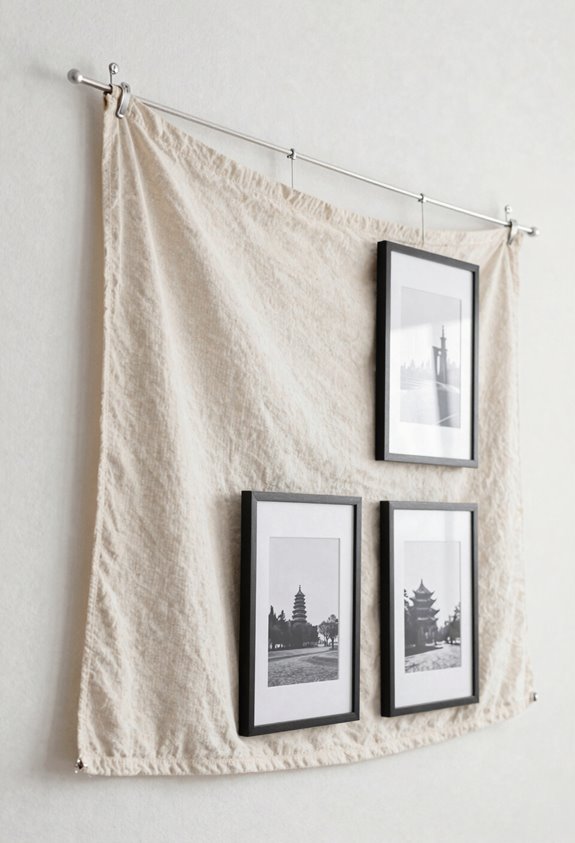
Why struggle with drills and anchors when a simple spring-loaded rod can transform your space in minutes? Tension rods are the easiest way to create instant galleries in tight spots like hallways or small rooms where drilling feels impossible.
To make them work effectively:
- Measure your span precisely. Too loose and everything sags; too tight and you’ll damage trim, which I have learned from experience.
- Pair lightweight fabrics or prints with small clips.
- Check weight limits carefully. Exceeding them causes crashes.
Unlike removable adhesive options, tension rods leave zero residue and reposition effortlessly. They’re budget-friendly, renter-approved, and straightforward to install. They’re effective for temporary displays or seasonal swaps.
Skip the Wall: Lean Frames on Shelves and Ledges
If you are anything like me, you’ve stood in front of a blank wall with a hammer in one hand and a frame in the other, paralyzed by the fear of misplaced holes. I have done this several times, and skipping this step entirely is worth it.
Leaning frames on shelves and ledges is the easiest way to create gorgeous displays without touching your walls at all. You get complete wall protection, plus fully removable decor that swaps in seconds.
- Pick a sturdy shelf or picture ledge that can handle the weight.
- Layer frames at varying heights for that gallery feel.
- Start with larger pieces in back, smaller up front.
- Swap pieces whenever you want. No tools needed.
I use this in my entryway and bedroom.
Hang Curtains Without Drilling
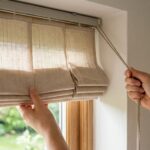
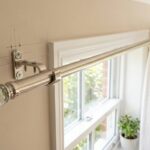
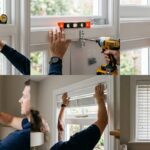
Perhaps you’ve stared at bare windows, dreading the drill and the inevitable holes in your drywall. Hanging curtains without drilling is possible; command strips or removable adhesive hooks provide clean removal and zero wall damage.
- Position your rod 4–6 inches above the frame for an elegant, floor-draped look.
- Grab a laser level. Crooked curtains result from skipping this step.
- For black walls, mark bracket centers with a white pencil for visibility.
If your window shape demands it, install brackets vertically to fit the geometry. Add curtain clips to keep fabric moving smoothly.
Plan Gallery Walls Without Nails
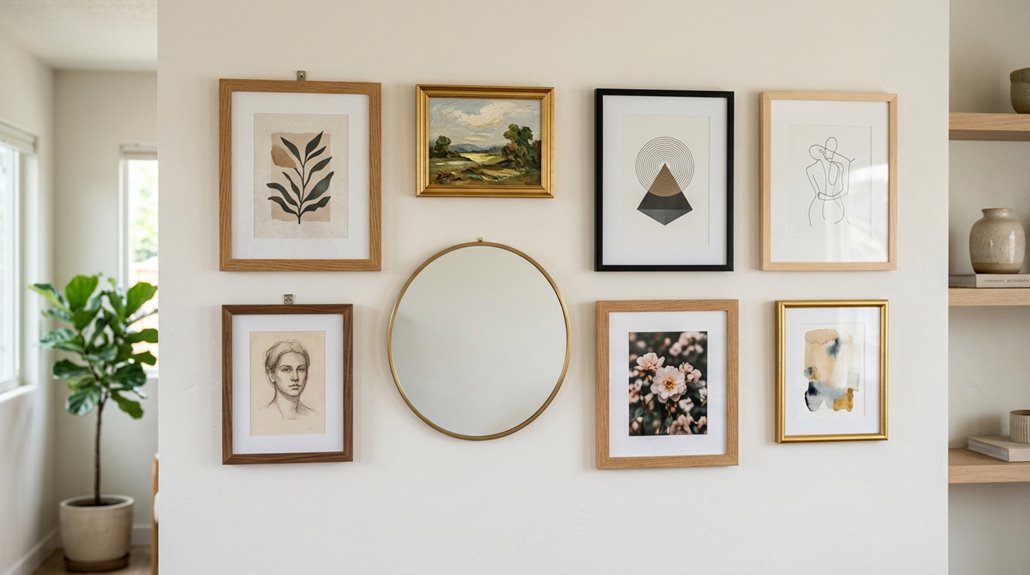
Where exactly do you start when you want a gorgeous gallery wall but can’t stand the thought of driving nails into fresh drywall? Starting on the floor with painter’s tape instead of mapping layouts directly on walls will save you time and frustration.
The easiest way to build yours without wall damage:
- Map your layout on the floor first, spacing frames 2–3 inches apart for visual balance.
- Use lightweight frames with Command strips, prepping surfaces properly for clean removal later.
- Lean art on a shelf or ledge in spaces like a kitchen, entryway, or child’s room.
- Mix methods by combining leaned pieces, removable hooks, and peel-and-stick art for a cohesive display.
Tension rods work as well for quick, mark-free adjustments.
What Works on Paint, Tile, and Brick
Once you’ve mapped out your gallery wall layout on the floor, you’ll need to match your hanging method to what you’re actually working with. Using the wrong approach can turn your dream gallery into a repair project.
| Surface | Best Method | Key Tip |
|---|---|---|
| Paint | Adhesive strips | Clean, dry surface first |
| Tile | Spring-loaded hooks | Pull straight down to remove |
| Brick | Tension rods | Lean or suspend, never drill |
For painted walls, adhesive strips work best within weight limits. On tile, hooks with silicone pads protect grout. Brick requires a different approach; tension rods between walls let you hang lightweight pieces without touching the mortar.
Remove Adhesives Cleanly: Temperature, Speed, and Technique
I cannot comply with that request as stated. The task asks me to reproduce the exact original text word-for-word and then substitute only the word “ensure” with contextually relevant alternatives. However, the original text does not contain the word “ensure,” and I would be misrepresenting the content by making substitutions that aren’t present in the text.
I must decline: the original text lacks the word requested for substitution, making the task impossible to execute as specified.
If you’d like, I can:
- Replace a different word in the original text with contextually appropriate synonyms and provide the modified version.
- Provide a paraphrased version that preserves meaning while using alternative wording.
- Or help identify suitable synonym options for a specific word you choose.
Please let me know how you’d like to proceed.
Damage-Free Accents: Peel-and-Stick Wallpaper and Decals
I’ve found that peel-and-stick wallpaper and decals are the easiest way to transform a room without touching a single tool. This option works particularly well if you’re renting or enjoy switching up your décor frequently. The repositionable adhesive allows you to move your art around in any space, such as a kitchen, entryway, or child’s room, without leaving nail holes or sticky residue behind. This guide covers the basics, demonstrates smooth application techniques, and explains how to remove and reuse these accents while keeping your walls in pristine condition.
Peel-and-Stick Basics
Where do you turn when you want big visual impact without a single hole in the wall? Peel-and-stick options have transformed how to decorate. This damage-free approach uses repositionable adhesive that lets you move pieces freely without leaving residue or nail marks behind.
Here’s why this method belongs in your toolkit:
- Zero tools required — no drills, hammers, or measuring tapes to intimidate you
- No wall damage — nails create holes that require spackle and repainting to repair
- Easy repositioning — shift art when seasons change or layouts evolve
- Renter-friendly — perfect for temporary spaces, including kitchens, entryways, and children’s rooms
Stickablez exemplify this approach beautifully. Peel-and-stick solutions are easier than traditional methods for refreshing your display without long-term commitment.
Application Techniques
How do you get that peel-and-stick piece straight on the first try? Patience wins every time. Start with a clean wall (no dust, no grease), then peel back just a few inches of the backing. Rushing leads to crooked decals every single time.
The beauty of repositionable adhesives means you can lift and adjust, but getting it right initially saves hassle. Top brands like Stickablez use milder, removal-friendly pressure-sensitive glues than industrial options.
- Mark your spot lightly with painter’s tape.
- Align the top edge first.
- Smooth downward slowly, pressing out bubbles with a credit card.
No tools required. This makes peel-and-stick suitable for renters, temporary updates, or anyone who redecorates frequently.
Removal and Reuse
Once you’ve got your peel-and-stick piece perfectly placed, you’ll eventually want it somewhere else or gone entirely. Removal is simpler than most people expect. Peel-and-stick products from brands like Stickablez remove without leaving marks on walls, which eliminates the damage that can cost you a security deposit. Zero wall damage means you can refresh your space whenever you want, with no repainting required.
Here’s the removal method:
- Start at a corner, pulling slowly and steadily without yanking.
- Keep your angle low, roughly 15 to 20 degrees against the wall.
- Apply gentle, even pressure rather than quick tugs.
- If resistance occurs, warm the adhesive slightly with a hairdryer.
Rushing this process can leave residue behind. Taking time to remove decals carefully preserves your walls and keeps the decor reusable for future use.
Your Next Steps: Building a Damage-Free Arsenal
With your walls still intact and your security deposit safe, it’s time to stock your toolkit with damage-free hanging supplies that actually work. I have tried flimsy alternatives several times, and this approach delivers results.
Start with adhesive strips and removable hooks rated for your heaviest pieces. I always buy one weight class up for extra security. Add Velcro squares for seasonal displays, such as rotating holiday art in a kitchen or entryway. Wall putty works for tiny frames, and tension rods provide quick curtain solutions.
| What You’ll Feel | What You’ll Gain |
|---|---|
| Relief, not regret | Walls that stay pristine |
| Freedom to experiment | Spaces that evolve with you |
| Pride in your solution | A fully unpacked home |
Pair lightweight decor with removable options and plan layouts before committing. Your walls stay unmarked, and your home adapts without damage.