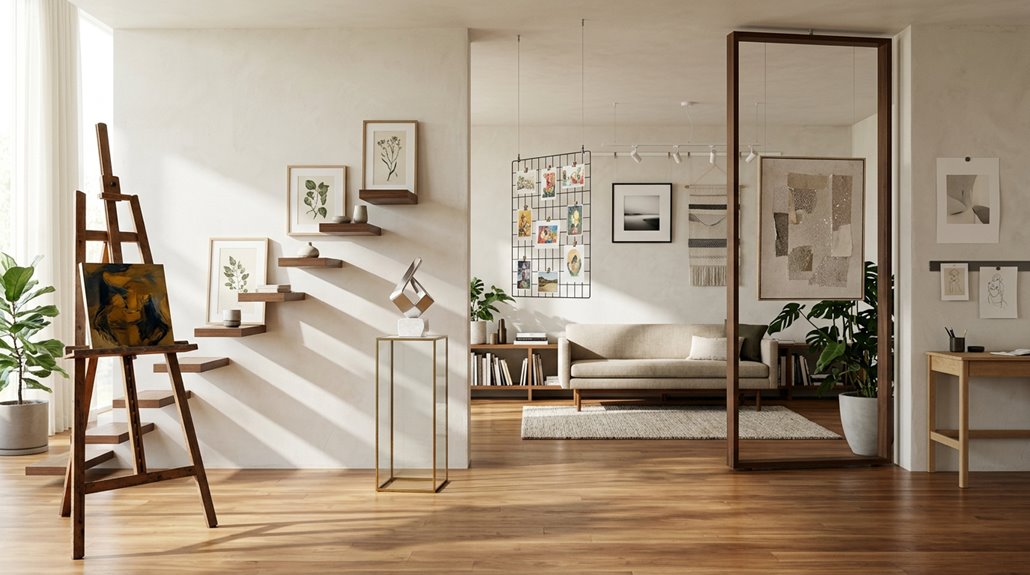
Start with floor easels or plate stands for instant vertical impact, and lean heavier pieces against bookcases in a kitchen, entryway or child’s room.
Wide-base tabletop stands protect art from pressure.
I’ve skipped the non-slip pads before and watched pieces slide, so this step is essential.
Rest framed work on dressers with museum putty, clip lightweight prints to cabinet knobs with pant hangers, or build temporary washi tape grids on any flat surface.
Angle dedicated spotlights 30–45 degrees for optimal viewing.
Full step-by-step instructions follow below.
Display Art Without Walls: Stand Canvases on Floor Easels and Plate Stands

One of the simplest ways to display art without touching a wall involves two practical tools: floor easels and plate stands. Stand canvases on floor easels to create a vertical display while keeping the paintings away from wall pressure and paint damage.
Floor easels and plate stands offer the simplest wall-free art display, protecting canvases from wall pressure and paint damage.
For paper pieces, use plate stands to prop up fairly heavy artworks (110 lb+), like lily illustrations, and place them in a cabinet or on a shelf for subtle visibility. Displaying art without walls this way requires minimal effort.
Methods that work well with this setup:
- Lean artworks on furniture or bookcases, using the furniture as a backdrop.
- Combine plate stands with overhead lighting to highlight focal pieces.
- Choose sturdy, non-slip bases to prevent tipping.
This approach provides stable, portable, wall-free displays that protect your artwork from damage.
Protect Art From Pressure: Use Adjustable, Wide-Base Tabletop Stands
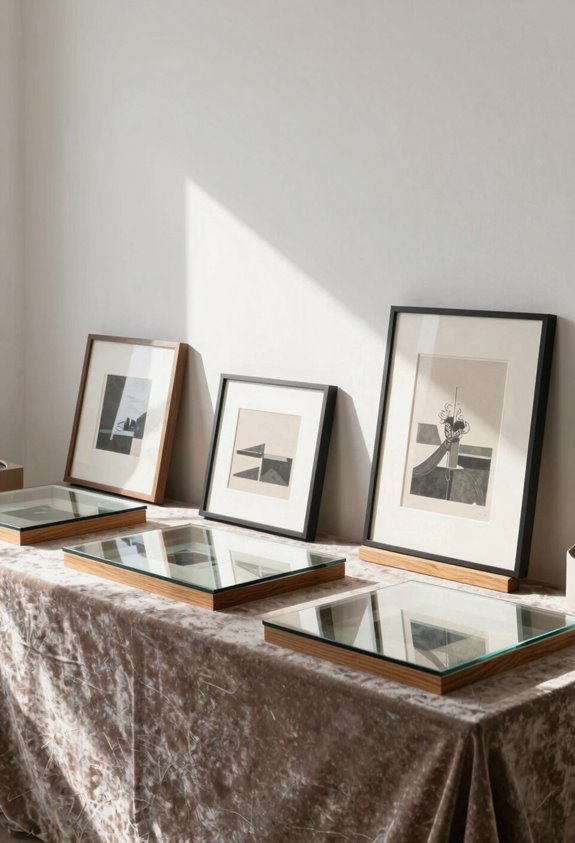
How can you keep your artwork safe when floors and shelves are your only option? I’ve bent a canvas by propping it wrong. Now I use adjustable, wide-base tabletop stands to display my pieces.
What works:
- Wide bases distribute weight evenly, so you avoid pressure on the paint surface.
- Non-slip pads or rubberized bottoms prevent slipping in kitchens, entryways, or children’s rooms.
- Tilt adjustment keeps everything level without wall support.
- For heavy art, pick telescoping legs or low centers of gravity, especially in busy spaces where movement happens frequently.
I pair mine with stiff 110 lb+ backing to prevent bending. It’s easier than you think, and your art stays pristine.
Rest Framed Pieces on Cabinets, Dressers, and Room Dividers
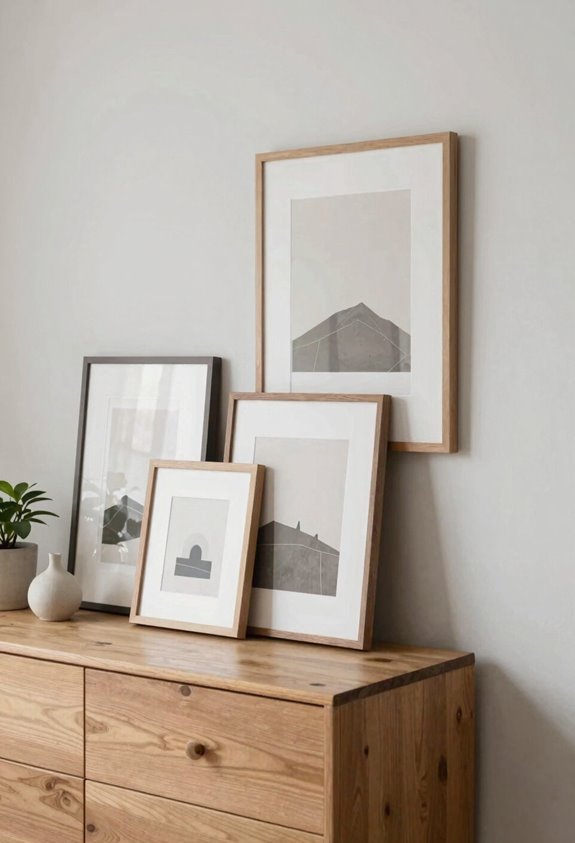
Where can you turn when every wall in your rental is off-limits? I display artwork on cabinets, dressers, and room dividers instead. This method works effectively.
Here’s how to make it work:
- Choose sturdy, fairly heavy frames for stability.
- Prop them with a slight tilt against the back edge.
- Add museum putty underneath. I have done this several times without it, and skipping this step risks your pieces falling.
Pair pieces with complementary decor, like gold accents or matching mat colors, to unify the display. These horizontal surfaces become instant galleries, keeping walls completely hole-free. Rotate your collection periodically by swapping pieces or re-spacing them, which refreshes the whole room. This approach lets you make your space feel like home in a kitchen, entryway or child’s room without risking your security deposit.
Stand Work Upright on Cookbook Stands and Music Stands
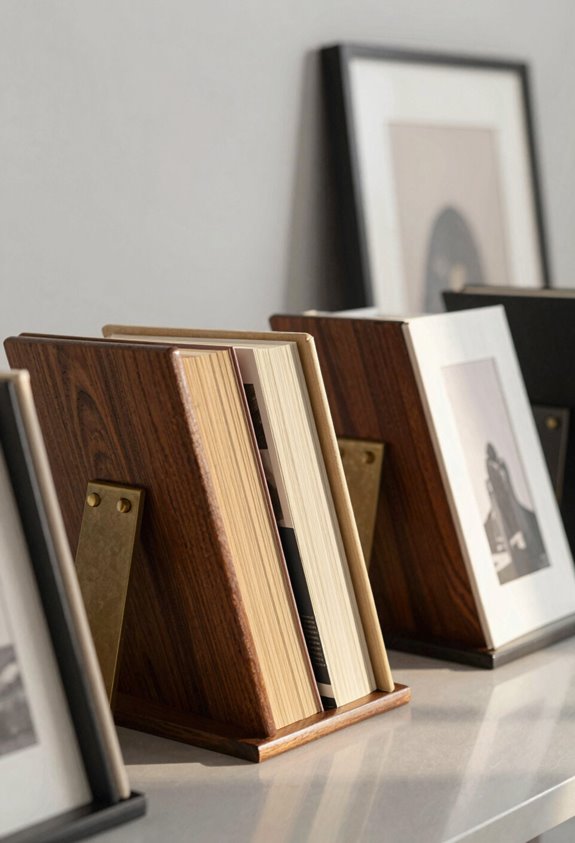
A cookbook stand isn’t just for recipes anymore. I’ve found it’s one of the easiest ways to give a framed piece some height and personality without touching a wall. I use a vintage one to display my great-grandmother’s pencil sketch at a gentle angle, and it draws people in every time.
For something bolder, I’ve repurposed an old music stand. It takes up real space, but that’s the point. It creates an instant focal point wherever you need one.
Both options work beautifully on shelves, tables, or mantels when you’re short on wall space or want something temporary. Keep heavier pieces lower and lighter ones higher. I learned this after a few tipping disasters, which are easier to avoid than you might think.
For extra polish, wrap the stand base in coordinating Washi tape.
Clip Art to Knobs and Handles With Clamp Pant Hangers
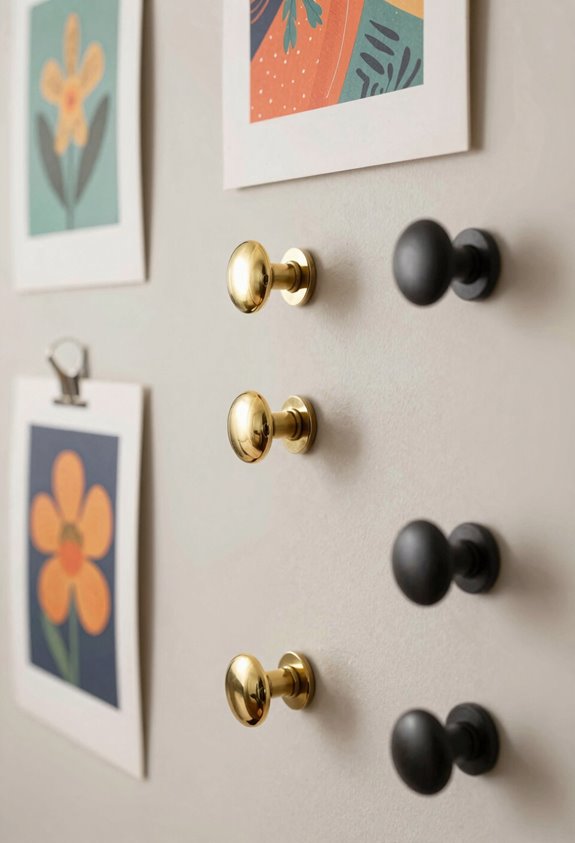
Ever need to fill a blank spot in a hurry. Grab a wooden hanger from your laundry pile, clip your lightweight artwork onto the bar, and hook it over any sturdy knob on your linen closet, bathroom cabinet, or kitchen drawer. I have done this several times when guests were arriving in ten minutes, and it works beautifully for calligraphy pieces with those lovely handmade, imperfect edges. Just keep it light; heavy frames slip, and nobody wants a cracked print on the floor.
| What You’ll Use | Where It Goes | Why It Works |
|---|---|---|
| Clamp pant hanger | Linen closet knob | No nails, no holes |
| Lightweight print | Bathroom cabinet handle | Adds casual charm |
| Calligraphy piece | Kitchen drawer pull | Daily reminder value |
| Small Washi sample | Entryway hook | Quick to rearrange |
| Handmade art | Child’s room dresser | Accessible, simple |
This method displays art without requiring nail holes or long-term commitment, and clamp pant hangers make it simple to swap pieces whenever you want.
Build Temporary Art Walls With Washi Tape on Surfaces
I use washi tape to build temporary art walls all the time, and this method is worthwhile when you can’t put holes in your walls. By creating tape grid layouts and removable frame borders, you’ll get a polished gallery look in spaces like a kitchen, entryway, or child’s room without any damage. I’ve done this several times with the wrong tape, so I’ll show you the easiest way to make this actually work.
Tape Grid Layouts
Struggling to fill a blank wall without leaving a mark. Washi tape grid layouts solve this problem.
I build these using washi tape, creating a temporary grid that lets me align multiple artworks precisely. No nails, no hooks, no stress required.
- Pick your tape color to match your room’s aesthetic
- Map horizontal lines, then vertical ones, forming even cells
- Pop lightweight pieces into each slot
Washi tape comes in gorgeous widths and colors, so I color-code sections for visual flow in spaces like kitchens, entryways, or child’s rooms. It’s flexible, peels off clean, and works well if you’re renting or indecisive. I’ve redone mine three times without any damage to the walls.
Removable Frame Borders
Washi tape grids work beautifully on walls, but you can apply this same idea to flat surfaces. I’ve tested this several times on my own desk, and the results justify the effort.
To build temporary art walls with washi tape:
- Pick your surface — try a tabletop, shelf, or desk (like a kitchen nook or child’s room).
- Choose contrasting washi tape — different colors or patterns help each frame’s space stand out visually.
- Map clean borders — use a ruler for crisp, even lines around each piece.
- Keep it lightweight — unframed prints or thin frames allow easy repositioning.
- Remove gently — lift from a corner to avoid residue or damage.
This method requires minimal effort, and your art gets a home without drilling holes in walls or furniture.
Protect and Elevate Standalone Displays With Lighting
Light placement can make or break your standalone art display. Positioning a lamp too close, too far, or at the wrong angle can transform a beautiful piece into a washed-out shadow puppet. Getting this right protects your investment.
The most effective approach:
- Grab a dedicated art lamp or spotlight. Lighting transforms your display from overlooked to unmissable, especially without walls to frame it.
- Angle it 30–45 degrees from the piece to cut glare and add depth.
- Pick adjustable, low-heat LEDs (like those in a kitchen or child’s room) to protect delicate work.
- Center the beam on your artwork’s middle for balanced viewing.
- Hide cords or go battery-powered for clean, portable setups.
Proper lighting directly impacts how your art is perceived and preserved.