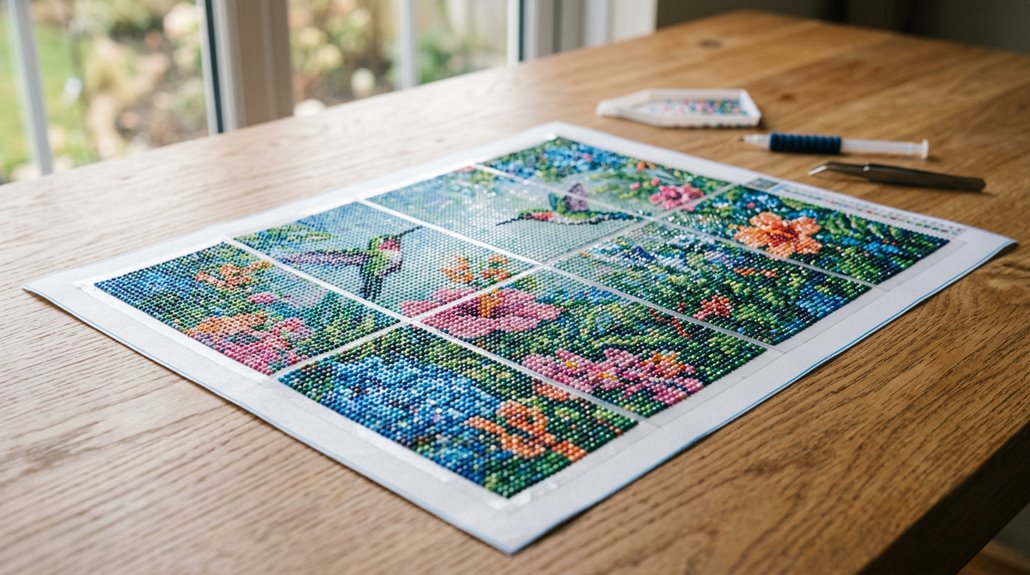
I’ve flattened dozens of wrinkled diamond art canvases, and I’ve learned seven reliable methods that actually work. You can roll the canvas gently from multiple directions to redistribute tension, or peel back half the protective film and reattach it smoothly before rolling again. Swapping the original plastic for release sheets saves time, while hanging and weighting the bottom edge stretches creases out over hours. For faster results, steam the white side with a garment steamer held six inches away, or use low heat with parchment paper if you’re careful. The easiest path is to tape your canvas taut to a flat board, stash it in a closet, and let time do the heavy lifting. I’ve left mine for several days and returned to a glass-smooth surface with zero risk of heat damage. Each approach fits different schedules and comfort levels, and the following sections walk through exactly how to execute every one.
Roll Your Diamond Art Canvas From Multiple Directions
When your diamond art canvas arrives looking more like a crumpled grocery bag than a crafting surface, don’t panic. This first method is genuinely easier than you think. Diamond Painting should feel relaxing, not frustrating, so let’s get that canvas flat together.
Start flattening by rolling your canvas gently from multiple directions. First, roll it lengthwise, then turn it and roll widthwise. This distributes tension evenly, so you don’t create new problem spots while fixing old ones.
Keep your rolling slow and steady, maintaining the same plastic orientation for easy peelability later. After rolling, place light weights on the edges for ten minutes to set the surface. Wrinkled canvases are common and this method effectively solves the problem.
Peel and Reattach the Protective Film in Halves
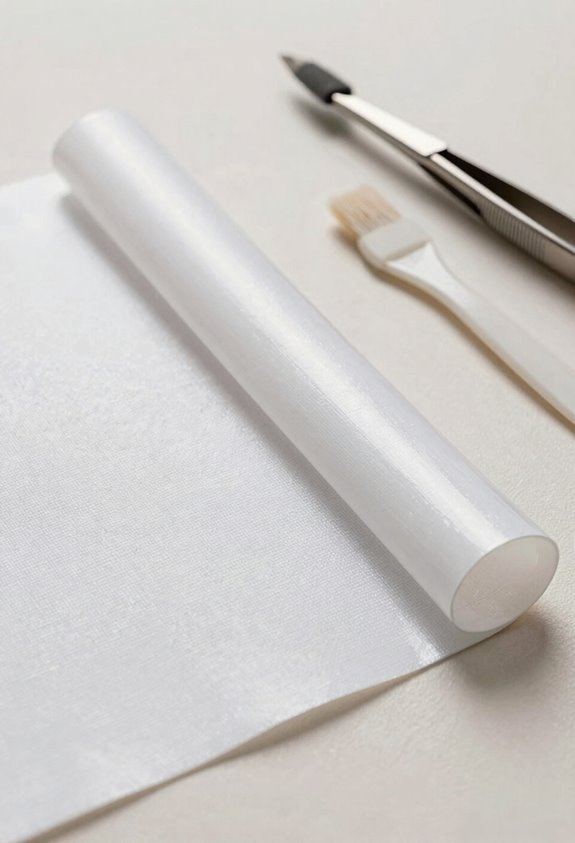
Why rush to rip off that protective film all at once when you can work smarter, not harder. I have done this several times, and patience produces better results. This method gives you control, like opening a new account with your canvas. You’re starting fresh and managing tension carefully.
Work smarter, not harder—patience and control turn a fresh canvas into your best diamond art yet.
Here’s how to do this:
- Peel back just half the film, keeping that clear-side orientation intact for easy re-peeling later
- Reattach that half firmly, then roll from a different direction to spread pressure evenly
- Use gradual, controlled motions without abrupt lifting that creates worse creases
- Re-roll from multiple angles before securing, maximizing crease reduction without needing low heat
This technique distributes stress across your canvas, preventing those stubborn wrinkles that ruin your diamond art experience.
Swap the Original Plastic for Release Sheets

The original plastic film on most diamond art canvases sticks to itself and creates wrinkles during work. I swapped mine for release sheets, which eliminates these problems.
Here’s how I do it:
- Match the orientation — Keep the clear side facing the same direction as the original plastic, so re-peeling stays easy.
- Work in sections — Peel back half the canvas, smooth the release sheet down, then tackle the other side.
- Roll from multiple angles — I re-roll gently from top, bottom, and sides to train the material flat.
- Smooth with a ruler — I press firmly with a straightedge while a friend pulls tension.
This swap reduces setup time significantly.
Hang, Stretch, and Weight Your Canvas
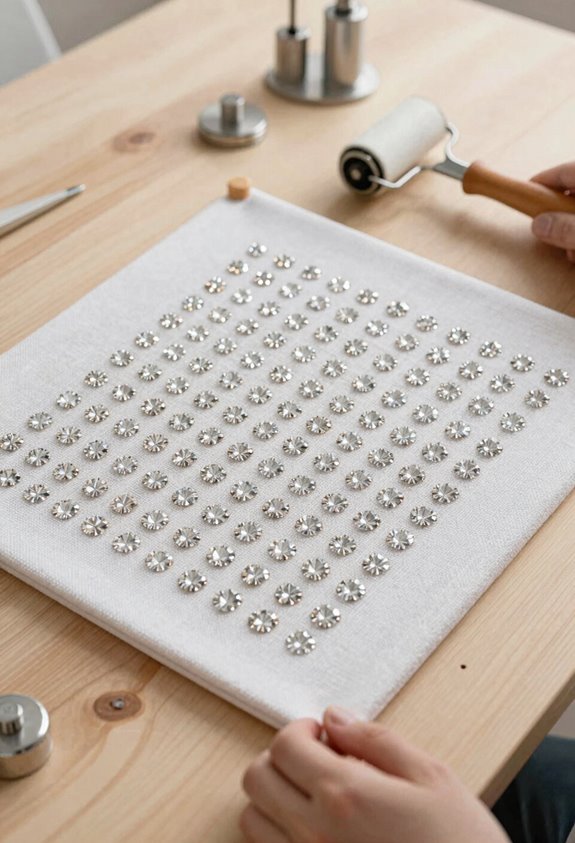
Although I’ve tried countless methods to flatten stubborn creases, hanging and weighting my canvas remains the technique I return to most often when the wrinkles won’t budge.
Here’s my go-to process:
- Roll from multiple directions to loosen those creases, then re-roll and re-hang to maintain the shape. This preps the canvas effectively.
- Clip heavy weights or clamps to the bottom edge, creating gentle downward tension while it rests.
- Leave it stretched for several hours, sometimes days, before framing or re-taping.
- Swap in release sheets instead of that stubborn original plastic when peeling back. This prevents re-wrinkling and protects your work.
This method takes time, but it produces the glass-smooth finish you’re after.
Steam the White Side With a Garment Steamer
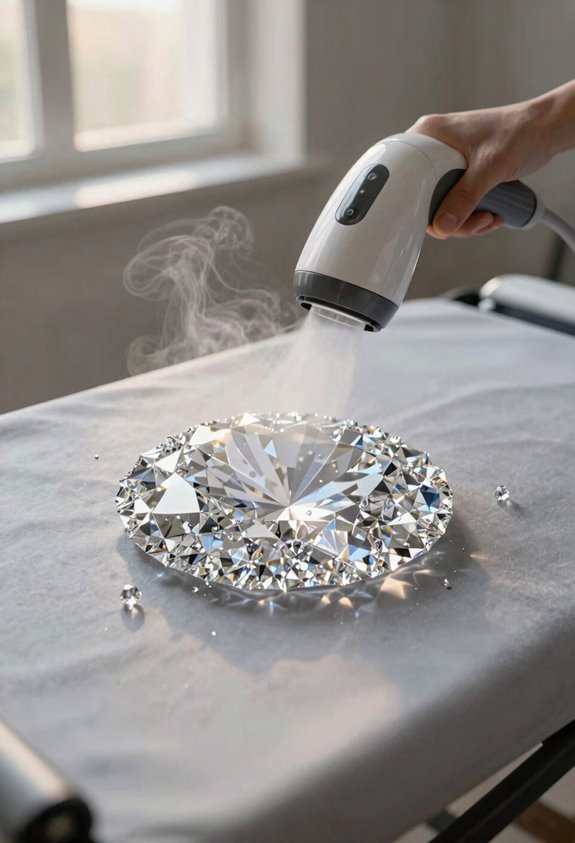
Before I start steaming, I always lay my canvas face-down on a clean, flat surface. I have unfortunately done this several times on a dusty table, and debris stuck to your adhesive will ruin the project. I keep my garment steamer about six inches from the white backing, moving it steadily in sweeping motions so I don’t scorch anything. Lingering too long in one spot creates a bigger problem than you started with. Once the fabric feels warm and relaxed, I gently smooth it with my palms, working from the center outward, and I’ll clamp the edges or weigh them down while everything cools completely. This cooling period prevents creases from returning to the fabric.
Preparation Steps
When prepping a diamond art canvas that’s been folded or shipped flat, a garment steamer is the gentlest way to remove stubborn creases without risking damage. This routine saves significant time and effort.
Here’s how to get set up for success:
- Check your orientation — Flip the canvas so the white (unprinted) side faces up. Steaming the dark side can cause masking or color changes.
- Keep your distance — Hold the steamer slightly away, using smooth, continuous motions so no single spot gets too hot.
- Work in manageable sections — Steam, then smooth by hand or with a soft cloth, similar to pressing a tablecloth.
- Prep stubborn spots — For tough creases, hang the canvas with clamps nearby, ready for light downward tension after steaming.
Steaming Technique
With your canvas prepped and clamps at the ready, I’ll walk you through the actual steaming process, which is straightforward. I hang my canvas with heavy clamps to create gentle downward tension. This stretch makes a significant difference. I always steam the white side only, moving slowly from top to bottom while keeping the steamer at a comfortable distance. Saturating the surface is a mistake you want to avoid, as I’ve learned from repeated experience. While it’s still warm, I gently smooth with my hands to prevent re-wrinkles. Then I let it cool completely flat before checking. This method produces reliable results.
| What You Need | Why It Matters | My Personal Tip |
|---|---|---|
| Garment steamer | Safely relaxes fibers without damage | Keep it moving—don’t linger! |
| Heavy clamps | Creates tension for maximum smoothness | I use binder clips with weights |
| Patience | Prevents re-wrinkles and frustration | Walk away while it cools |
Iron With Parchment Paper on Low Heat
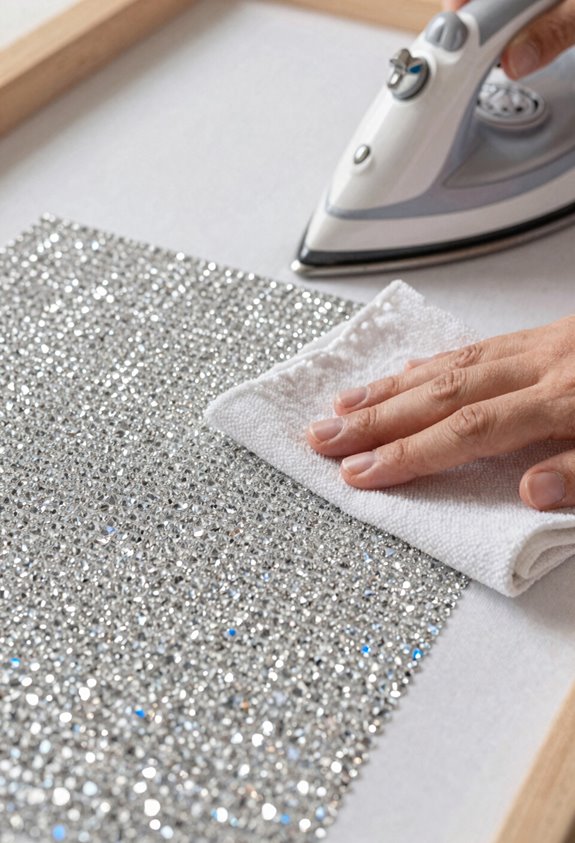
Although I’ve melted adhesive on more than one canvas by cranking the heat too high, parchment paper works as a protective barrier for stubborn creases. This method is straightforward and effective.
Here’s how to do it safely:
- Cut parchment squares that cover the creased area completely, no gaps allowed.
- Layer towels underneath and over the canvas, like a sandwich, before you press.
- Set your iron to low heat, then move slowly across the parchment. Moving too fast risks creating new problems.
- Lift and reposition, don’t slide, so you don’t create new creases.
This low-heat method protects canvas fibers while smoothing out wrinkles effectively.
Tape to a Board and Let Time Do the Work
Stretch your canvas over a flat, rigid surface, such as foam board or an old canvas frame, and tape the edges down firmly. Use a ruler to keep the protective film taut as you work. Once it secured, the waiting period becomes valuable. Canvases left taped for three to five days, with periodic checking, will have creases naturally flattened by tension without heat or risk of damage.
Board Preparation Steps
Why rush when patience does the strenuous work? Proper board preparation saves hours of frustration later. Here’s how I set mine up:
- Find a clean, flat board (like foam core or plywood) larger than your canvas. I use my garage workbench, but a kitchen table works too.
- Align the top edge with a straight edge or ruler, keeping everything square. I have done this crooked several times, and restarting wastes significant time and materials.
- Stretch gently with even tension, securing temporary supports underneath to maintain flatness while the canvas rests.
- Tape edges with high-tack painter’s tape, pressing firmly to prevent curling. Check daily and re-tape if needed, keeping the fabric taut without overstressing.
This preparation method prevents delays and prevents damage to your work.
Waiting Period Benefits
When you’re staring at a wrinkled canvas and feeling that DIY panic creep in, the simplest solution is often the one that requires the least effort from your hands. Tape that canvas to a flat board, walk away, and let time work its magic.
Waiting beats wrestling with your project for these reasons:
- Zero risk of heat damage (I’ve ruined one canvas with an iron—never again)
- The material relaxes naturally under steady tension
- No active monitoring required
Use clear packing tape, stretch it taut, and stash the board in a closet away from windows and vents. Check it daily, re-tension if needed, and in several days you’ll return to a smooth surface. This method protects your work while requiring minimal intervention.