I’ve redone my bathtub caulk more times than I’d like to admit, and this process is worth the effort.
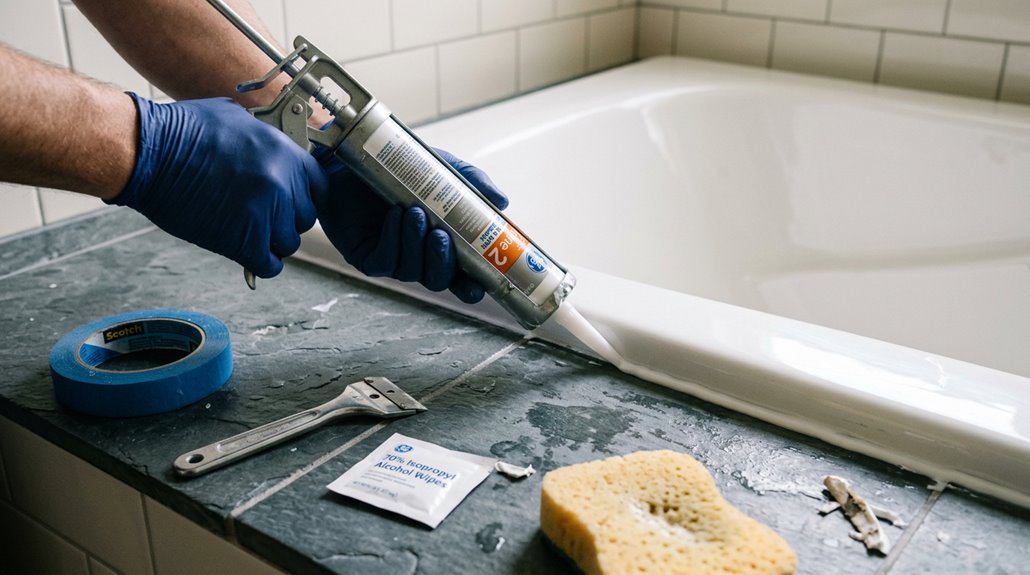
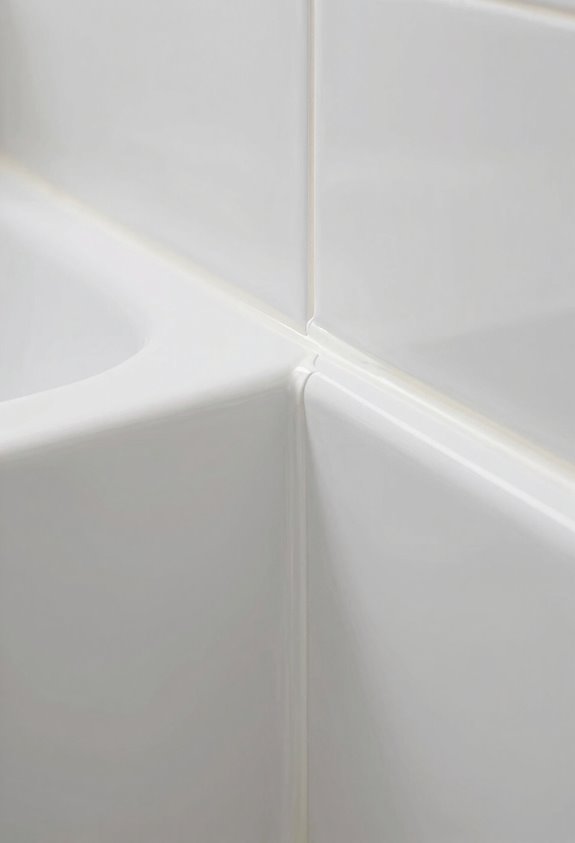
Start by checking for cracks, mold, or soft spots that indicate it’s time to replace. Gather silicone caulk (never acrylic), a caulk gun, painter’s tape, rubbing alcohol, and a removal tool. Cut out the old bead, clean every trace of residue with alcohol, and dry it completely. Moisture will compromise the seal. Tape both sides of the seam, cut your tube at 45 degrees, and pull a steady 1/4-inch bead. Smooth with a damp finger before peeling tape while wet. Wait 24 hours minimum, and follow the cure time on your tube’s label exactly. A simple trick for corners makes this process even more effective.
Know When Your Bathtub Caulk Needs Replacing
When should you tear out your old caulk and start fresh? This task is worth doing properly.
You’ll know it’s time for caulk removal when you spot these warning signs:
- Visible cracks, gaps, or peeling along the caulk line
- Mildew or mold growing in damp crevices (the caulk isn’t sealing anymore)
- Soft, crumbly, or hollow-sounding spots when pressed
- Water seeping behind, causing discoloration between tub and tile
- Silicone caulk (grab two tubes—one usually covers a standard tub, but running short mid-bead is frustrating)
- A sturdy caulk gun (cheap ones jam)
- A caulk removal tool for clean stripping
- Painter’s tape, gloves, rubbing alcohol, rags, utility knife, and a shop vac
- Scrape away every bit of leftover residue from your caulk removal. Use your tool until the joint feels smooth with no bumps.
- Clean thoroughly with rubbing alcohol or mild bathroom cleaner to remove soap scum and oils that sabotage adhesion.
- Wipe completely dry with a clean rag, then vacuum out dust and debris.
- Cut the tube – Snip a ¼-inch opening for the right bead width.
- Angle and move – Hold your caulk gun at 45 degrees, then pull steadily along the seam.
- Start in corners – Work from inside corners outward to control buildup.
- Follow your guide – Let the tape keep you in a straight line.
- Dip your finger in water or grab a baby wipe.
- Starting from the inner corner, glide outward to control the bead shape and stop those annoying strings.
- Wait at least 24 hours before using your shower or bath
- Check your product label, as cure times vary by manufacturer and humidity
- Keep the space ventilated while it dries
An old bead, often several years old, or dried, cracking silicone also indicates replacement is needed. Ignoring this allows water damage to spread quickly.
If any of these apply to your bathroom, you’re ready for a replacement bead. Caulk removal and replacement is a straightforward process.
Gather Supplies and Pick the Right Silicone Caulk
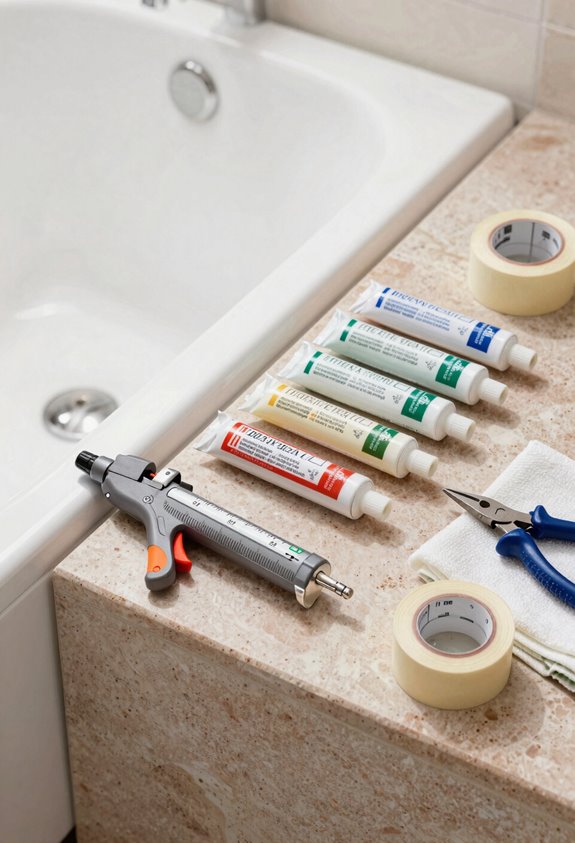
I’ve learned the hard way that showing up to a caulking job without the right supplies means a frustrating trip to the hardware store mid-project. You’ll need silicone caulk, never acrylic, which fails within months. Also gather a caulk gun, painter’s tape, gloves, rubbing alcohol, rags, a utility knife, a caulk removal tool, and a shop vac for cleanup. Grab two tubes of caulk even though one usually suffices; having extra prevents running out halfway through the job.
Essential Caulking Supplies
Before you start ripping out that old, cracked caulk, you’ll need to gather the right supplies. Having everything within arm’s reach makes this job significantly smoother than scrambling mid-project. Proper preparation takes about five minutes and prevents unnecessary delays.
Here’s what you’ll need:
When you’re ready, cut that nozzle at a 45-degree angle and pierce the inner seal. This step prevents backflow and ensures consistent bead application.
Choosing Silicone Caulk
Not all caulk holds up in a wet bathroom, so let’s focus on what actually works. Silicone caulk is what you want, not acrylic, which cracks when things get damp. The mold resistance keeps your tub looking fresh and prevents costly redo jobs. Grab two tubes, since extra bead happens, especially when you’re learning.
| Feature | Why It Matters |
|---|---|
| Mold resistance | Keeps seams clean in wet spaces |
| 45° nozzle cut | Controls caulk bead width |
| Caulk gun + tape | Cleaner lines, less mess |
Prep that nozzle, pierce the seal, and you have a lasting seal.
Remove Old Caulk and Prep the Surface
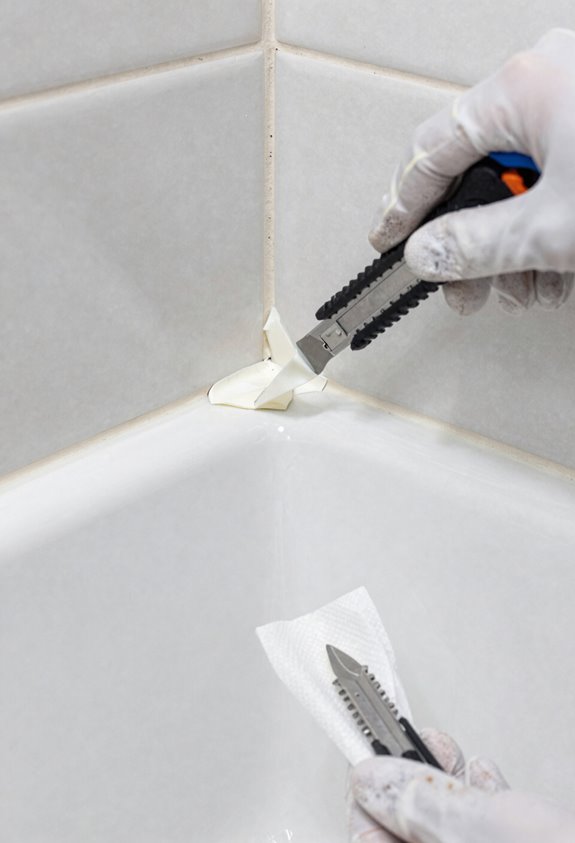
I start by cutting along both edges of the old caulk with a utility knife, which breaks the seal so I can pry it free. Once the caulk loosens, I scrape it out completely with a removal tool, then clean every trace of debris with rubbing alcohol and a rag, or a shop vac for stubborn grit, because any leftover residue will ruin the new seal. After drying the surface thoroughly, I tape off the seam with painter’s tape to keep my line neat and protect the surrounding tub and tile. This step makes the actual caulking easier and prevents mistakes.
Old Caulk Removal
Once you’ve gathered your tools, you’re ready to tackle old caulk removal. Getting rid of that old, cracked caulk requires the right approach.
For caulk removal, I grab my utility knife, caulk removal tool, or stiff putty knife. I carefully lift and break the old caulk along the top and bottom edges before pulling it free. When old caulk puts up a fight, I apply a caulk softener solution, which makes the job significantly easier.
| Tool | Best For |
|---|---|
| Utility knife | Precise cuts in tight corners |
| Caulk removal tool | Wide, flat beads along edges |
| Stiff putty knife | Stubborn, thick buildup |
| Caulk softener | Hardened or ancient material |
| Shop vac | Final debris cleanup |
After removal, I wipe the joint with rubbing alcohol, then vacuum thoroughly. I make sure everything’s completely dry. This step is essential because moisture allows mildew to develop and prevents the new caulk from adhering properly. Skipping this step results in premature failure and mold growth.
Surface Cleaning Steps
With the old caulk out of the way, you’re ready to get that surface truly clean.
I have done this several times, and skipping proper cleaning leads to disaster. Here’s how to do it right:
A dry surface is essential. New caulk will not stick to moisture or grime, and you will need to redo this project sooner than expected. Take your time here.
Apply a Clean, Even Bead of Caulk
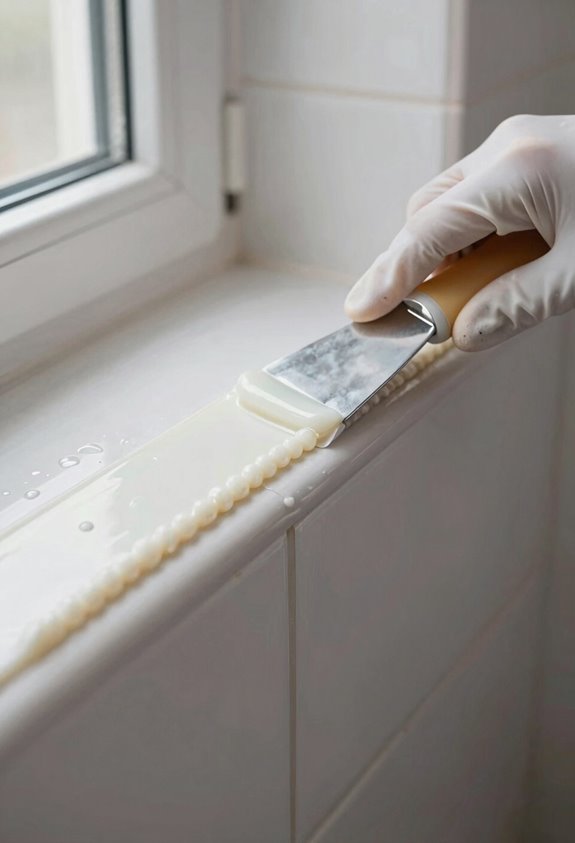
The moment you’ve prepped for is finally here. This process requires attention to detail to avoid the lumpy, messy bead that results from careless application.
Keep pressure steady. Don’t rush, and don’t dawdle. Squeezing too hard creates caulk mountains. Consistency beats speed. You’re building a watertight seal that will last for years. This requires basic technique and focus, nothing more.
Smooth the Caulk and Remove the Tape
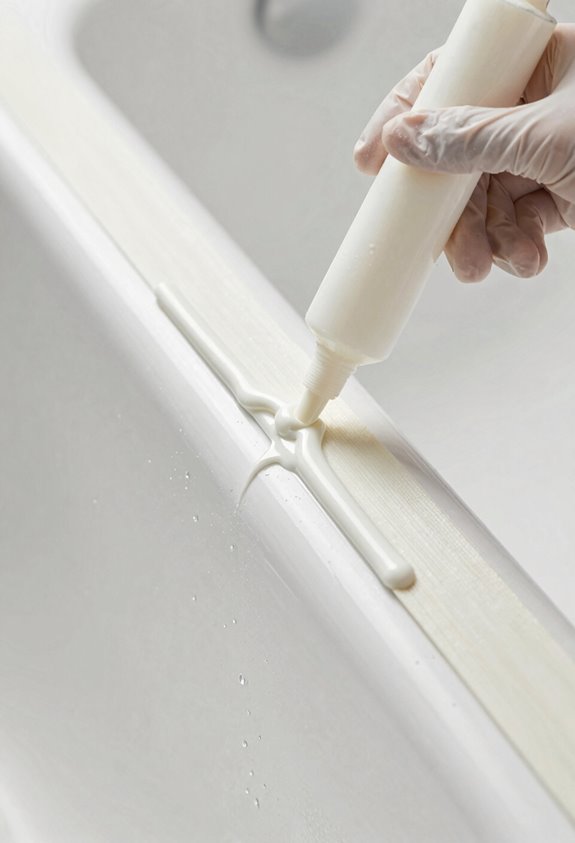
Caulk smoothing is where your bead transforms from messy to magazine-worthy, so take your time and do this right.
First, check that the area is bone-dry and debris-free. Pulling dirt into fresh sealant is frustrating and happens easily if you’re not careful.
Here’s the method:
Remove the painter’s tape gently while everything is still wet. Wait too long and you’ll get pull-away, which compromises the seal.
Once satisfied, step back and note the cure time. Avoid water contact until the manufacturer’s window passes, as this allows the caulk to set properly and perform as intended.
Let the Caulk Cure and Maintain the Seal
Once that tape peels away and you’re staring at your fresh bead, you’ll feel that urge to test your work. Rushing the caulk cure compromises your results.
For proper seal integrity, follow these steps:
Premature water exposure can wash away your work and invite mold and mildew into compromised gaps. After full cure, inspect your joint for lumps or gaps. Reapply only if needed, once that first bead has fully set.