I have done this several times, and removing wallpaper is tedious but entirely manageable if you break it into clear, sequential steps that keep your walls intact. Start by gathering your supplies: scoring tool, spray bottle, putty knife, drop cloths, and adhesive remover. Test a corner to see if it will dry-peel or need soaking. Score the paper, saturate it with warm water for 10-15 minutes, and peel top-down in sections. Dissolve leftover glue with vinegar or fabric softener, patch any gouges, sand smooth, and prime before painting or re-wallpapering. Follow the detailed breakdown below to avoid costly mistakes.
Grab Your Wallpaper Removal Supplies
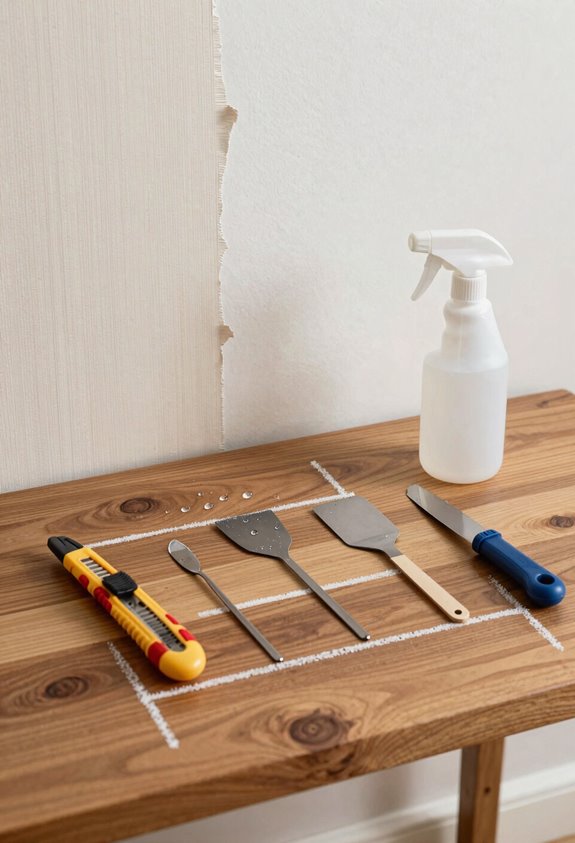
What’s the first thing you need to do before you even think about peeling that outdated floral print off your walls? Grab your wallpaper removal supplies. Proper prep prevents the frustration that comes from attempting this job without the right tools.
Here’s what you’ll need:
- A scoring tool to puncture that stubborn paper
- A spray bottle filled with warm water
- A putty knife or scraper for the satisfying peel
- A sponge or rag for cleanup
- Drop cloths to protect your floors
- A large bag for collecting strips
Don’t forget to remove those outlet covers and tape your baseboards. Proper preparation significantly reduces difficulty and cleanup time, making the job manageable with the right equipment.
Test a Corner: Dry-Peel or Soak-Removal?
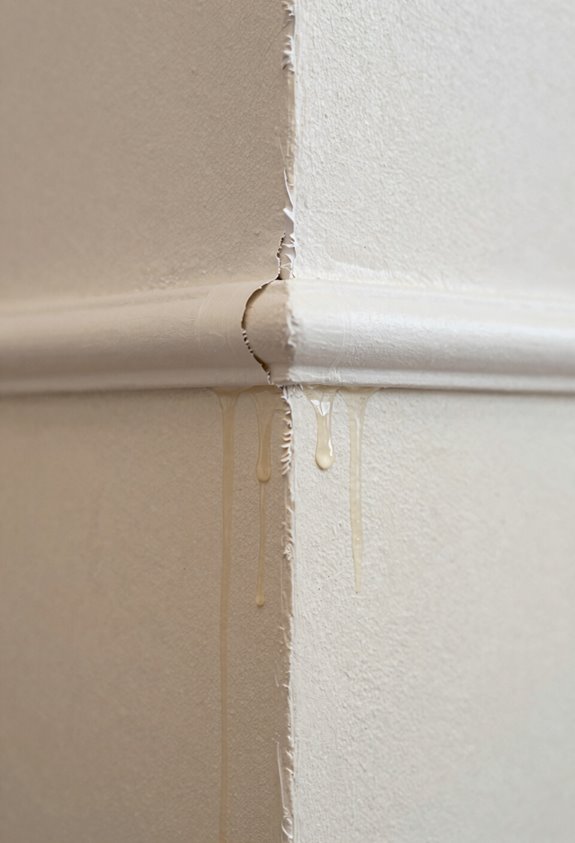
Once your supplies are ready, I’ll walk you through the single most important step that saves hours of frustration. Skipping the corner test is a mistake I’ve made several times, and testing this area first prevents wasted time and effort.
Skipping the corner test is a mistake I’ve made several times, and testing this area first prevents wasted time and effort.
Here’s how I do my corner test:
- Find an edge, usually near baseboards or a seam.
- Gently lift and pull upward.
If the top layer releases cleanly, you’ve got strippable paper, and dry-peel removal methods will work for the entire job (like a kitchen, entryway or child’s room). If you hit resistance or that stubborn backing glue clings tight, don’t force it. Switch immediately to soak-removal techniques instead.
Test the corner first, then apply your chosen method wall-wide.
Score the Wallpaper to Let Water Penetrate
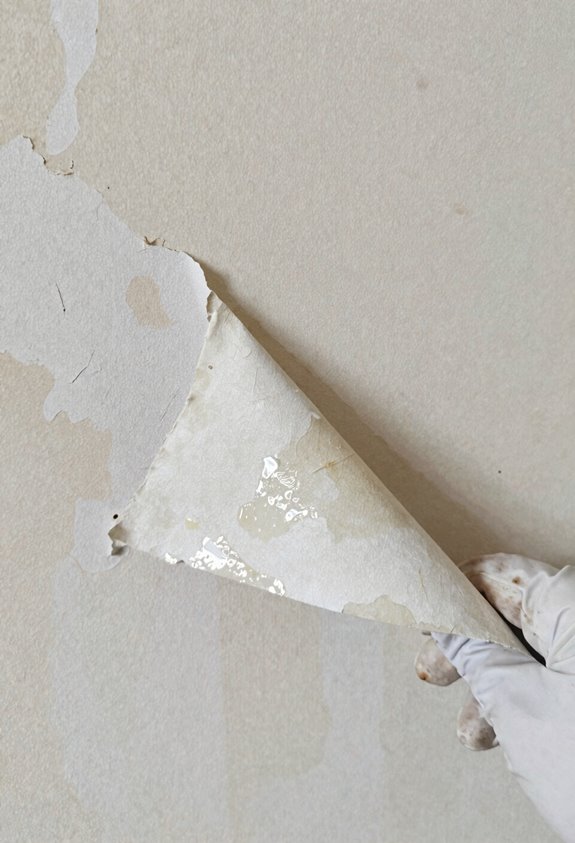
Why do so many people skip scoring and then fight their wallpaper for hours? I have unfortunately done this several times, and this step is worth it. Wallpaper scoring creates tiny perforations that let water or remover reach the adhesive beneath.
| Tool Type | Best For | Key Tip |
|---|---|---|
| Paper tiger | Vinyl, standard paper | Light circular motion |
| Needle roller | Grass cloth, heavy textures | Dense coverage on seams |
| Utility scorer | Small, stubborn patches | Shallow pressure only |
| Rotary perforator | Large wall areas | Even, overlapping passes |
| Edge tool | Corners, trim lines | Start here first |
I grab my scoring tool and work in circles, keeping perforations shallow to protect drywall underneath. For vinyl or grass cloth, I score more densely. This step transforms adhesive removal from impossible to manageable. Once you’ve opened those pathways, dampening wallpaper becomes effective. Water actually penetrates adhesive instead of sliding off.
Soak the Wallpaper Completely: The 10–15 Minute Rule
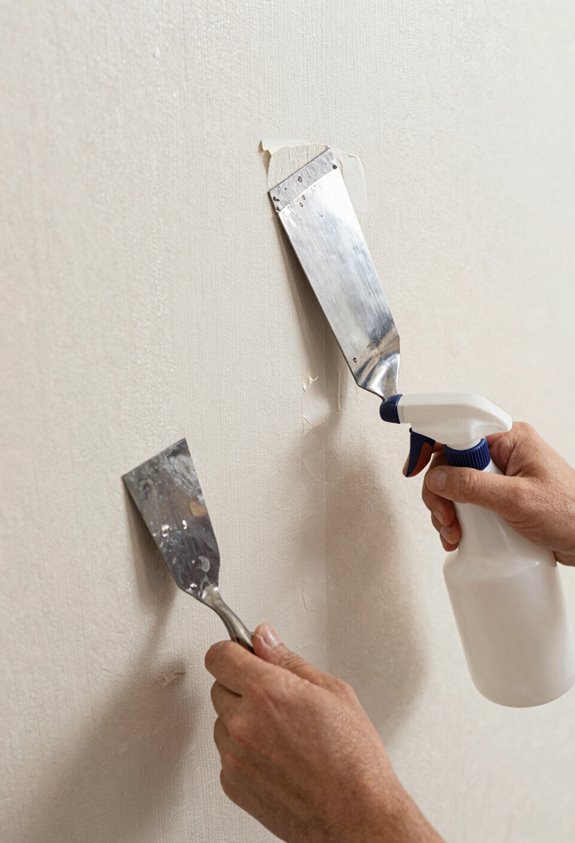
Rushing this step causes damaged drywall and frustration. Fully saturate the wallpaper backing with warm water, then wait a full 10–15 minutes while the adhesive rehydrates and softens. If some spots stay stubborn, re-saturate them rather than forcing the issue with aggressive scraping.
Water Saturation Importance
Fill a good spray bottle with warm water (not hot, not cold; warm actually softens glue better). I’ve skipped this step several times, and this approach is worth the effort. Proper water saturation transforms wallpaper removal from a nightmare into manageable work.
Here’s what I’ve learned about timing:
| Situation | Action |
|---|---|
| Initial application | Spray evenly, wait 10–15 minutes |
| Stubborn sections | Re-saturate and extend the soak window |
| Multi-layer paper | Repeat soaking cycles gently |
| Tight corners | Use a damp sponge for controlled application |
I use a damp sponge for edges where spray runs. The goal isn’t getting things wet; it’s fully penetrating the wallpaper adhesive so lifting happens without wall damage. Rushing tears drywall, so respecting that 10–15 minute soak window before scraping begins prevents costly repairs.
Timing for Effectiveness
How long should you actually wait once that wallpaper’s good and wet? Patience here saves you hours later.
The magic wallpaper dwell time is 10–15 minutes. That’s your soaking period for proper adhesive loosening. I grab my dampening solution, saturate that backing completely, and then I wait. I have done this several times, and rushing never works.
Here’s what I do during those 10–15 minutes:
- Keep a spray bottle handy to re-wet any drying spots
- Check corners and seams, they dry fastest
- Watch for the paper turning darker, that’s your cue it’s working
If sections still feel stuck after your initial soak, don’t force it. Just reapply solution, extend that dwell time another few minutes, and let the dampening solution do the heavy lifting. Skipping this step results in torn paper, incomplete adhesive release, and significantly more labor during removal.
Reapplication for Stubborn Areas
Why does stubborn wallpaper always cling to the worst spots? I’ve fought this battle, and I can help you win it.
Wallpaper soaking is your secret weapon. I saturate leftover backing with warm water, then I wait. The 10–15 minute rule isn’t optional; it’s essential for adhesive reactivation. Rushing it costs you time and effort.
Here’s my re-saturation strategy for stubborn patches:
| Problem Spot | My Solution | Result |
|---|---|---|
| Corners, edges | Extra spray, full 15 min | Better moisture penetration |
| Thick vinyl layers | Sponge plus spray bottle | Complete adhesive reactivation |
| Still stuck after first soak | Second soak cycle, no scraping | Damage-free, careful removal |
Start top-down peeling after soaking. Sometimes you need another round. This approach prevents wall damage and ensures complete wallpaper removal.
Peel, Spray, and Scrape in Manageable Sections
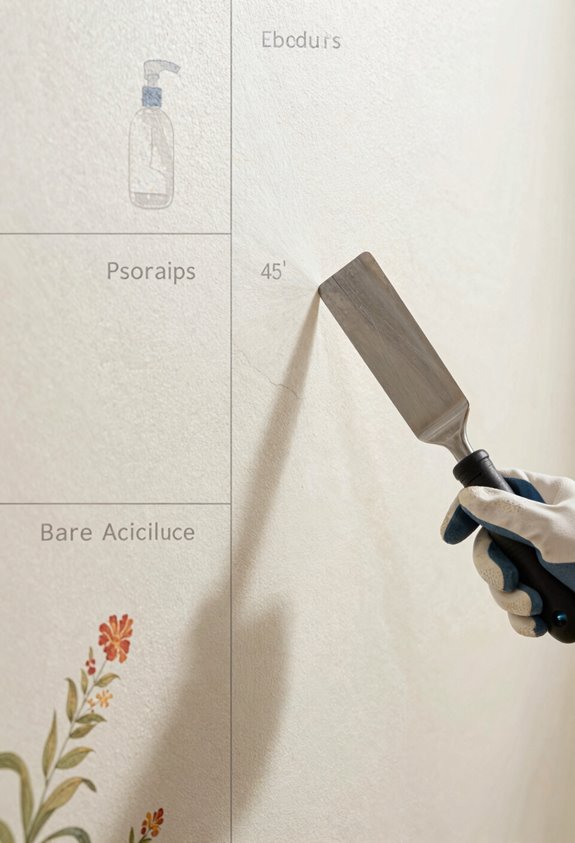
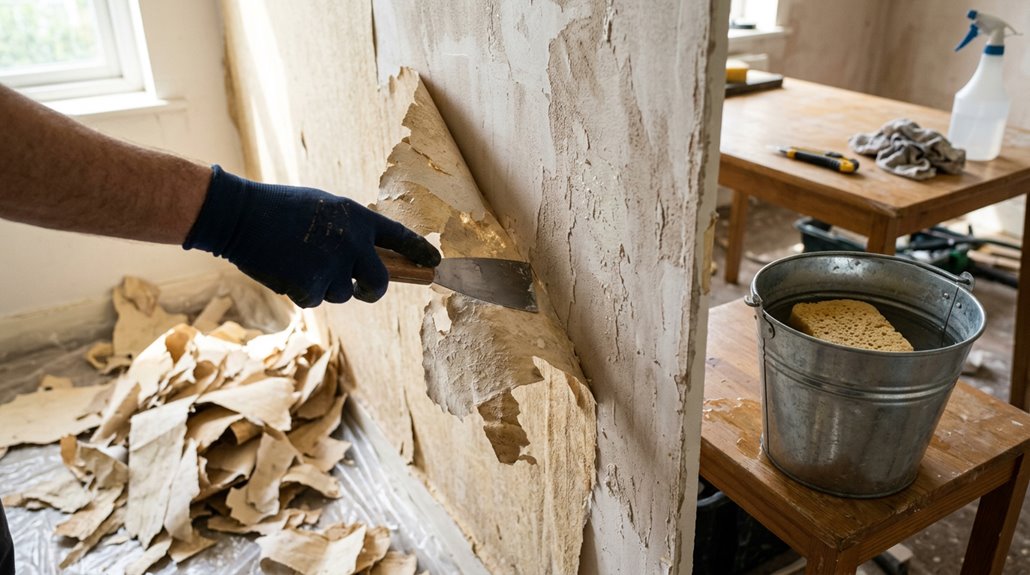
Where exactly should you start when facing a whole wall of stubborn paper? Begin at the top, tackling wallpaper removal in manageable sections so it doesn’t overwhelm you. I’ve done this several times, and smaller pieces make all the difference.
Here’s my approach:
- Peel slowly downward in controlled strips, keeping the backing exposed
- Spray warm water mixed with Dawn directly onto that backing, re-saturating stubborn spots
- Damp sponge nearby sections while you work, so nothing dries out
- Scrape leftover bits with a plastic putty knife once they’re loosened
This method is effective. Grab a contractor bag for the mess, work top-to-bottom, and avoid gouging your walls. You’ll find this easier once you establish a rhythm.
Dissolve Leftover Adhesive and Remove Residue
I have unfortunately done this several times, so I can confirm this isn’t as overwhelming as it looks. Once you’ve peeled off the paper, you’re left with stubborn glue that requires proper adhesive dissolution methods, residue removal techniques, and thorough surface cleaning steps before you can paint or re-wallpaper. I’ll walk you through exactly how I tackle each stage, using simple tools you’re likely to already own.
Adhesive Dissolution Methods
Once you’ve peeled off the wallpaper itself, you’re usually staring at a wall of stubborn, gummy residue that seems determined to become your permanent enemy. Adhesive dissolution is straightforward and manageable.
Here’s what actually works:
- Dish soap solution — Warm water plus a squirt of dish soap handles most newer wallpaper removal jobs beautifully.
- Fabric softener solution — Mix with hot water saturation; this method is effective on stubborn glue.
- Steam wallpaper remover — The most reliable option for old, layered jobs in kitchens, entryways, or children’s rooms.
Whatever you choose, saturate thoroughly, allow dwell time of 10–15 minutes, then scrape gently with a plastic putty knife. Patience prevents wall damage.
Residue Removal Techniques
You’ve dissolved the adhesive, but that gummy residue is still clinging to your walls. Grab your putty knife, some warm water, and let’s finish this.
Here’s what actually works for wallpaper adhesive:
| Method | What You Need | Best For |
|---|---|---|
| Vinegar solution | White vinegar, warm water, sponge | Light, fresh residue |
| Fabric softener mix | Fabric softener, hot water | Stubborn, older glue |
| Commercial adhesive remover | Gel formula, putty knife | Heavy buildup |
| Hot soapy water | Dish soap, sponge | Final cleanup pass |
| Steam + scrape | Steamer, putty knife | Lifted spots that won’t budge |
Let your adhesive remover sit 10–15 minutes, then gently peel. Don’t gouge. Once clear, wash with clean water. Then sand lightly and roll on primer sealer before painting to prevent glue reactivation.
Surface Cleaning Steps
Although the wallpaper’s gone, that stubborn adhesive requires persistent effort to remove. I’ve done this several times and know exactly how frustrating those gummy patches can be.
I start wallpaper removal cleanup by scrubbing glue residue with warm water and a sponge. I grab the rough side of a Scrub Daddy to break down sticky spots, then wipe everything clean. When adhesive won’t budge, I dampen the area with adhesive remover and scrub again until smooth.
Afterward, I lightly sand rough patches, then seal the wall with Zinsser AllPRIME or Gardz. This prevents adhesive reactivation before painting or re-wallpapering. Your surface will be clean, smooth, and ready for whatever comes next.
Patch Gouges and Sand Rough Spots Smooth
Stripping wallpaper always reveals the truth about your walls, and sometimes that truth isn’t pretty. I’ve encountered numerous gouges and rough patches during this process. Drywall repair is straightforward once you know the steps.
First, mark every damaged spot where the paper took paint or plaster with it. Then grab your mud (joint compound) and a rounded putty knife. This patching technique works best with thin layers rather than one thick glob. Multiple thin coats produce better results than a single heavy application.
Let each layer dry fully, then sand rough spots with 220-grit paper until everything feels smooth. Wipe away dust and spot-prime patched areas with stain-blocking primer. You’re then ready for the next step.
Prime the Wall for Painting (Or New Wallpaper)
A good primer is your insurance policy against everything that could go wrong later, and I have unfortunately skipped this step more times than I care to admit. After wallpaper removal, proper wall preparation saves you from peeling paint and bubbling seams. This investment prevents costly repairs.
Here’s my easiest way to finish the job:
- Grab Prime Lock Plus, my go-to primer for sealing stubborn adhesive residue and old plaster.
- Apply thin, even coats with a 2½ inch angled brush, overlapping strokes for full coverage.
- Let it dry completely per the label. It’s fast-drying, so you’re not waiting long.
Priming fixes cracks and improves adhesion prep for whatever comes next. If you’re painting, you’re essentially done. For new wallpaper, consider wallpaper sizing on porous spots first.