The projects ahead run from a straight hallway wall you can knock out in a Saturday to a staircase where every cut is a compound angle and the trim disappears into the math.
Height is the first decision: picture-frame boxes that stop at 32 inches, battens pushed to 36 so chair backs clear, or slats that climb waist-high and no farther for a first run at it.
MDF boards take paint without grain showing through, and a miter saw slices them clean; solid wood runs higher but grips a finish nail tighter if you are hanging brass hooks for coats later.
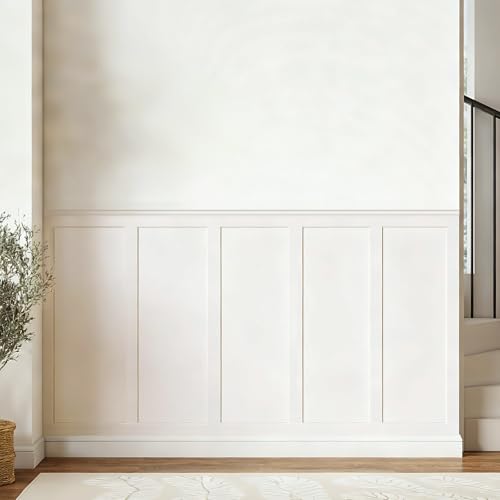
1. Vertical Battens
Spacing the battens is the part that takes real thought. I measure wall by wall, not room by room, since every wall hits a different width and outlets rarely land where you want them.
For a 58-inch wall with 2.5-inch battens, five battens eat up 12.5 inches of width. Split the remaining wall space into even gaps between the battens so the spacing looks intentional rather than random.
I aim for roughly 13 inches between centers, but anything within 2 inches of that disappears to the eye once the room is done.
MDF cuts clean and paints smooth; wood costs more but holds a nail better if you are attaching heavy hooks later.
This is the entry-level move for anyone who wants the look without fancy tools. A miter saw, a level, and a Saturday are enough.
【Coverage】Includes 10 pre-cut wall molding slats and 2 shelf edge strips to create a clean board & batten look. (No peel-and-stick adhesive or nails included)

Includes: 3 pre-cut 20"x27" wall molding frames and 2 chair rail trim pieces, Covers 78.7"W x 39.9"H wall area (6.5 ft wide). All pieces feature a peel-and-stick design for easy installation.

Includes 3 pre-cut 20"x27" wall molding frames and 2 chair rail trim pieces, Covers 78.7"W x 39.9"H wall area (6.5 ft wide). All pieces feature a peel-and-stick design for easy installation
2. Chair Rail
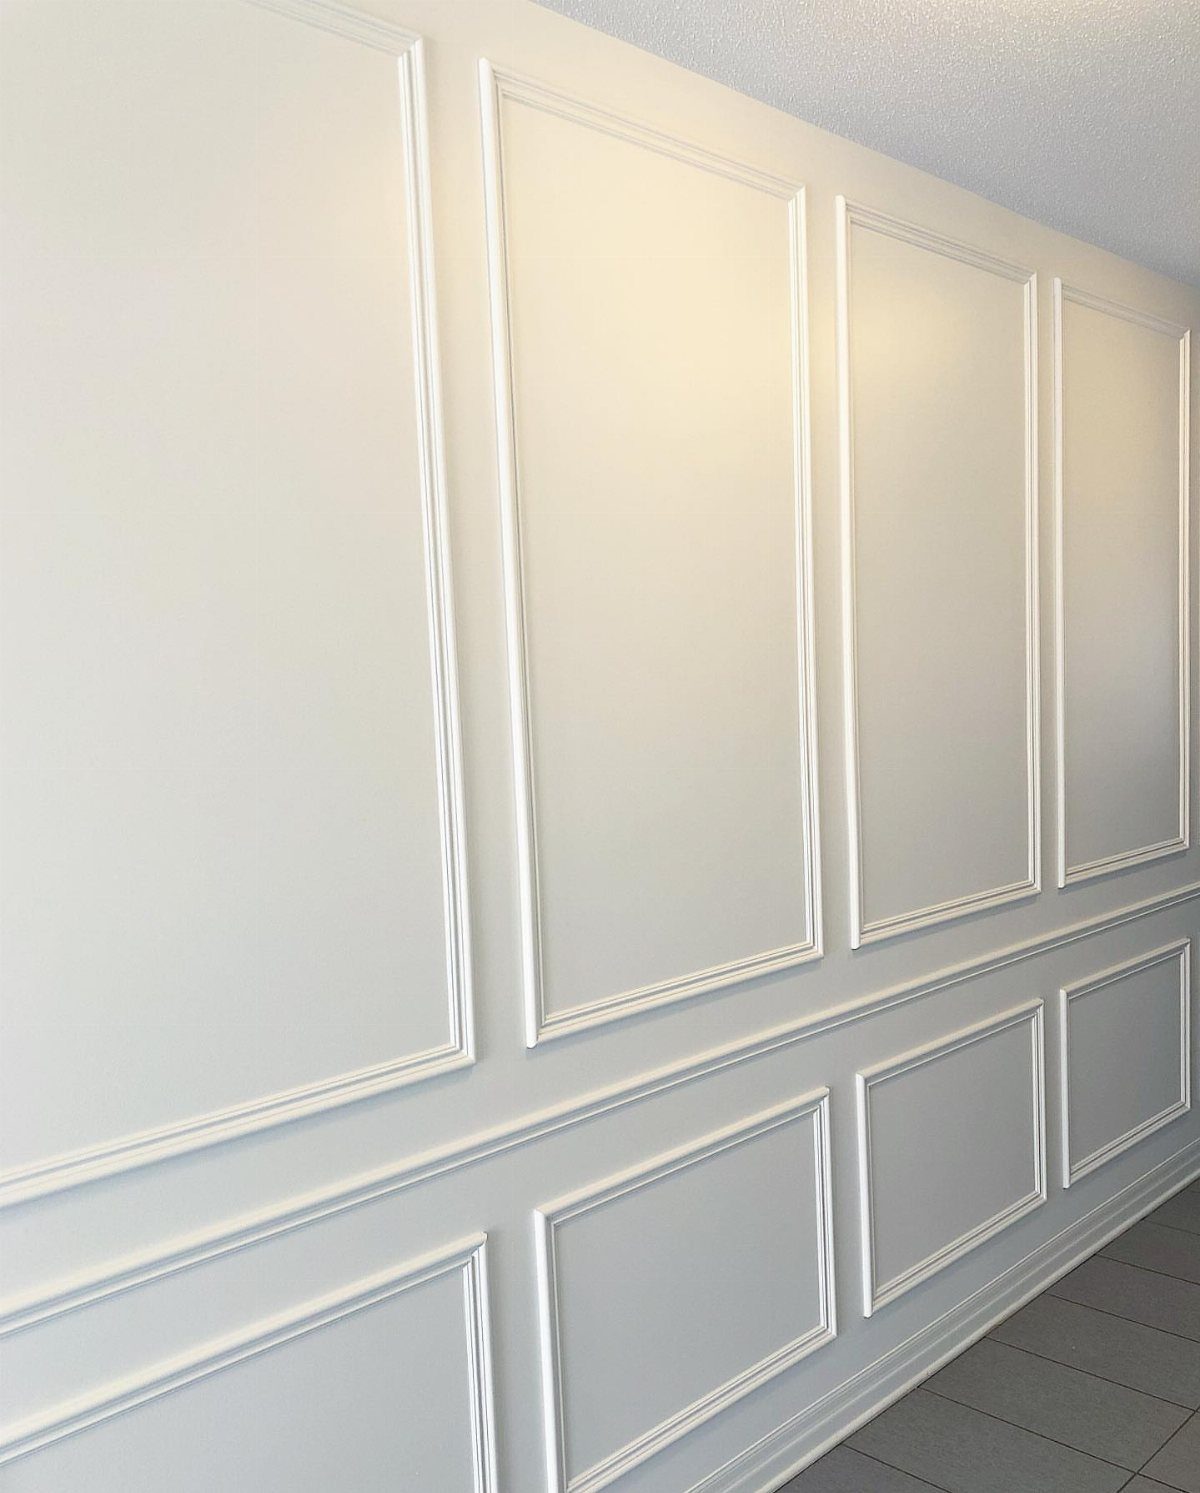
The rail itself is just a horizontal band of trim, usually set 32 to 36 inches up from the floor. That range is not arbitrary; 36 inches clears most chair backs, and 32 inches looks right in rooms with lower ceilings.
What changes the height is what lives below it. A chair rail can act as a visual shelf between two zones of picture-frame molding, giving the eye a place to rest.
I would drop it to 32 inches in a room where the lower section stays plain board and batten, since more empty wall above reads calmer.
Paint the rail the same color as the wall, not the trim, if you want the molding to read as texture rather than frame. Two-tone, with the rail matching baseboards, works better in traditional rooms.
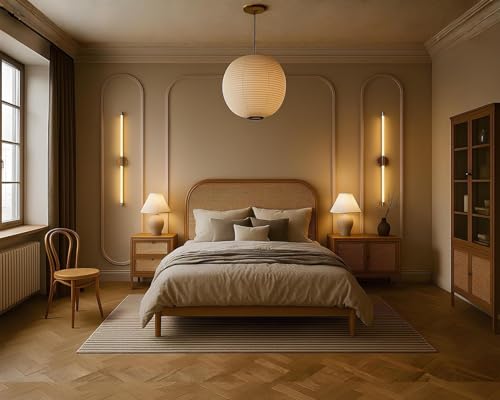
BOLD ARCH DESIGN – CREATE A STATEMENT WALL | Curved and straight pre-cut MDF pieces let you build elegant arch patterns and frame-style layouts that give any room a custom, high-end look without hiring a carpenter. Made in Türkiye

Wall Molding Kit: The package includes 24 pcs wall molding (24in-14 pcs, 54in-6 pcs, 48in-4 pcs), which can be combined into 6 frames, allowing you to easily create a stylish accent wall. The 6-frame layout shown is designed for a wall measuring approximately 10 feet high by 11 feet wide. Please measure your wall and plan the layout before installation.

Cozylkx Moulding Trims are made from High Quality PE Foam, soft, high elasticity, anti-collision and durable, help decorating your home to be more warm.
3. Picture Frame Wainscoting
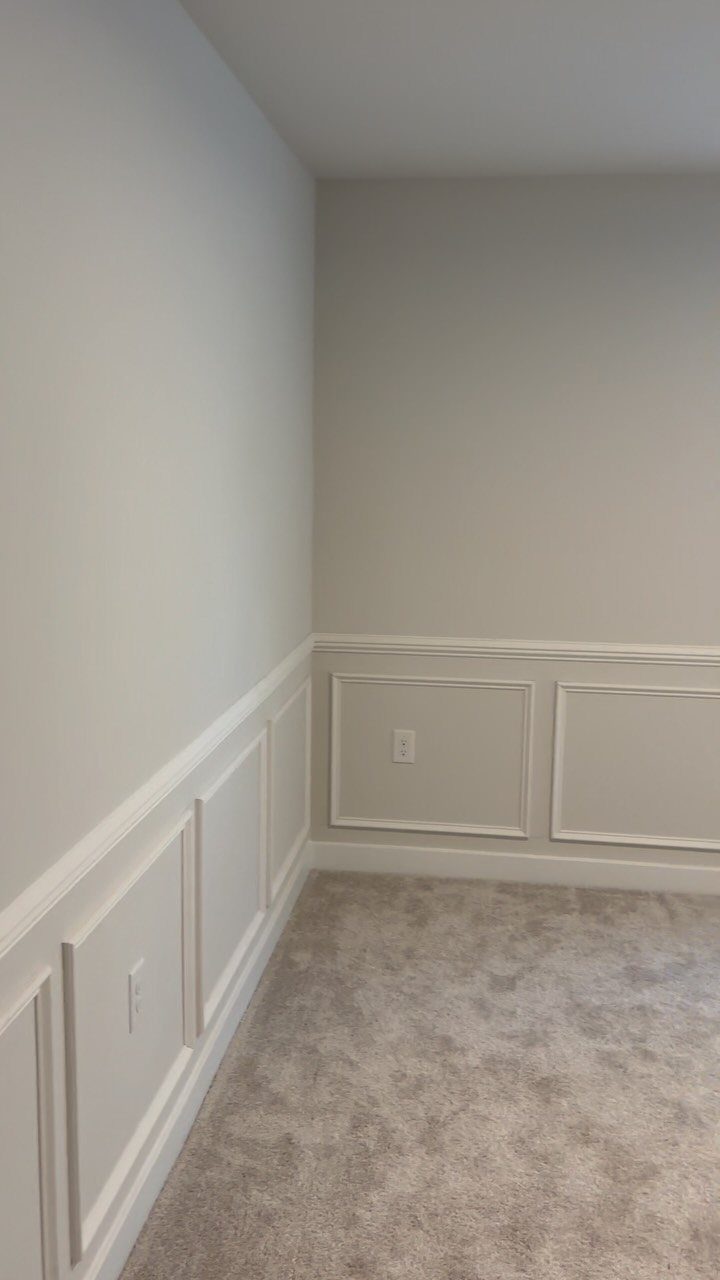
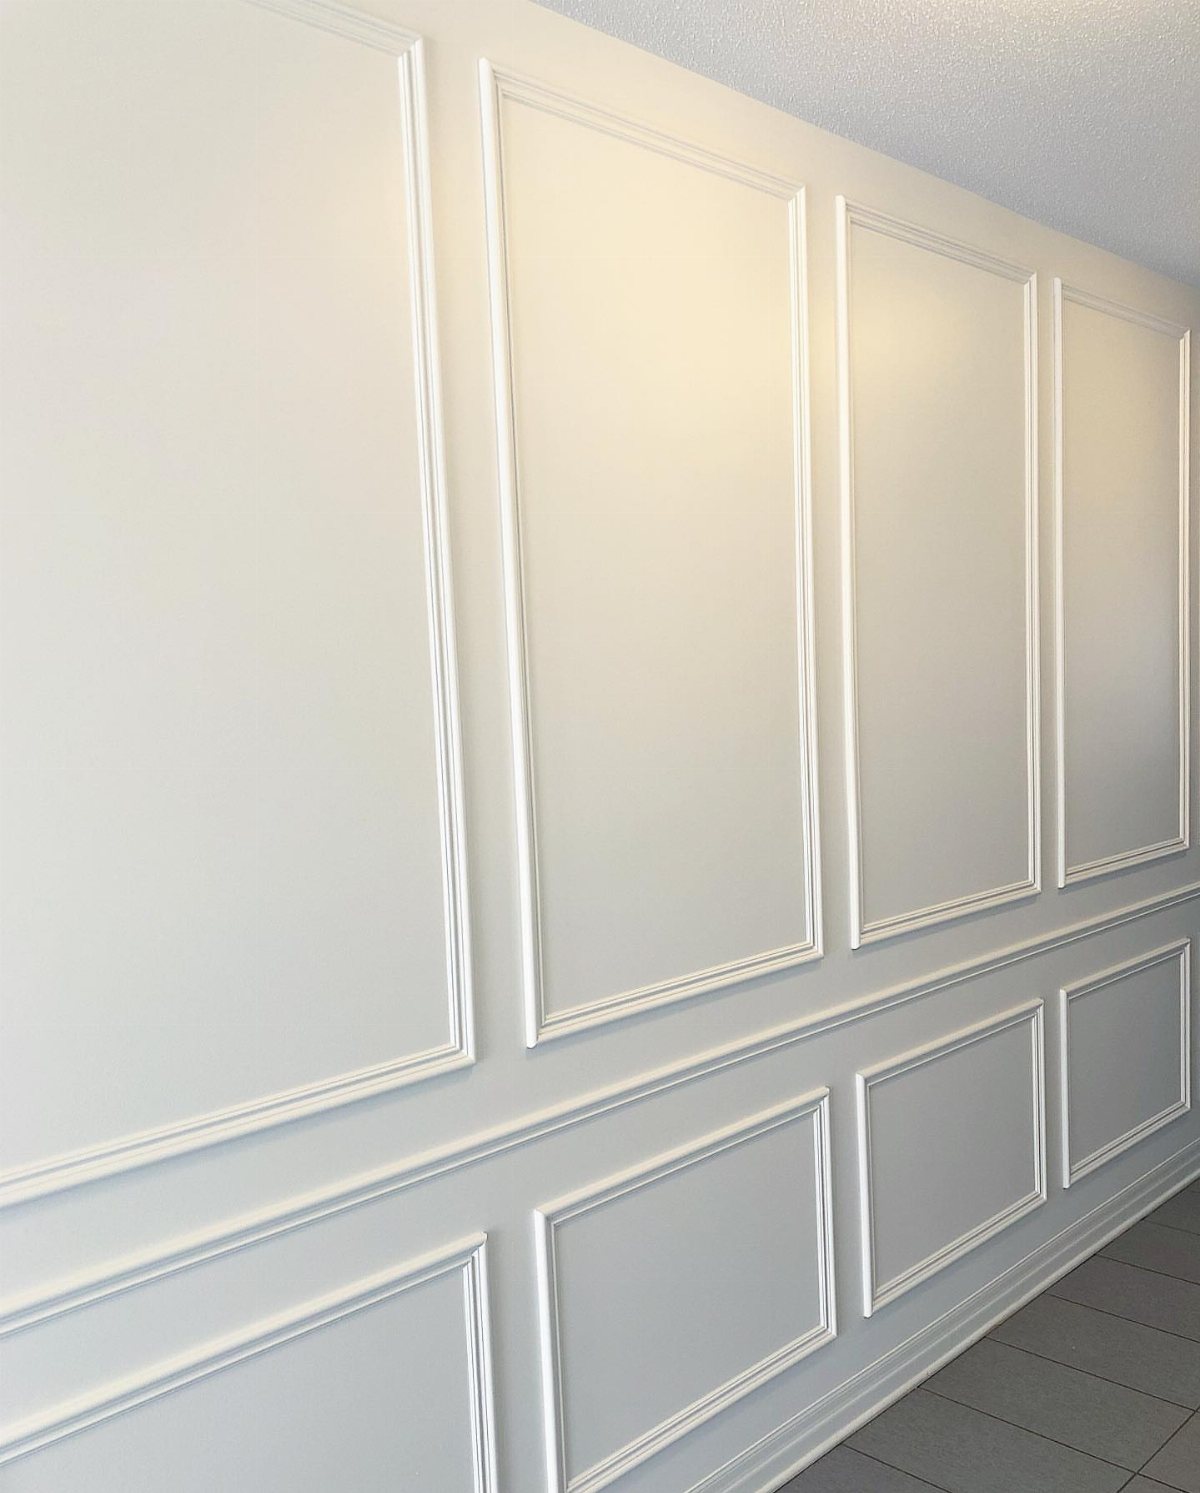
Boxes of trim below the chair rail give you the formality of traditional wainscoting without the tongue-and-groove expense. The rectangles sit flat against the wall; you are building shadow lines, not raised panels.
I build boxes from thin trim, not the battens used in board and batten, so the look stays delicate.
Miter the corners or use small corner blocks if your saw skills are still developing; the blocks read as intentional in a cottage-style room.
This one suits renters less than owners. The trim removes cleanly enough, but the paint line at chair rail height is a tell that lingers.
If you are staging to sell, it photographs well and the materials cost less than most people assume for a dining room.

Unfinished not stained solid hardwood. Natural color may vary from piece to piece.

DIY Installation Made Easy: Cut, peel, and stick in just 3 simple steps. No special tools required. Effortless installation for a quick and hassle-free experience.

【Simple 3-step Installation】1️⃣ Cut 2️⃣ Peel 3️⃣ Stick
4. Hallway Board and Batten
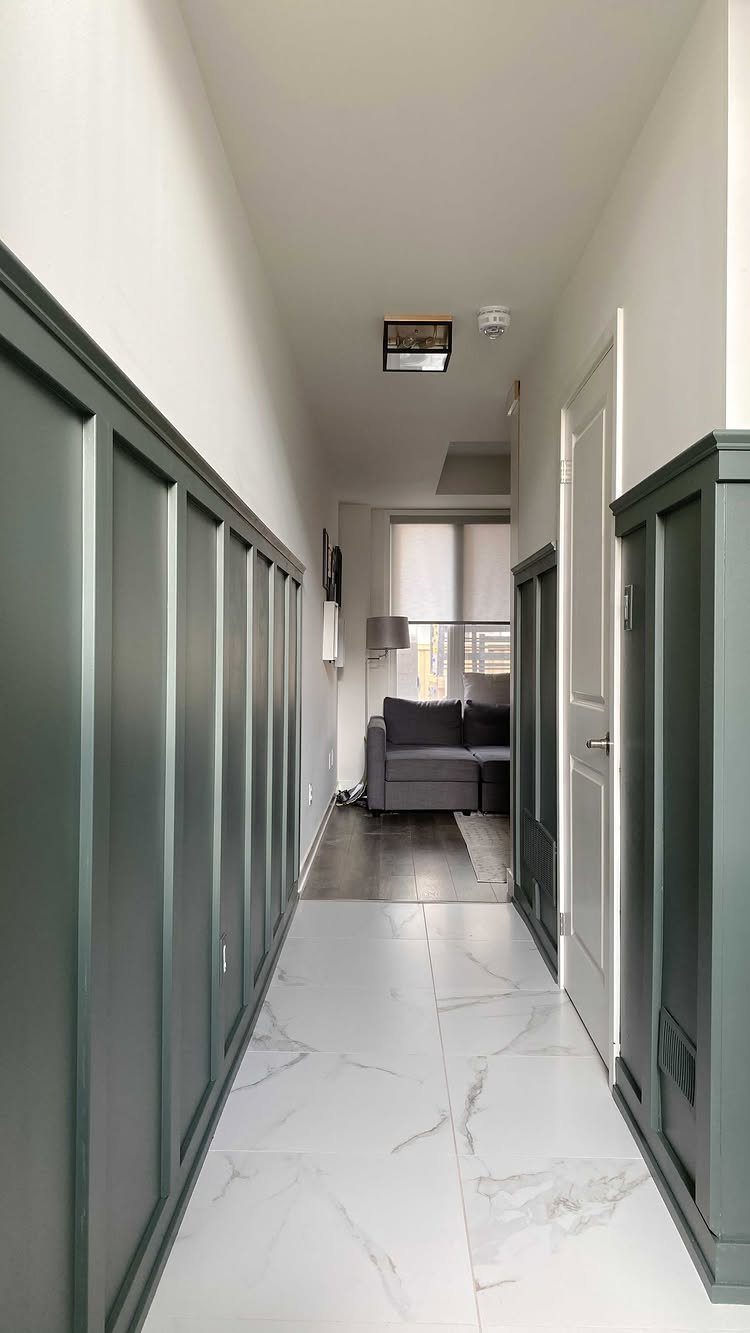
Dark green wainscoting in a narrow space sounds like it would close the walls in, but the vertical lines do the opposite; they draw the eye forward, toward whatever light waits at the end.
The top rail caps the battens and gives you a natural stopping point for the color.
Hallways punish uneven work. Every flaw shows in the long sight line, so I check each batten for plumb twice before the nail gun comes out.
A light floor that reflects, such as white marble with grey veining, bounces light up onto dark paint and keeps a narrow corridor from feeling like a tunnel.
I would not go darker than this green unless the hallway gets direct sun for half the day. In a windowless interior passage, charcoal or navy turns oppressive fast.

【Superior Blade Hardness and Design】LeafLux miter shears for wood feature blades crafted from high-quality SK5 high carbon steel, with a heat-treated hardness rating of 58-60 HRC. This ensures clean, precise cuts for a variety of materials, including trim, molding, and wooden pieces.
DIY Installation Made Easy: Cut, peel, and stick in just 3 simple steps. No special tools required. Effortless installation for a quick and hassle-free experience.

Item Description: 1 1/8"W x 5 3/32"H x 1 1/8"P Americraft Solid Hardwood Stain Grade Universal Baseboard Inside Corner Block for Chair Rail Profiles up to 2 9/16"H x 1 1/8"P, Poplar
5. Staircase Board and Batten Trim
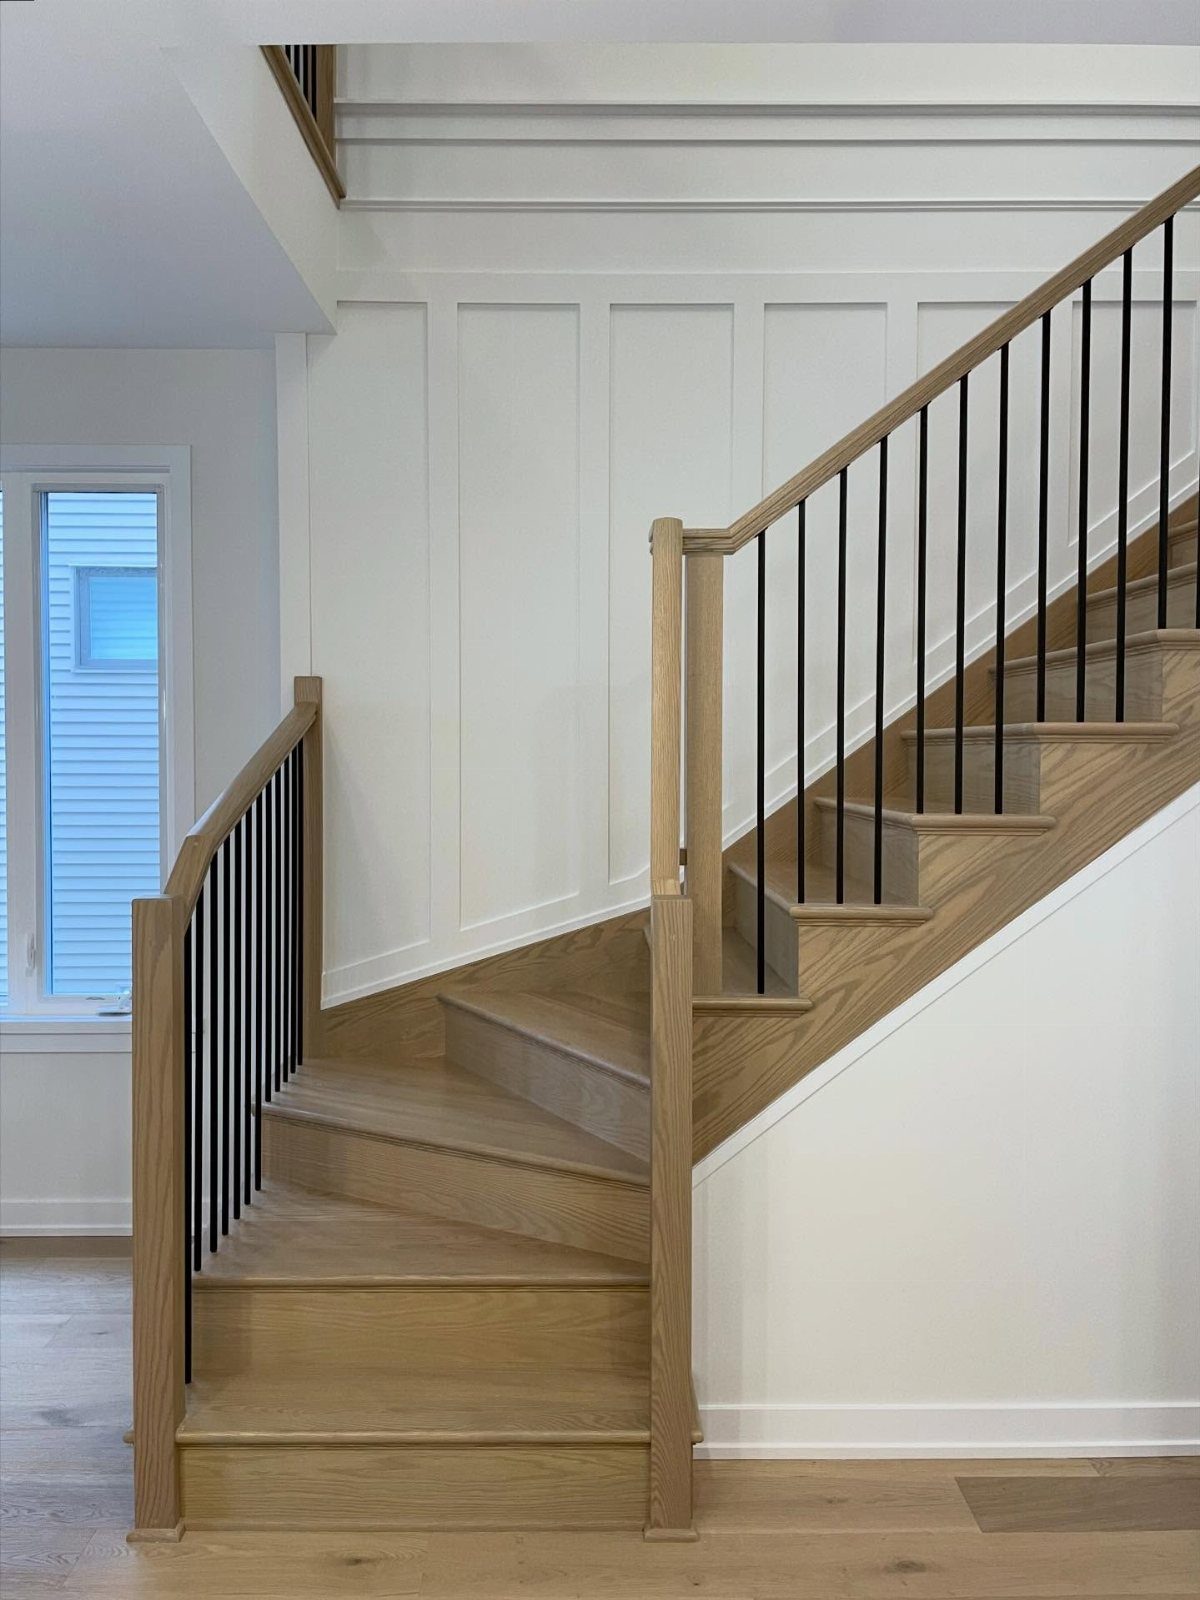
The wall behind an open staircase is mostly background; you see it in glimpses from below and through the balusters as you climb.
The math gets fussy. I add the width of every wall for chair rail length, then count boxes: each needs two vertical pieces at the box height, plus horizontal pieces totaling twice the combined width of all boxes.
Write it down before you buy; stair walls always have odd angles that eat trim.
White door and window trim can stay white even when the wall below goes dark; the contrast reads as intentional layering rather than a mistake. The contrast is a choice, not a mistake.

【Easy peel-and-stick installation with strong adhesive】 The pre cut wall molding features powerful self-adhesive backing – simply peel press and enjoy instant hold. No messy glue or nail needed, and tays permanently secured in high-traffic areas

Premade Wall Molding Kit: Our wall moldings are pre-cut, eliminating the need for tedious cutting and alignment, simplifying the installation process and making it easier for you to decorate your walls

Premade Wall Molding Kit: Our wall moldings are pre-cut, eliminating the need for tedious cutting and alignment, simplifying the installation process and making it easier for you to decorate your walls
6. Lower Wall Slat Paneling
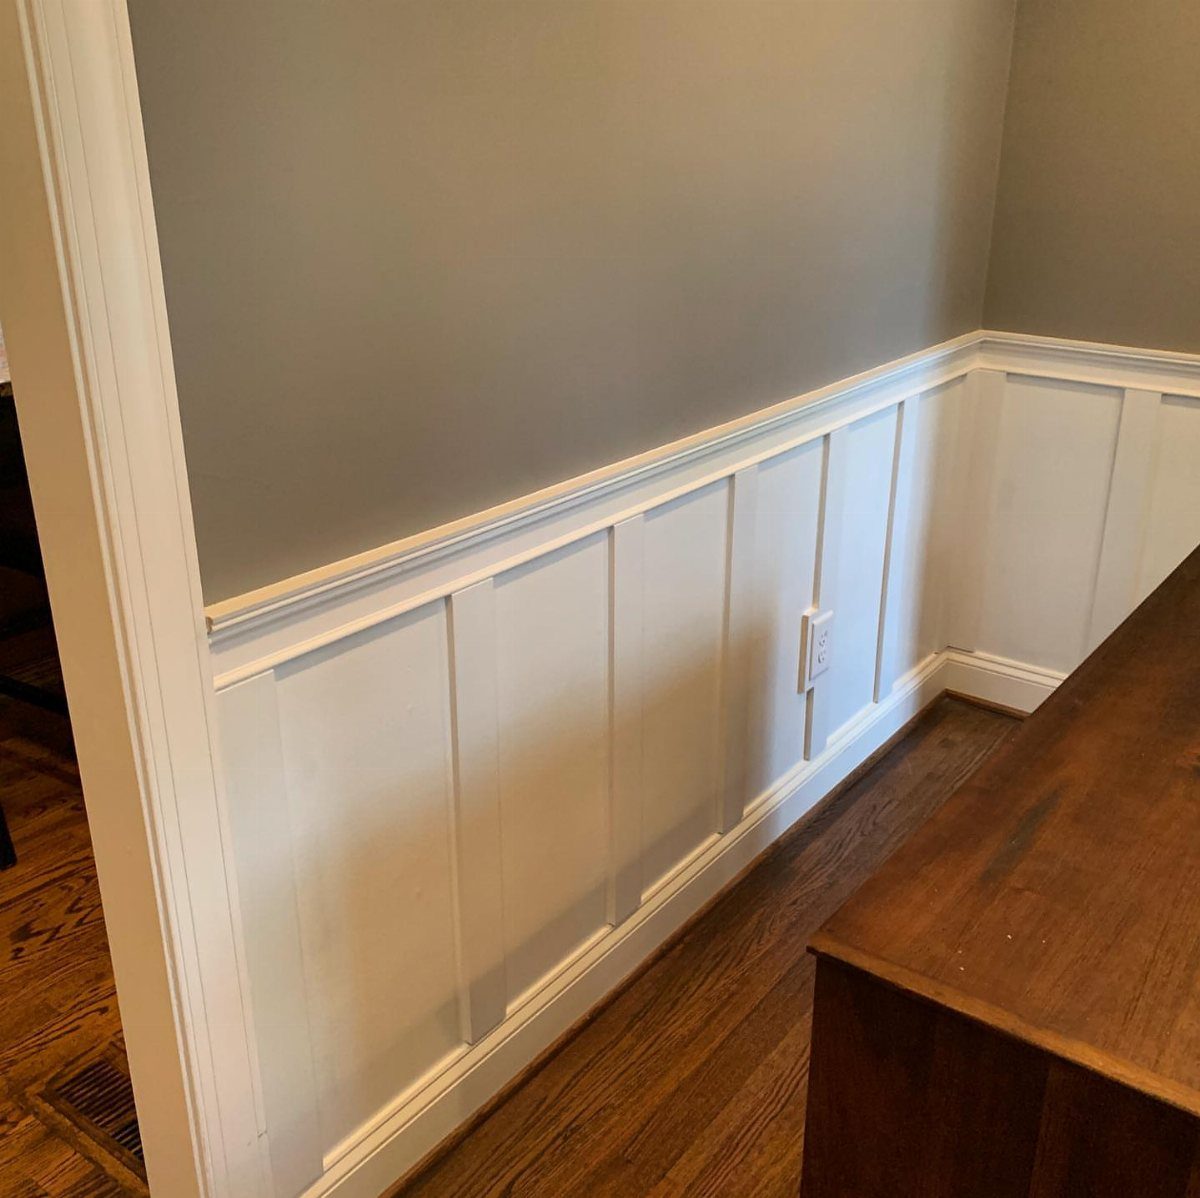
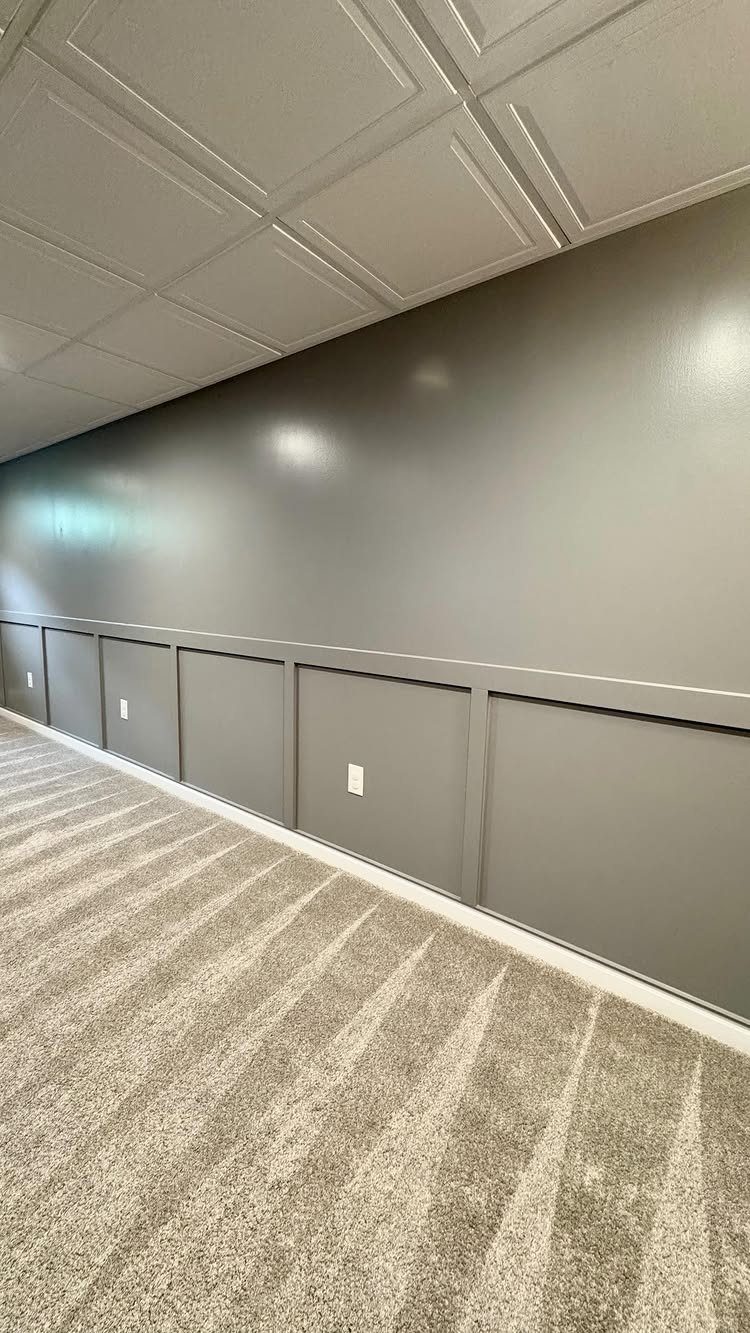
Capping board and batten with a chair rail at whatever height your wall feels half, usually somewhere near waist to chest level, splits the visual work evenly.
Grey paint above stays calm while white slats below do the heavy lifting, so the lower wall carries the detail and the upper wall stays quiet.
This is the version I would pick for a first project. The chair rail hides any unevenness where the battens meet the wall, and painting the upper section a single color means less taping than two-tone wainscoting.
Hardwood floors help; the warm wood picks up the white trim and keeps the room from feeling institutional.
One caution: the slats collect dust at their bases. A vacuum with a brush head, run down the channels every few weeks, keeps the crisp lines that make the treatment worth doing.

Elegant Semi-pearl Wall Molding Trim: this DIY peel and stick molding trim features a delicate 3D semi-pearl design made of flexible PVC, adding a touch of sophistication to any space; The white finish blends seamlessly with modern, classic interiors

MDF Material for Lasting Use: this board and batten wall panel kit is made from MDF, offering sturdiness and water resistance; The surface is smooth, providing a comfortable touch for interior wall applications

Measurements: 120" (length) x 0.8" (width), offering a sleek design for modern interiors.
7. Bathroom Board and Batten
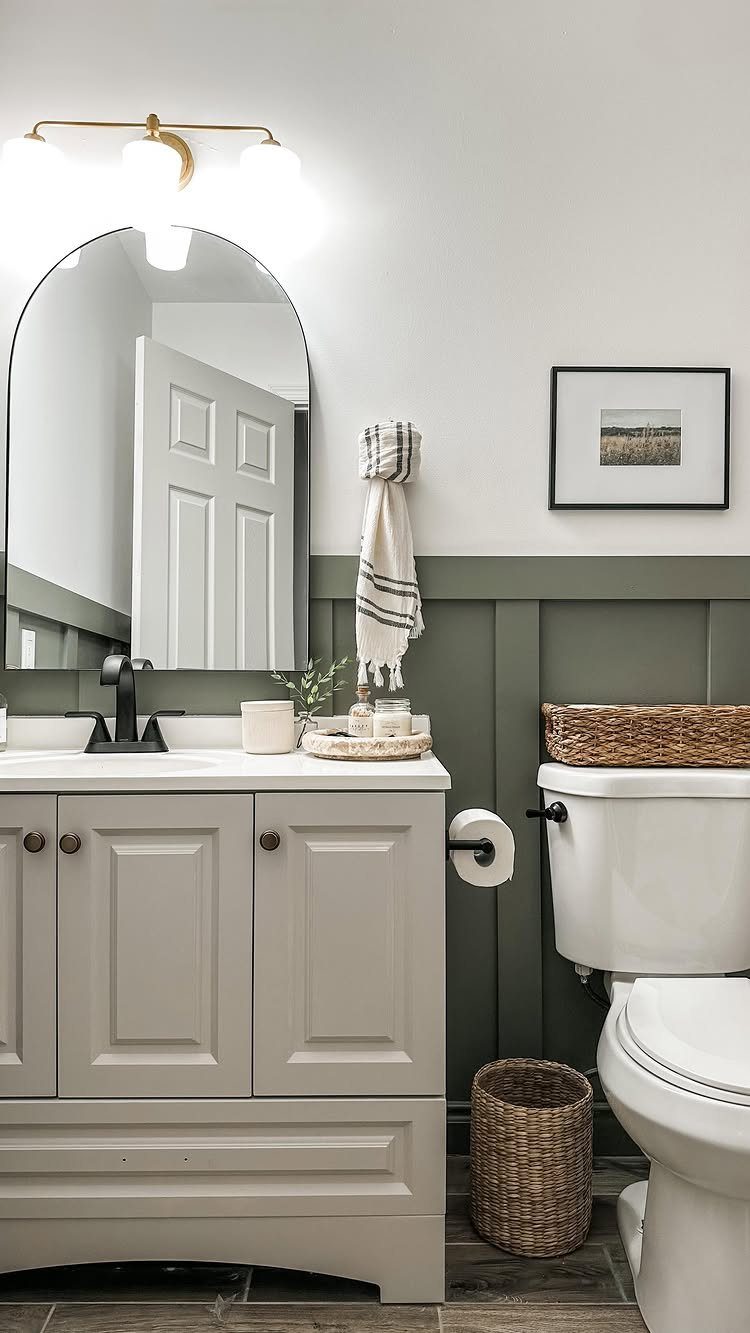
Bathrooms are where board and batten earns its keep. The wainscoting takes the hit from splashes and kicked-up water better than drywall ever could, and a satin or semi-gloss paint on top wipes clean without much thought.
A chair rail set to clear most vanities gives you a natural stopping point before tile or paint takes over above. Mine ran high enough to miss the backsplash and keep the mirror floating in open wall.
Check your light fixture placement before you set the rail height; nothing looks squeezed like a sconce pressed against the top board.
Green, gray, or white all read clean in a small space. Go darker only if the room gets real daylight.

Product Size: the package includes 1 roll of white peel and stick chair rail panel molding measuring 9.8 feet x 2.36 inches/ 3 meters x 6 cm,which provides you with adequate length to cover large areas; Additionally, its width will well define edge to most applications, enhancing your home decor with minimal effort

Effortless Installation — Experience the simplicity of our 3-step installation process: simply cut, peel, and stick. It's a swift, hassle-free process.

【Extra Long Size】Measuring 23ft x 1.1" in length, our peel and stick wall molding offers perfect coverage for various applications. The ultra-soft material cuts easily with scissors, allowing you to customize the perfect fit for any project - whether you need short sections for cabinet edges or long runs for wall applications.
8. Study Board and Batten
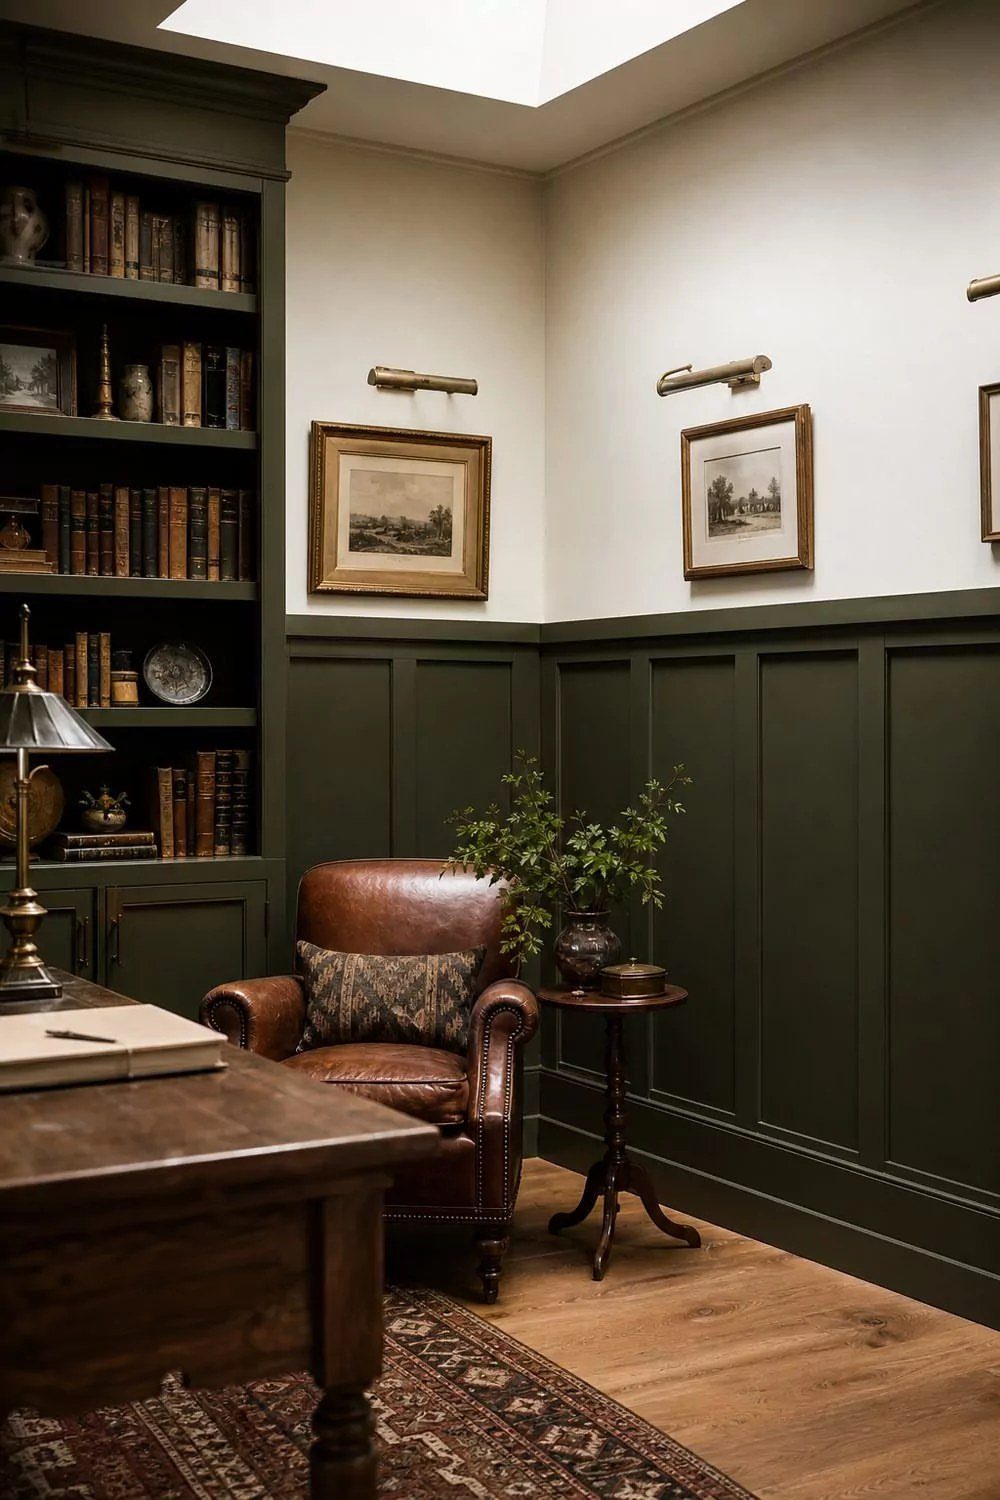
Dark green wainscoting in a study reads intentional, not trendy, because the color sinks into shadow after sunset and lets the upper wall breathe.
I would paint the batten and field the same shade; two tones in a small office fight for attention you probably want on the shelf contents.
The chair rail here does double duty as a visual desk line. Set it low enough for a standard-height desk along the wall; the batten fills your peripheral view while you work without climbing into the screen space.
Built-ins, if you have them, look built in when the rail meets their top edge flush.
This suits someone who wants the room to feel held together at the end of a workday, not staged for a photo.
Effortless Installation — Experience the simplicity of our 3-step installation process: simply cut, peel, and stick. It's a swift, hassle-free process.

Self-adhesive Design : Our flexible trim effortlessly adheres to various surfaces, such as walls, doors, mirrors, cabinets, and more. It's the perfect solution for enhancing the decor and beauty of your home. Plus, when it's time to remove the trim, there's no sticky residue left behind, ensuring a seamless transition

PLASTPRO PVC TRIM KIT, 2 PIECE: Complete your Plastpro wainscoting panels installation with the matching trim kit. Includes 1 pre-finished white PVC chair rail and 1 base molding with integrated rubber seal that blocks moisture from seeping between wall and panels. Pre-grooved to snap directly onto Plastpro 3 Ft and 8 Ft PVC wall panels.
9. Entryway Board and Batten
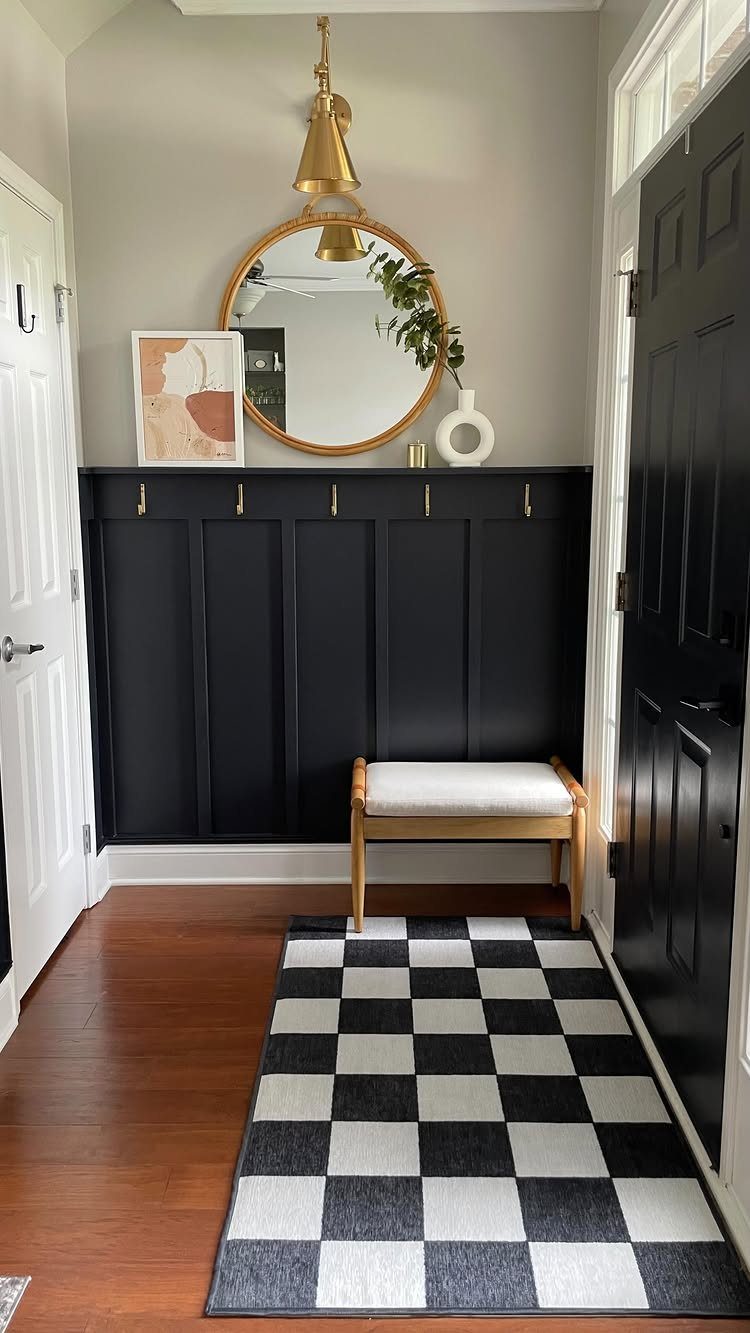
Black battens with brass hooks turn the entry wall into actual storage, not just something to look at on the way through.
Vertical battens work better here than horizontal boards because coats hang straight against them without the gap-and-bulge problem.
Space the hooks wide enough for two jackets side by side without collision, or cluster three at one end for bags and leave the rest open.
A bench in front needs enough clearance to be usable. Less than that, and everyone ends up tying their shoes in the doorway.

All-in-One Design - Package of 21 premade molding trim slat + 2 decorative edge strip create instant board & batten walls

DIY Wall Panel Set: Wall molding kit includes 3 sets of pre-cut flexible wall decorations, each set has 8 pcs, total 24 pcs, can mix and match our different sizes to beautify your walls. Additionally, easily paint the trims in your favorite color(black,gold,blue,pink,green) to match any interior style-modern, farmhouse, vintage

Matte TPE Rubber Material (Not Paintable) :Crafted from durable TPE (Thermoplastic Elastomer) with a natural matte finish. Please note: This is a flexible, rubber-like decorative trim, not rigid solid wood. Important Limitation: This product comes unpainted and is NOT suitable for spray painting. It is designed for stain resistance and easy cleaning
DIY Project Tips
Start every wall with its own measured drawing, not a single room sketch. Door trim, baseboards, outlets, switches, and any built-ins all go on the plan before a single board gets cut.
Digital tools work; so does graph paper.
On the miter saw, keep the longest edge of your cut against the fence and the table insert. A laser guide helps, but the real insurance is measuring more than once.
For cap moulding that sits above the top rail, cut the flat edge first, then mark the depth of the adjoining piece and angle the side cuts at 45 degrees after. The skinny side faces up for that offset cut.
Corner cuts come last, once the flat reference edge is already true.
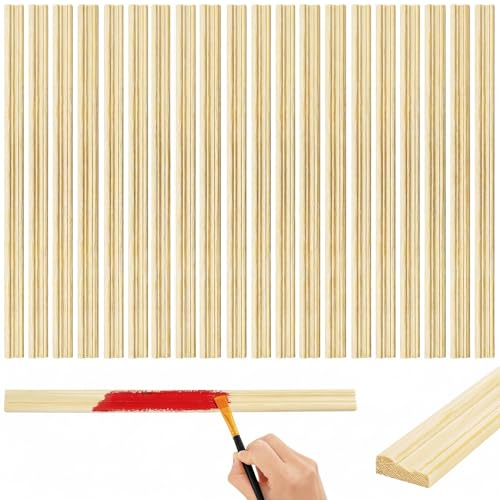
Ready to Use: The package includes 24 packs of unfinished wooden panels (15.7" L x 0.8" W x 0.3" H), providing ample pieces to create a stunning feature wall or accent multiple small areas in one go. It's the perfect DIY wall molding solution for home and offices to add instant character

Enough Quantity and Dimensions: The package includes 13 DIY wood trims, The wooden trim is delicately designed to suit every cut according to different thoughts, Ensuring a nice finishing touc

Pre-Cut & Mitered Molding Strips to Build 4 Picture Frames: This kit includes pre-cut wall molding strips with precision mitered corners. The long and short pieces are designed to be assembled into four 20" x 20" decorative picture frames for wall paneling and wainscoting projects
Tools Needed
A compound miter saw is the backbone of the job; a basic miter box with hand saw will work, but the power saw saves hours on repeated cuts.
A brad nailer or pin nailer drives the fasteners, backed by a level longer than your longest batten and a carpenter’s square for corners.
Caulk and wood putty hide the seams; a detail sander smooths them before paint. Painter’s tape, a stud finder, and a tape measure round out the layout phase.
A laser level is optional and genuinely useful for long walls where a bubble level drifts.
Cost Considerations
For a room needing four 8-foot lengths of horizontal trim and nineteen 1×3 vertical battens, materials including paint run under $300. That figure assumes standard MDF or pine stock and a single coat of quality paint over primer.
Chair rail moulding adds detail and cost both; leave it off and the price drops.
Liquid nails or construction adhesive behind the battens reduces the nail count and the fill work after. Caulk and spackle are not optional expenses; without them, the gaps between wall and board telegraph as shadow lines under interior light.
Color Coordination
Painting the trim and field the same color, whether white or a saturated green-blue like Deep Pewter, lets the molding read as architecture rather than applique. The single-hue approach also forgives slight imperfections in joint fit.
Raw wood blocks mounted between chair rail bands add warmth against painted base and door trim; the contrast stays controlled if the painted rail color is pulled from existing wallpaper or textiles.
A satin finish on the battens catches light across the vertical lines without the glare of semi-gloss in a bedroom or study.
Frequently Asked Questions
Is chair rail molding outdated?
Chair rail molding has cycled through enough decades that calling it dated misses the point; it is a practical detail that still earns its keep.
Used well, it breaks a tall wall into friendlier proportions, keeps chair backs from scuffing paint, and gives you a clean line where two colors or two textures meet.
Paint it the same color as the wall for a modern, textural read rather than a framed, traditional look.
What are the disadvantages of board and batten?
The labor is real, and the measurements have to be right. Battens on textured walls need smoothing first, either with thin hardboard or a skim coat, or the finish looks amateur.
Standard baseboards under 3/4 inch thick leave battens sticking out past the edge, so you either remove the baseboard first or live with a taper cut that looks unfinished.
How to do board and batten wainscoting?
Measure wall by wall, not room by room, since widths and outlet placement vary. For vertical battens, add up their total width, subtract from the wall width, and split the remainder into even gaps between centers.
Attach the horizontal rail first, then the battens, checking each for plumb twice before nailing. Caulk seams and putty nail holes before painting.
What can I use instead of a chair rail?
Picture frame wainscoting boxes below a horizontal band of trim give you traditional formality without the tongue-and-groove expense.