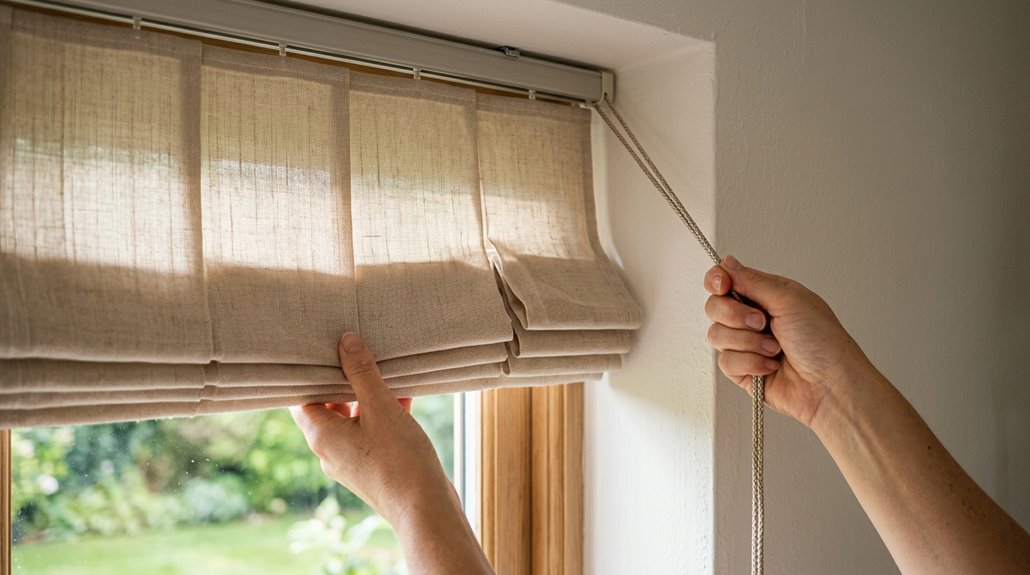
Lowering your blinds correctly takes under a minute once you know your control type. For two dangling lift cords, pull right at a 45-degree angle to unlock, then guide the cord through your fingers to lower.
For continuous loops, tug the back portion facing the window.
For cordless, just nudge the bottom rail down evenly with both hands. If it sticks, don’t force it; check for tangles first. Each method prevents snagging or breakage when executed properly.
Start by Identifying Your Blind Control Type

Before I start yanking on anything, I take a quick look at what kind of controls I’m actually dealing with. I’ve grabbed the wrong thing more times than I’d like to admit, and identification saves you from that frustration.
Yanking on the wrong control gets old fast—identifying what you’re working with first saves you that frustration.
Here’s what you’re looking for:
- Cordless blinds – Just a smooth bottom rail you push up or pull down (like a kitchen, entryway or child’s room)
- Lift cords – Two dangling strings, one for height, one for tilt
- Tilt wand – A slim stick you twist left or right
- Motorized controls – No strings at all, just a remote or app
Knowing your control type makes the rest of the process straightforward.
Pull Down Single-String Blinds in Three Moves
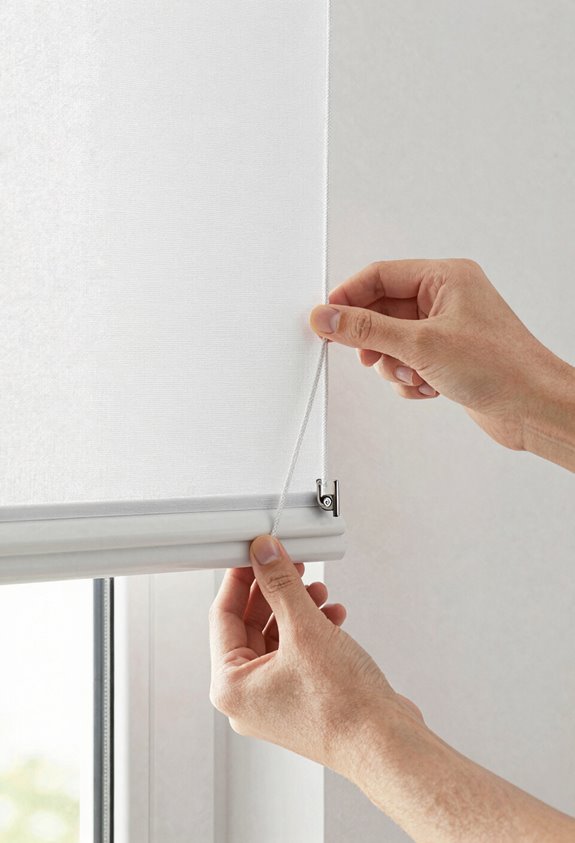
Once you’ve spotted those two dangling lift cords, you’re ready to tackle the actual lowering.
- Unlock the lock. Grip the cord firmly and pull it to the right at about a 45-degree angle. You’ll feel the locking mechanism disengage, which signals you to proceed.
- Control the descent. Guide the cord through your fingers as the blinds begin their downward movement. Ease the slack gradually to prevent snagging.
- Secure your position. When you’ve reached the height you want, pull the cord to the left to lock everything in place.
If your blinds use a different direction to unlock, try left first, then right. You’ll figure it out.
Lower Top-Down/Bottom-Up Blinds Without Tangles

Top-down/bottom-up blinds offer serious flexibility. The two-cord system can be confusing at first, and the cords can tangle easily. Here’s what finally worked for me.
Top-down/bottom-up blinds offer serious flexibility, though the two-cord system can be confusing at first and the cords tangle easily.
The easiest way to handle this:
- Know your cords — left controls the top-down section, right handles the bottom-up portion.
- Start top, then bottom — lower the top first for maximum light control, then adjust the bottom to your privacy needs.
- Move evenly — if one side races ahead, pull the other cord gently to balance them.
- Lock it in — tug left or right to lock your position firmly.
Once you master this two-cord system, you’ll have complete control over light and privacy without struggling with tangled cords.
Lower Continuous-Cord Blinds Smoothly
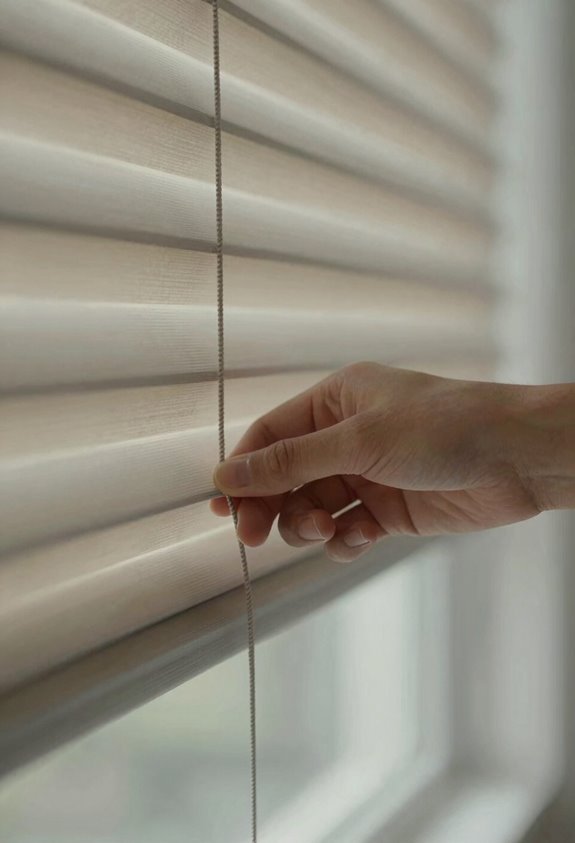
Continuous-cord blinds look intimidating at first, but they’re actually simpler than the two-cord system I just covered.
Here’s exactly what I do:
- Find the back portion of the cord loop, the side facing your window, not you.
- Tug gently on this back portion to start the smooth descent. Each pull lowers the blinds a bit more along the track.
- If you hit a snag, straighten any tangles and keep going.
The front portion is for lift, the back is for lowering. Once you’ve got your perfect height, pull the cord sideways to engage the lock position. This prevents the blinds from drifting.
Drop Cordless Blinds With One Hand
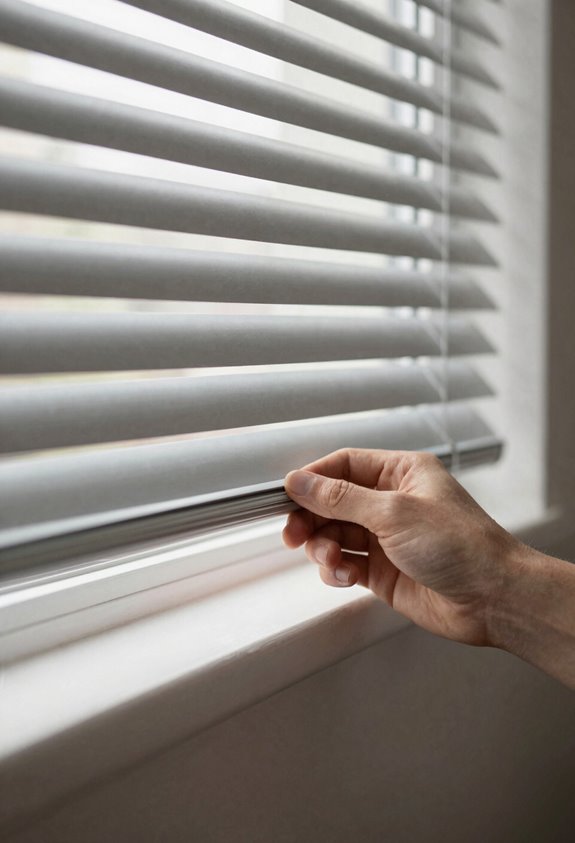
Cordless blinds are the easiest way to control light with just one hand. Grab the bottom rail, pull straight down with slow, even pressure, and the tension mechanism holds everything in place. No cords, no fuss. Pulling too hard causes misaligned slats, a problem worth avoiding.
| Common Mistake | Better Approach |
|---|---|
| Yanking quickly | Steady, consistent force |
| Ignoring stiffness | Check headrail maintenance |
| Forcing past resistance | Small, gradual adjustments |
For smooth one-handed lowering, avoid obstructions around the headrail and clean regularly. Dust builds up faster than expected, especially in busy spots like a kitchen or entryway. Regular maintenance prevents the stiffness that makes operation difficult.
Lower Motorized Blinds via Remote or App
Motorized blinds offer significant convenience, though setup requires some initial effort. While I’ve completed this process several times, the investment proves worthwhile.
Motorized blinds require some setup effort, but the convenience payoff makes every installation worth the investment.
To gain control of your motorized blinds:
- Pair the motor via the app or remote
- Assign a channel on your remote to the specific blinds
- Select your blinds on the device to tilt
For smart-home setups, connect to your hub or voice assistant (such as a kitchen, entryway or child’s room), then issue tilt commands. Each method, whether remote, app, or voice, communicates with the motor to adjust slat angle.
Important consideration: Shade Store motorized options feature only tilt control, with no lift or lower function. The system tilts slats open or closed rather than raising the shade itself.
Lower Vertical Blinds From the Headrail
To lower vertical blinds from the headrail, locate the small clips or carriers where each vane connects to the headrail track. Typically, there’s a simple twist or slide mechanism that releases them. Take this process slowly, because forcing the wrong part can snap those delicate plastic pieces. Break it down properly rather than rushing through the steps.
Headrail Release Method
Why struggle with stubborn vertical blinds when lowering them from the headrail is actually easier than you think? I’ve wrestled with these myself more times than I’d like to admit, and this method saves significant frustration.
First, I check whether my blinds use a cord draw or baton-controlled system. This distinction matters, and I have unfortunately done this several times by grabbing the wrong mechanism in a rush. For cord draw, I pull one side of the looped cord to slide panels open or closed, using the opposite side when I need reverse motion. With baton-controlled blinds, I grasp the leading panel’s baton and guide it gently along the track. Before I pull down anything, I ensure my headrail stays free of obstructions and brackets remain tight. If binding happens, I release tension gradually, checking for tangles or misaligned panels before trying again. Forcing it will only cause damage.
- Grasping your control method builds the confidence every DIY beginner needs
- Patience with stubborn mechanisms connects you to a community of learners figuring it out together
- Checking your headrail first means you’re joining careful homeowners who prevent costly mistakes
- Releasing tension gently shows you respect your tools and prevent damage
- Mastering smooth panel movement demonstrates competent home maintenance skills
Vane Removal Steps
Starting with the vanes angled slightly open, you’ll create the clearance needed to work each panel free without snagging or forcing anything. This approach is worth the effort once you develop the technique.
1. Work from one end: Lift or twist each vane slightly to disengage it from the carrier clip, then pull it away from the headrail.
2. Handle baton control first: For blinds with a wand, release that leading vane before continuing along the row.
3. Manage cord-draw vertical blinds: Slide the cord loop to release tension, such as in a kitchen, entryway, or child’s room. Then lift vanes upward out of the brackets.
Afterward, inspect the headrail for loose clips and remove those sequentially.
Tilt Slats With the Wand or Cordless Tab
The wand is your main control for adjusting slat angle, and a gentle twist is all you need to get started. Small movements give you gradual changes, so you can dial in exactly the light you want. For cordless blinds, you’ll use either the wand or a cordless tab on the headrail. Forcing a stiff wand can damage the mechanism, so this is worth avoiding.
Your bottom rail and headrail stay put during tilt, keeping your shade height right where you left it. If things feel stuck, check around the headrail for obstructions before pushing harder.
Keep your shade height locked in place—tilt the slats, not the rails. Stuck? Check the headrail for obstructions first.
- Twist gently for precise slat control
- Respect your cordless mechanism’s limits
- Keep that headrail area clear of debris
- Clean your wand regularly for smooth operation
- Make small adjustments rather than applying force
Troubleshoot Blinds That Won’t Come Down
When your blinds refuse to budge, it’s usually something simple blocking the works.
Check these troubleshooting steps:
- Scan the cord, headrail, and slats for tangles or debris.
- Grasp the bottom rail firmly, pulling straight down to release any stuck lock mechanism.
- For cord-locks, angle the cord toward center at 45 degrees while pressing downward.
- With cordless blinds, use two hands evenly on the bottom rail without yanking, as sudden force can bind up the springs.
- If one side drops faster, lift fully, then lower again while keeping both sides even.
- Hidden brackets near the headrail need a flathead screwdriver to release spring clips one at a time.
Unlock Stuck Cord-Lock Blinds Safely
I have wrestled with stuck cord-lock blinds repeatedly and learned that finding the pinch point is always your first move. Pull the cord toward the center at roughly a 45-degree angle. This is the position where the lock releases. Once you’ve mastered this motion, releasing the lock becomes automatic. A few simple habits, such as lowering slowly with even tension, will prevent future jams.
Finding the Pinch Point
Your cord-lock blinds refuse to budge when you’re trying to lower them because something’s pinched inside that headrail. The solution involves locating the problem.
First, check where the cord enters the headrail. That’s your pinch point. Sometimes the cord gets wedged at an angle instead of running parallel. Gently trace the cord with your fingers, feeling for knots or tangles near the top. If you spot a loop caught in the release mechanism, apply light pressure while pulling toward the center. A proper center pull at about 45 degrees frees most stuck blinds. This technique is straightforward once you know where to look.
- Feel for cord tension differences between left and right sides
- Spot knots before they tighten into bigger problems
- Notice when cords sit unevenly in the headrail channel
- Recognize the “locked” resistance versus true mechanical failure
- Your hands can find what your eyes might miss
Releasing the Lock
Now that you’ve found where things are getting stuck, it’s time to free that lock and get your blinds moving again.
Getting that cord lock to release:
- Pull the cord taut toward the center at a 45-degree angle, keeping even tension until you feel the click.
- If the lock release won’t budge, pull straight down to relieve any pinch in the headrail.
- Double-check you’re pulling the right cord for height control. Mixing them up happens frequently in busy rooms like kitchens or children’s bedrooms.
Once freed, lower slowly with steady pressure to protect the tilt mechanism and avoid re-locking. If nothing works after several tries, stop forcing it and call a professional for manual headrail adjustment.
Preventing Future Jams
Freeing a stuck lock once is enough to teach you it’s not something you want to repeat. I’ve spent too many mornings wrestling with blinds when I’m already running late. Jam prevention starts with gentle habits.
- Pull cords toward the center at a 45-degree angle, keeping tension even
- Check the headrail weekly for knots or fraying
- Tilt the headrail slightly when you feel resistance instead of forcing it
- Lower the blind’s front edge to relieve tension before retrying
- Consider upgrading to cordless/motorized options in busy rooms (like a kitchen, entryway or child’s room)
Inspect your cord-lock monthly. This prevents damage that requires repair or replacement.
Avoid Jerking, Overextending, and Other Lowering Mistakes
When I first started handling window blinds, I’d yank that cord like I was starting a stubborn lawnmower, and I’d pay for it every single time with crooked slats and a jammed mechanism I couldn’t fix. Jerking the cord during lowering is the fastest way to ruin your blinds, and it’s worth avoiding.
Here’s what works:
- Release tension slowly — Let the cord guide the descent instead of fighting it
- Keep movements centered — Don’t pull at extreme angles; it damages the locking mechanism
- Use both hands for cordless models, pulling straight down for even descent
I have unfortunately done this several times, and one side always drops faster when you rush. After lowering, re-engage the lock properly so everything stays put. This prevents future damage and keeps your blinds functioning correctly.
Lower Corded Blinds Safely Around Children and Pets
Why take chances with something as serious as cord safety. When lowering corded blinds in spaces where kids and pets roam (like a kitchen, entryway or child’s room), pull the height cord toward the center at a 45-degree angle to release the cord lock, then lower slowly while keeping cords even. If one side drops faster, re-snap the cord lock with a taut, centered pull until you hear that click, and continue lowering evenly. After lowering, tilt slats with the wand, then return the cord to center to lock position. This prevents strangulation and entanglement injuries. The most effective protection is upgrading to cordless or motorized options, which eliminates cord exposure entirely and is easier to install than many people expect.
Why take chances with cord safety? The most effective protection is upgrading to cordless or motorized options, which eliminates cord exposure entirely.
- Secure cords with wall or floor mounts, always
- Install cord stops to prevent tangling hazards
- Store cords completely out of reach daily
- Check cord lock function before each use
- Replace with cordless or motorized blinds when possible
Fix a Broken Lift Cord Without Replacing the Whole Blind
I’ve snapped more lift cords than I care to admit, usually from yanking too hard on a stubborn set of kitchen blinds. When your cord gives out, you don’t need to trash the whole blind. Instead, you can find exactly where the cord failed, apply a temporary patch to get through the week, and then swap the damaged section for a permanent fix. This approach saves you from replacing the entire blind.
Cord Locating Technique
Where exactly does a broken lift cord leave you? I have unfortunately done this several times, so I promise you this is worth it. First, I locate the broken end at the headrail and identify which cord, the height or tilt, is affected before I touch anything. Then I gently pull the free cord to see if the clutch releases, letting me lower the blinds until I can access the headrail properly. I keep my hands clear of the headrail and never yank, since that just creates more repair work. If the cord-lock itself is shot, I consider upgrading systems entirely. Threading a replacement through existing headrail channels is easier than you think, and reattaching to the lift mechanism gets your blinds back in action fast.
- Locate the broken lift cord end at the headrail; identifying which cord type you’re dealing with builds your confidence
- Gently test the free cord to release the clutch; patience here helps you understand the process
- Lower blinds carefully for safe headrail access, protecting your space properly
- Keep hands clear and avoid yanking; this prevents additional repair work
- Assess the cord-lock condition honestly to choose between repair or upgrade
Temporary Cord Repair
Once you’ve located the broken cord and assessed the damage, you might find yourself without a replacement on hand.
First, tie a secure knot at the end of your exposed lift cord. This stops fraying and keeps things functional. Next, grab clear tape or a zip tie to secure that loosened cord; this ensures headrail safety and prevents snagging during operation.
Position your blind where the broken cord feels least stressed, usually fully raised or at a safe midpoint. Use your opposite intact cord or wand for adjustments instead of pulling aggressively.
If you spot excess wear near the headrail, reduce use and contact the manufacturer. This cord repair provides temporary relief until proper replacement arrives.
Permanent Replacement Steps
Why replace an entire blind when you can fix just the cord? I’ve done this several times, and this repair is worth the effort. Start by lowering the blind fully, then access the headrail from the side to find that broken lift cord. You’ll spot the tensioned section and its locking mechanism without much trouble. Grab a new cord matching the original diameter and strength, then begin rethreading it through those same pulleys or clips. Secure each end with proper knots or crimp caps so nothing slips. Test your work by gently raising and lowering, checking for even movement on both sides. Re-tension as needed so the cord stays put, and make sure your cord lock engages evenly.
- Gather matching cord strength before you start the replacement
- Map your pulleys’ path so rethreading flows without tangles
- Knot securely inside the headrail to prevent future snapping
- Align your cord lock evenly for balanced blind movement
- Install cord stops for safety in spaces like a child’s room