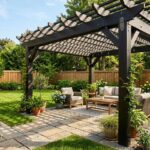
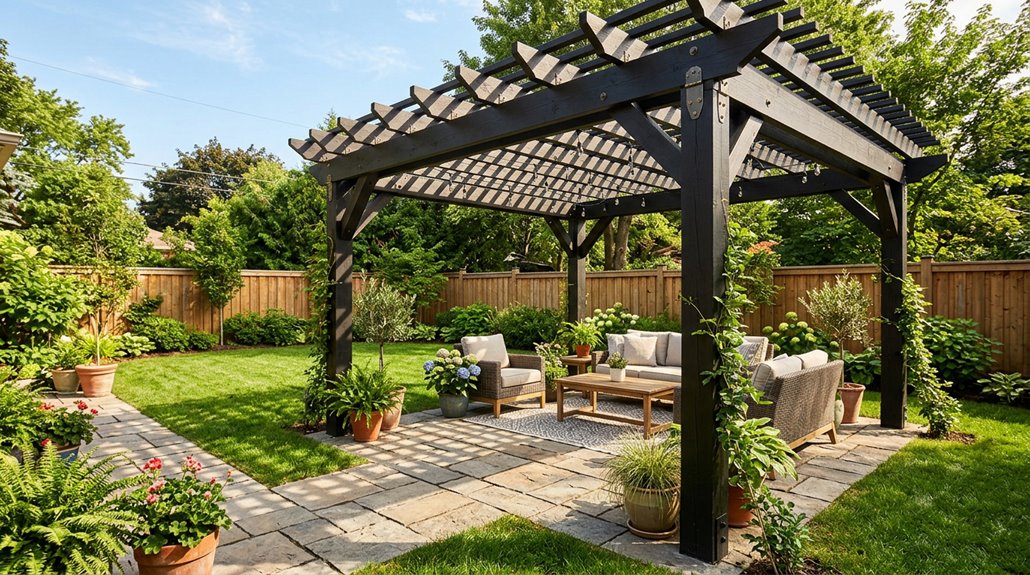
Yes, you can absolutely build a pergola on pavers. However, screwing directly into those pavers is ineffective. Pavers sit on shifting sand or gravel, so they crack, wobble, and fail under real weight. What actually works is removing pavers where your posts go, then anchoring into solid concrete below or pouring footings down to frost depth. You’ve got three solid options: surface-mount brackets to an existing slab, core-drill through to stable ground, or the cut-and-cap method with concrete piers. Each approach keeps your pergola standing straight through storms, freezes, and years of backyard use. The right choice depends on your specific patio conditions.
Yes, You Can Build on Pavers: But Not by Screwing Down
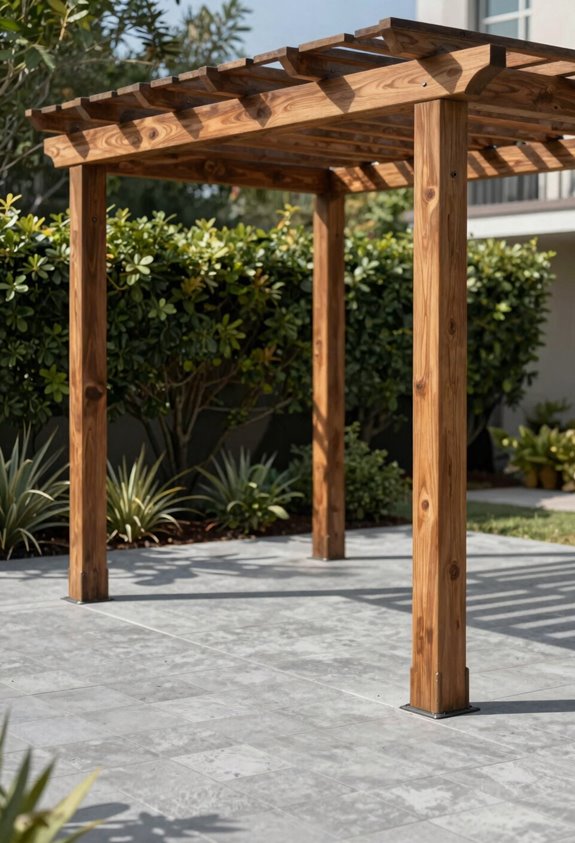
Why do so many of us assume pavers work like a solid concrete slab? Pavers sit on sand or gravel that shifts, settles, and breathes with the seasons. That means anchoring into them directly is like screwing into sandcastles; technically possible, practically pointless.
For a pergola that’ll last, your foundation must reach something immovable. You need anchors that bypass those pretty surface stones entirely, grabbing bedrock-solid support below. Think of pavers as decorative flooring, not structural flooring. When you’re planning your build, remember this sequence: foundation first, beauty second. The easiest way to avoid a wobbly disaster is treating pavers as the finish, not the footing.
Pick Your Path: 3 Ways to Anchor a Pergola to Pavers
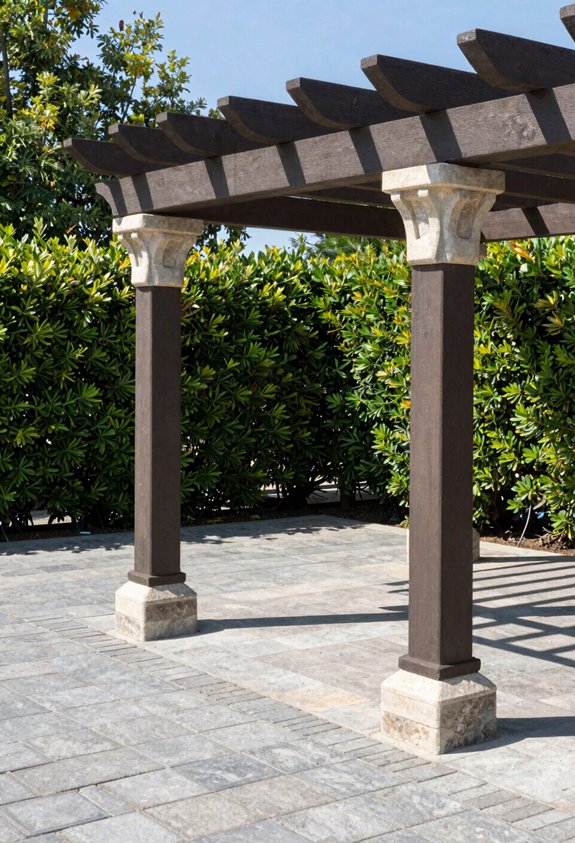
I have tried bolting straight through pavers before, and this approach is worth avoiding. Let me walk you through three reliable paths that actually work: surface mount anchoring and the core-drill method. Both approaches provide solid, wind-resistant results without the risk of shifting or cracked stone.
Surface Mount Anchoring
One of the quickest ways to secure your pergola is with surface-mounted brackets and corrosion-resistant wedge anchors rated for structural loads. Pavers alone make a terrible footing. Remove those pavers where posts sit, or notch them around a solid base.
Here’s my proven approach:
- Expose the concrete slab beneath your pavers
- Attach Bjorn foot brackets directly to it using proper anchors
- Select brackets with open drain holes (like kitchen fixtures needing airflow)
Proper drainage prevents moisture buildup. Always check for frost-line stability before installation. This method produces reliable results without the complications that come from shortcuts.
Core-Drill Method
Surface mount brackets work great when you’ve got a solid slab underneath, but sometimes you need to go deeper, especially when frost heave or high winds are a real concern in your area. The core-drill method addresses this need.
Here’s how it works:
- You remove or cut around your pavers to expose the base below.
- You core-drill straight down through that substrate until you hit stable ground or engineered fill.
- You install a bracket or footing that reaches below your local frost line, usually 24 to 48 inches.
Water intrusion is a serious problem when this method is executed without proper flashing. Use corrosion-resistant anchors, seal those penetrations thoroughly, and your pergola will remain structurally sound through frost cycles and high winds.
Why Epoxy, Glue, and Direct Bolts Always Fail
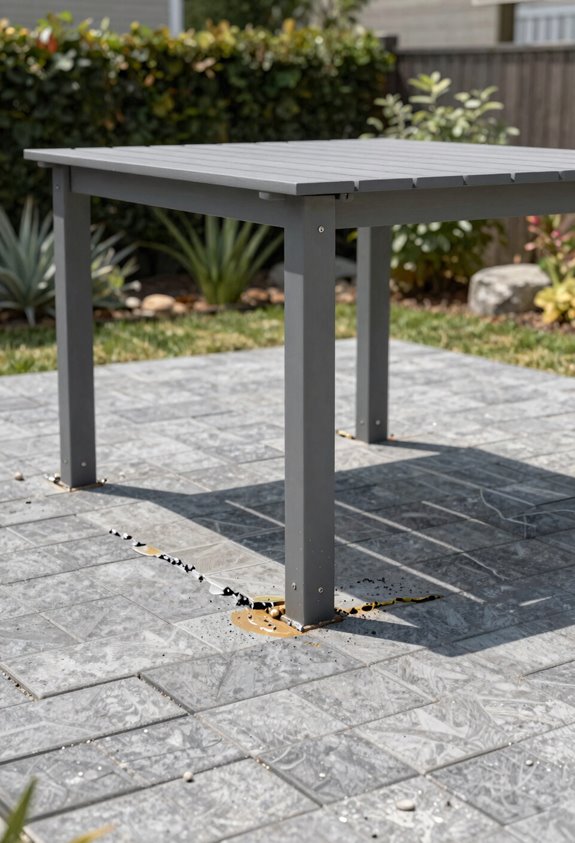
Why do epoxy, glue, and direct bolts keep letting DIYers down? I’ve done this several times, so epoxy failure is real, and it will cost you.
Here’s what actually happens:
- Epoxy and glue can’t handle uplift or frost movement. When temperatures swing, that bond cracks.
- Direct bolts through pavers look solid, but they’re not structural. The paver’s too thin, it shifts on sand or gravel, and your load path movement goes nowhere good.
- Outdoor moisture and temperature swings break down adhesives fast, causing debonding and weak shear resistance.
Even when a bolt punches through, the base underneath isn’t reinforced. Racking and lateral loads will defeat these shortcuts every time.
These methods are easier to mess up than you think. Avoid them.
The Cut-and-Cap Method for Freeze Zones and High Winds
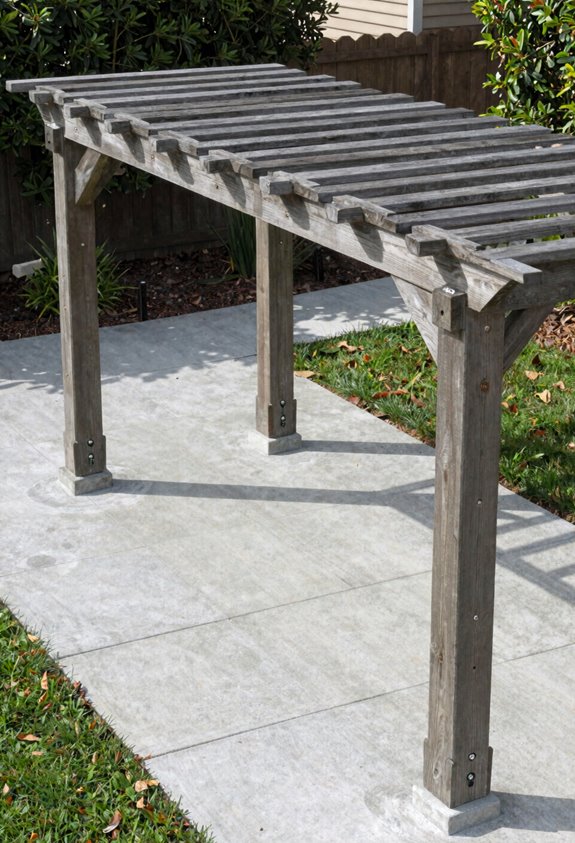
Although I’ve tried shortcuts that failed, the Cut-and-Cap method is the only approach for freeze zones and high winds. I have done this several times the wrong way, so this process is worth following carefully.
I’ve learned the hard way: shortcuts fail in freeze zones and high winds. The Cut-and-Cap method is the only approach worth doing.
Here’s how it works:
- Lift the pavers at each post spot
- Dig down to frost depth (usually 30-48 inches, depending on your zone)
- Pour a small frost-depth concrete pier
- Set Bjorn Foot Brackets while the concrete cures
- Recut or notch pavers to fit around the posts
The Bjorn Foot Brackets include an open drain hole, which prevents moisture buildup that rots wood. You’re anchoring to stable ground, not shifting pavers. This cut-and-cap method stops heaving and keeps your pergola solid through freeze-thaw cycles and storms.
When Your Patio Has a Concrete Base: Slab Anchors That Work
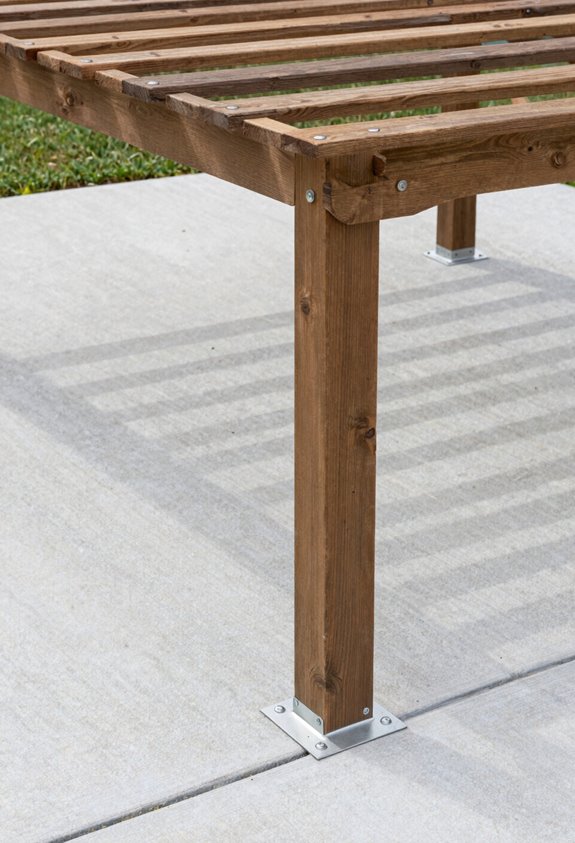
Where pavers sit on a solid concrete slab, this is the easiest way to anchor a pergola. Fastening pergola posts directly into pavers creates structural problems worth avoiding.
Here’s what actually works:
- Remove pavers where your posts will sit
- Attach Bjorn foot brackets directly to the concrete base using wedge or screw anchors rated for structural loads
- Check that your slab is uncracked and properly reinforced. Cracks and poor reinforcement compromise anchor performance.
Slab anchors provide stable support for covered patios and modern decks where movement must stay minimal. Wait 48–72 hours for the concrete to cure before building. Premature construction can shift the base and loosen anchors.
Helical Piles: No-Dig Anchors for Finished Patios
What if you’ve got a gorgeous patio you don’t want to tear up? Helical piles offer a no-dig installation that saves your finished patios from destruction.
I install these screw-in anchors right through paver joints, and they achieve immediate load-bearing capacity. No concrete, no mess, no waiting. I bolt Bjorn foot brackets to the pile heads, giving you rock-solid pergola posts that handle wind loads beautifully.
Before starting, I verify these factors:
| Factor | What I Look For | Why It Matters |
|---|---|---|
| Soil type | Clay, sand, or loam | Determines pile gauge needed |
| Wind zone | Local design loads | Bracket hardware must match |
| Paver condition | Level, stable surface | Ensures even load transfer |
I match pile specs to soil conditions and wind requirements. You get long-term stability without disturbing a single paver.
Match Your Method to Your Climate Zone
Why let your climate dictate your pergola’s fate? Matching your method to your zone prevents costly mistakes and repairs.
In frost zones, never rely on pavers alone. Dig footings below frost depth or use cut-and-cap concrete piers to stop the heave that shifts posts when winter hits.
Wind-prone areas require gusset brackets and anchored bases. Open paver joints allow lateral movement, which leads to structural problems without proper bracing.
Coastal climates demand weather-resistant hardware. Salt spray corrodes standard anchors quickly, so specify coated anchors that resist corrosion.
For mild zones with stable soil, surface-mounted brackets on a solid, uncracked slab work fine and are easier to install than other methods.
Matching the method to your climate zone ensures your pergola remains stable and functional for years.
Site Prep Checklist for Paver Patio Installations
Before anchoring anything to your paver patio, check two critical factors: sub-base stability (pavers can shift dramatically after a hard freeze) and proper surface slope for water drainage. Both factors directly affect the longevity and safety of attached structures like pergolas. Inspect the sub-base by walking the patio surface to identify soft spots or movement, and verify that water runs off the surface rather than pooling in any areas. This twenty-minute inspection prevents costly repairs from foundation settling, frost heave, or water damage later.
Sub-Base Stability Factors
Although it might seem tempting to just bolt your pergola posts right onto those beautiful pavers, this approach requires proper foundational work. Skipping steps to save time creates problems that become expensive and frustrating to fix later.
Paver base stability is your foundation for everything. Pavers sit on sand or gravel that shifts, settles, and flexes under weight. They are thin, decorative surfaces, not structural footings. You cannot trust anchoring methods that grip only that top layer. Frost heave is a structural reality; freeze-thaw cycles push and pull shallow footings until they are crooked or loose.
For real stability, remove pavers at each post, dig below frost depth, and pour concrete footings. This method takes longer but is straightforward to execute. Your pergola will remain structurally sound for years.
Drainage Slope Requirements
How much slope does your paver patio really need? This requires a drainage slope of about 1/4 inch per four feet, roughly 2%, to keep water moving.
The easiest way to think about paver drainage:
- Check your slope with a hose-test (like you’d test a kitchen floor) before footing placement
- Confirm water runs away from where you’ll set posts
Do not fasten pergola footings directly to pavers. Remove pavers, install solid footings beneath, and ensure your surface has a non-mounding drainage path. Direct seasonal runoff from roof areas away from joints to minimize erosion. Proper paver drainage protects your whole structure, and getting the slope right prevents costly repairs and foundation damage.
DIY vs. Pro Installation: Real Cost Comparisons
Where exactly do you draw the line between saving money and doing it right? I’ve wrestled with this on paver patios, as footing choices make or break your build.
DIY footings run $50–$80 each, while pro installation costs spike to $250–$350 per post. For four posts, that’s $200–$320 versus $1,000–$1,400. Paver patios demand lifting, cutting, and re-laying pavers around each pier. This work is tedious and time-consuming. In freeze zones, you’ll want cut-and-cap concrete piers; on existing slabs, anchor directly. Helical piles skip demolition entirely but cost premium installation fees.
| DIY | Pro | |
|---|---|---|
| Cost per footing | $50–$80 | $250–$350 |
| Total (4 posts) | $200–$320 | $1,000–$1,400 |
| Paver prep | Hours of tedious cutting | Included in labor |
| Best for | Mild climates, simple builds | Wind, frost, permits required |
Local soil, frost depth, and permits can flip this decision fast. Professional installation becomes necessary when wind exposure, frost depth, or permit requirements are involved. Professional work eliminates the risk of costly mistakes and ensures compliance with local codes.
What to Check Before Your First Storm Season
I’ve seen too many pergolas lean, twist, or topple after their first big storm, and most of those failures started at the footing.
Before storm season hits, here’s what we’re checking together:
- Base reality check. Anchors into pavers alone won’t save you when wind loads spike. You’ll need brackets, reinforced footings, or better yet, concrete piers.
- Go below the frost depth. Water freezes, ground shifts, and shallow footings heave. Reach past that frost line. This prevents structural failure from seasonal ground movement.
- Drainage audit. Pooling water around footings (like near downspouts, garden edges) means trouble after freeze-thaw cycles.
- Site specifics. Check your local wind zone, soil type, and permit needs.
That paver surface looks solid, but storm season tests what’s underneath. Proper footings determine whether your pergola survives.
Seasonal Care for Pergolas Built on Paver Bases
I start every spring by walking around my pergola with a notepad, because I have skipped this step several times and faced costly repairs as a result. Check for frost heave first: look for lifted pavers, tilted posts, or gaps that weren’t there before, especially if you’re in a freeze climate where the ground swells and shifts all winter. Then tighten every anchor and bracket you can reach, using a socket wrench with a long handle for leverage. A long-handled wrench provides the torque needed without stripping bolts. This step prevents the entire structure from wobbling during the next storm.
Spring Inspection Points
Why wait until something wobbles? I learned this lesson the hard way, and this inspection routine is essential. A proper spring inspection of your pergola installation on pavers takes twenty minutes and prevents costly repairs later.
Here’s what I check every spring:
- Metal brackets and bolts. I look for corrosion and loosening after winter’s freeze-thaw cycles.
- Paver surface. I scan for movement or settling under the pergola footprint, making sure footings stay solid underneath.
- Coatings. I refresh weatherproofing on metal and wood before moisture causes rot or rust.
- Connections. I re-tighten everything and verify posts are still plumb after temperature swings shift tolerances.
- Drainage. I confirm water isn’t pooling around the base, which undermines stability.
This routine prevents structural failure and requires minimal effort.
Frost Heave Monitoring
The first hard frost taught me everything I needed to know about what happens when water turns to ice beneath your feet. I have unfortunately done this several times, watching a pergola shift because I ignored frost heave risks. Getting this right is straightforward.
Here’s what I check each winter:
- Inspect for gaps between pavers and posts after freeze-thaw cycles. Like a kitchen floor that buckles, your base moves.
- Verify footing depth extends below your local frost line. This prevents vertical lift.
- Look for wobble in posts. Even slight tilt signals trouble brewing under the surface.
- Ensure solid foundation by replacing paver sections with concrete piers below grade if needed.
Seasonal vigilance keeps your structure true.
Anchor Tightness Checks
Once you’ve addressed frost heave, you’ll still need to stay on top of your anchors. I check bolt and anchor tightness at least quarterly on my Pergola because paver movement from frost heave or settling can reduce clamping force over time. Skipping these checks results in costly repairs later.
Epoxy or glue alone cannot resist uplift or frost movement, so seasonal checks verify no loosening has occurred since installation. I inspect paver joints for widening gaps around anchors after major weather events, which can indicate shifting footing.
If you’re using a Pergola Kit, brackets must remain engaged with underlying concrete or compacted base, not just the thin paver surface. I also record canopy and beam alignment seasonally, since wind loads cause small shifts that become noticeable over a year.