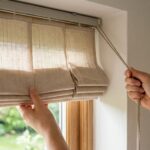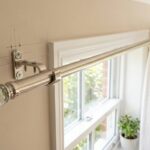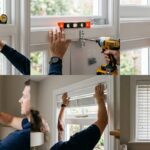
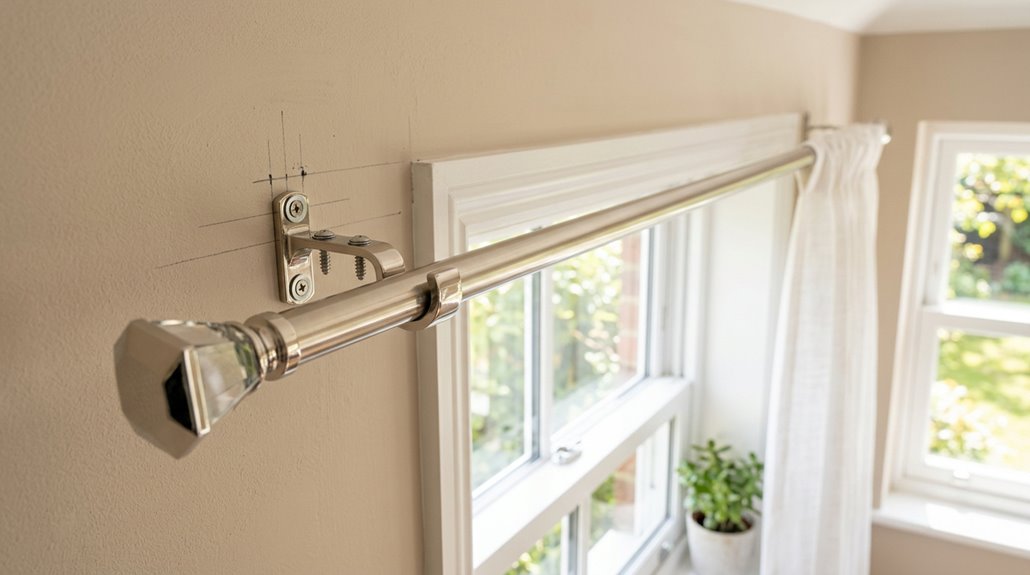
I hang curtain rods in three straightforward steps, and I promise you this is worth doing right the first time. First, I hold my panel up and mark about three inches down from the ceiling, extending roughly twelve inches past each side of the window frame for that grand, light-filled look. I use a simple cardboard template to transfer marks.
Second, I drill pilot holes at my marks, check for studs, and install drywall anchors when needed, keeping everything level.
Third, I attach the curtains to the rod, lift it onto the brackets, add a center bracket if I spot any sag, and dress the folds evenly. Each step becomes more manageable when you follow these specific procedures.
Find Your Curtain Rod Height and Width (No Level Needed)
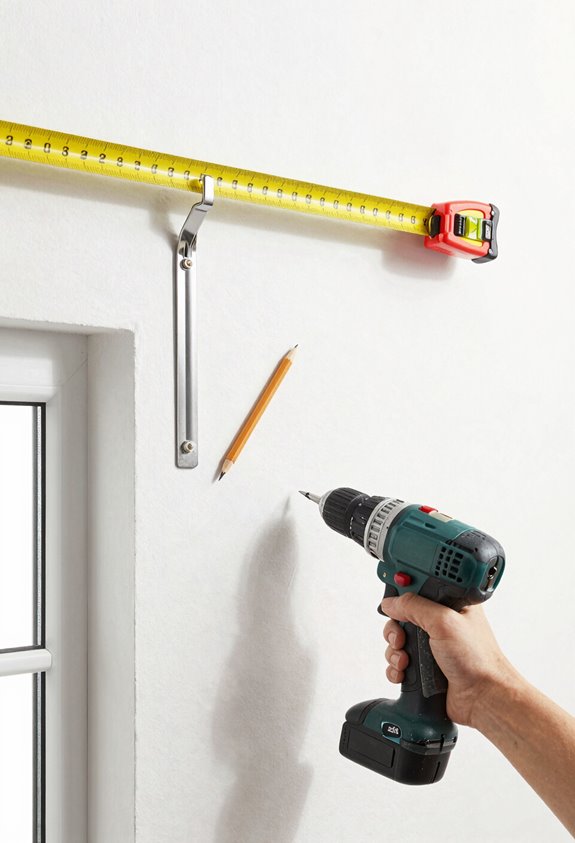
Where exactly should you hang your curtain rod so it doesn’t look awkward or crooked? I’ve done this several times, and the proper measurements are worth implementing.
For curtain rod height, hold the panel and aim about 3 inches down from the ceiling. This gives your window treatments that designer look. For window width, extend beyond frame by roughly 12 inches each side; it makes everything feel grander and lets in more light.
Use this template method: grab cardboard, mark 10.5 inches from each side and 3 inches down, then transfer those spots to the wall. If your ceiling is uneven (like mine was), use the ceiling as your guide instead of a level.
Drill pilot holes through your template, then decide if you need wall anchors. If there are no studs, anchors will secure your installation. This sets up your curtain rod brackets perfectly and makes the next installation steps significantly easier.
Drill, Anchor, and Install the Brackets
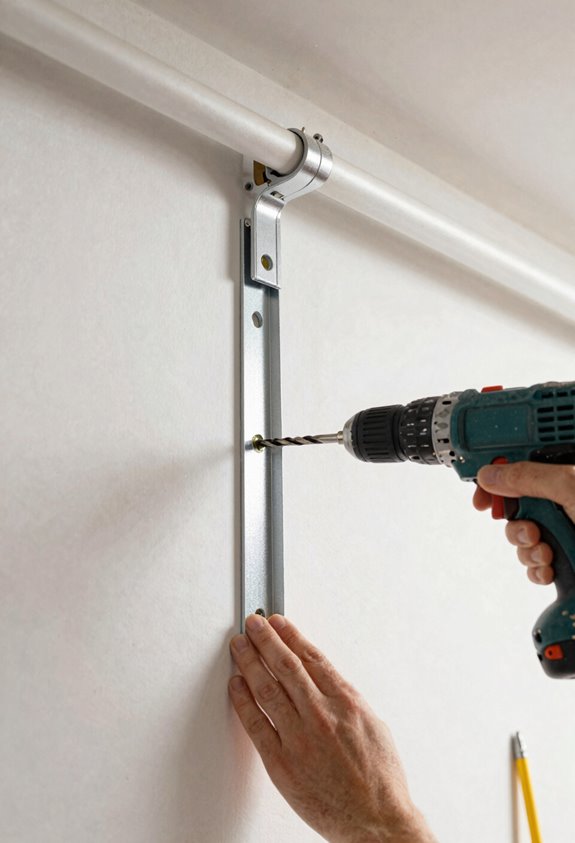
Why does this step trip so many people up? I have unfortunately done this several times, skipping the pilot holes, guessing on placement, then staring at crooked brackets. This step is worth doing right.
The easiest way to do it:
| What You’ll Do | Why It Matters |
|---|---|
| Drill pilot holes at your marks | Keeps screws straight, prevents wall damage |
| Check for studs first | Studs hold more weight than drywall anchors alone |
| Use a level on both brackets | Crooked installation is immediately visible |
If there’s no stud, insert drywall anchors until flush, tap gently with a hammer, then mount your brackets. Use screws rated for your curtain weight. Heavier fabrics require sturdier anchors. Double-check with a level, tighten everything down, and the rod is ready for installation.
Hang the Rod, Dress the Curtains, and Fix Any Sag
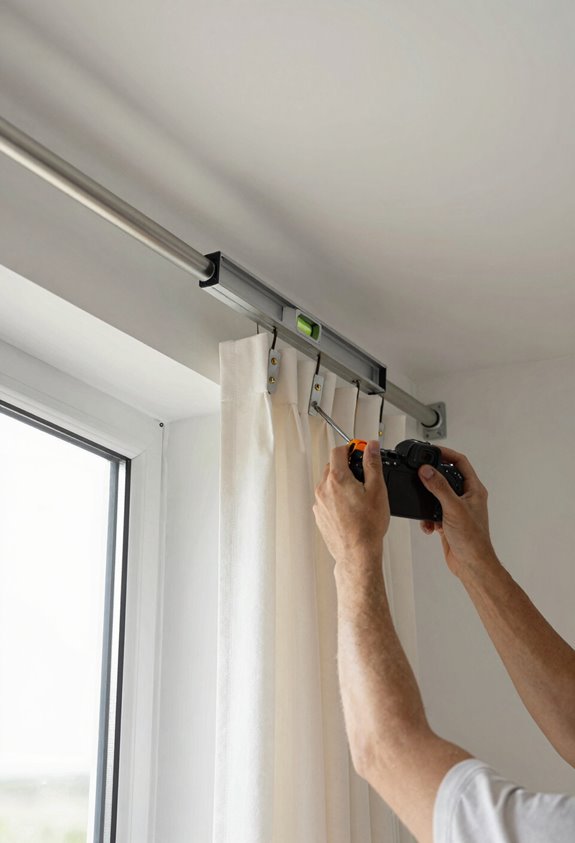
You’ve got your brackets locked in place. Now comes the finishing work: putting up the rod and seeing the whole thing come together. This step delivers results, even if you’re nervous about it.
Here’s my three-part finish:
- Hang the rod – Attach your curtain panels first, then lift the whole curtain rod onto the brackets. This approach prevents fumbling with clips mid-air.
- Address any sag – If your rod dips in the middle, add a center bracket. Without center support, use plastic end caps from the packaging at sag points in high-traffic spaces like kitchens or entryways.
- Dress the curtains – Create even folds and extend the rod about 12 inches past each side. The extra window width creates a finished, custom appearance.