I have measured twice and drilled once on more than one occasion, so this process is worth following: installing blinds with brackets is straightforward, and the steps below walk you through the simplest path to get it right the first time.
First, you’ll decide between inside mount (brackets tucked in the frame for a sleek look) or outside mount (brackets on the wall for broader coverage).
Next, you’ll measure accordingly: shortest width and longest length for inside; add inches beyond the frame for outside.
Then gather your drill, level, and pencil.
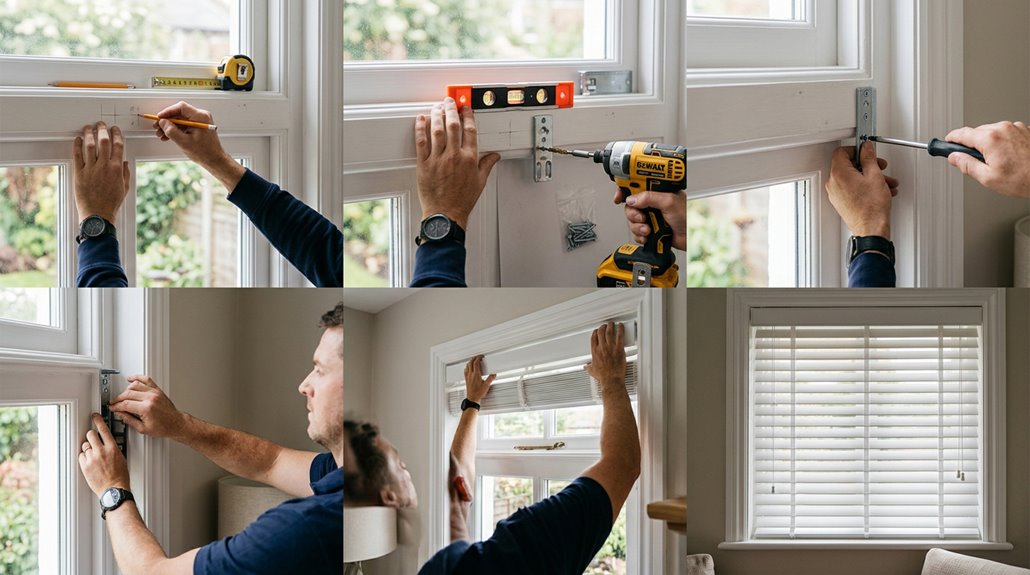
Mark your holes with care, use a level so everything lines up, and drill straight pilot holes.
Install two screws per bracket, snap the headrail in until it clicks, and finish with your valance.
Each step below breaks this down further so you can complete the installation with confidence.
Choose Inside or Outside Mount for Your Blinds
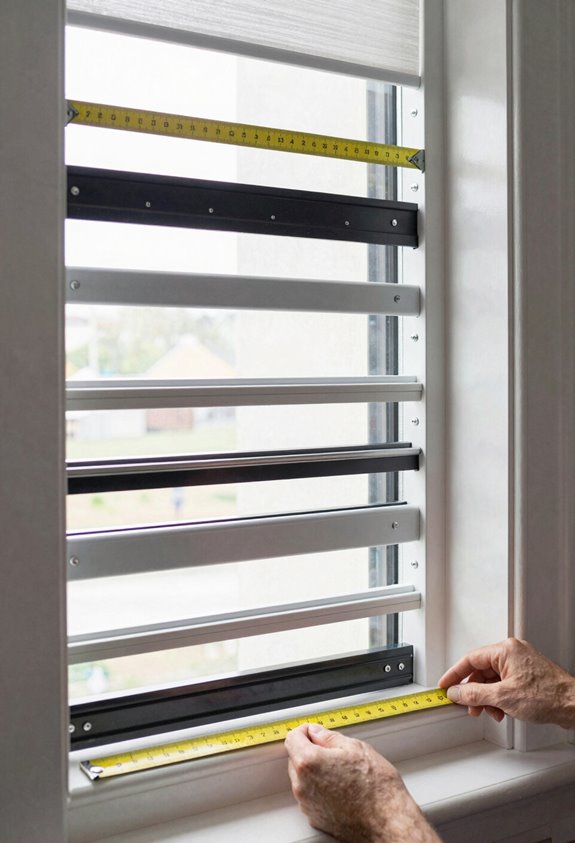
Where do you even begin with blinds? Start by deciding where the brackets will actually live, because this choice changes everything.
Where do you even begin with blinds? Start by deciding where the brackets will actually live, because this choice changes everything.
You’ll pick between two mounting styles:
- Inside mount, which tucks your brackets into the window frame itself. This approach offers a clean, built-in appearance that keeps things sleek and minimal. It’s the most straightforward way to make windows feel intentional.
- Outside mount, which anchors brackets to your wall above the window frame for broader coverage.
Rushing past this decision often leads to incorrect measurements for the mount you’ve chosen. Your mounting style determines how you’ll measure, where brackets sit, and how your headrail finally aligns. Choose now, measure once.
Measure Window Width and Length by Mount Type
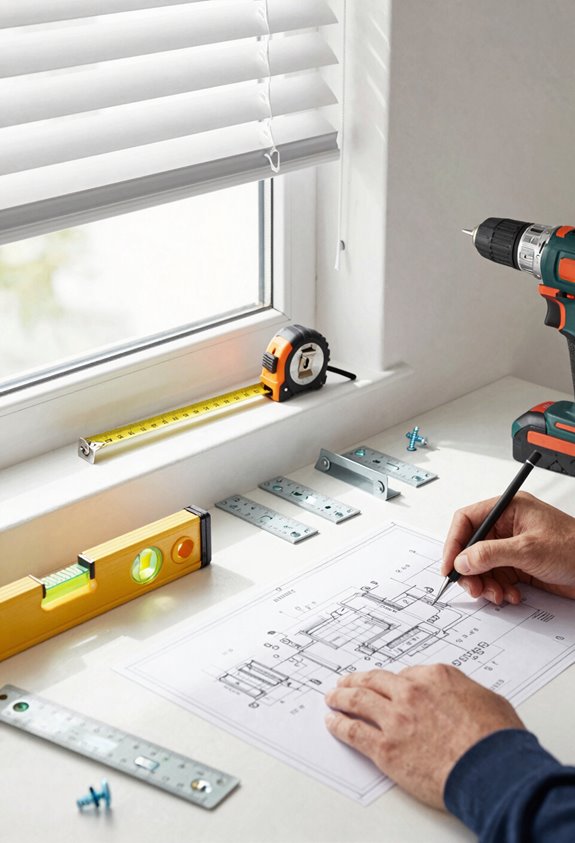
How exactly do you avoid the measuring disaster I’ve personally walked into? I once ordered blinds that were an inch too wide, and you don’t want that frustration.
Your mount type determines everything about your measurements. For inside mounts, you’ll measure three spots: top, middle, and bottom for both width and length on each side. I use the shortest width and the longest length when I order. This method prevents fit issues.
For outside mounts, I measure beyond the frame for total coverage. I add a couple inches on each side, especially in high-traffic spots like a kitchen or entryway, so no light sneaks through.
Align your measurements with your mount type, and your brackets will go exactly where they belong.
Gather Your Drill, Level, and Measuring Tools
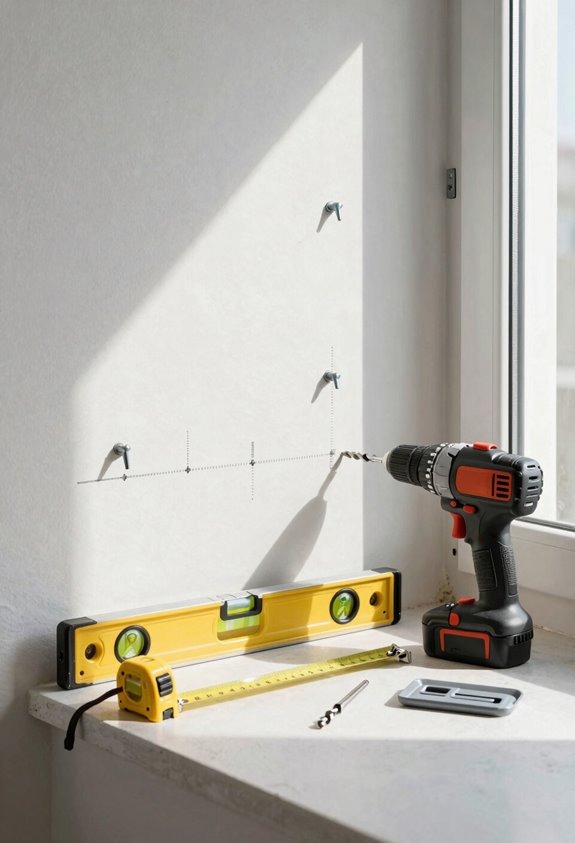
Why scramble mid-project when you can prep like a pro. Nothing kills momentum like hunting for a missing drill bit while your brackets sit half-mounted. This preparation step is worth the effort.
Gather your power drill, tape measure, level, pencil, and stepladder before you start. Don’t forget the right fasteners for your mount type; inside or outside, they differ. Starting organized saves you from rework headaches.
| Tool | Why You Need It |
|---|---|
| Power drill with bits | Drives screws cleanly without stripping |
| Level | Keeps brackets perfectly straight |
| Stepladder | Reaches high mounting points safely |
With everything within arm’s reach, you’ll feel confident and capable. This step is easier than you think and sets you up for success.
Mark and Drill Bracket Holes for Your Surface
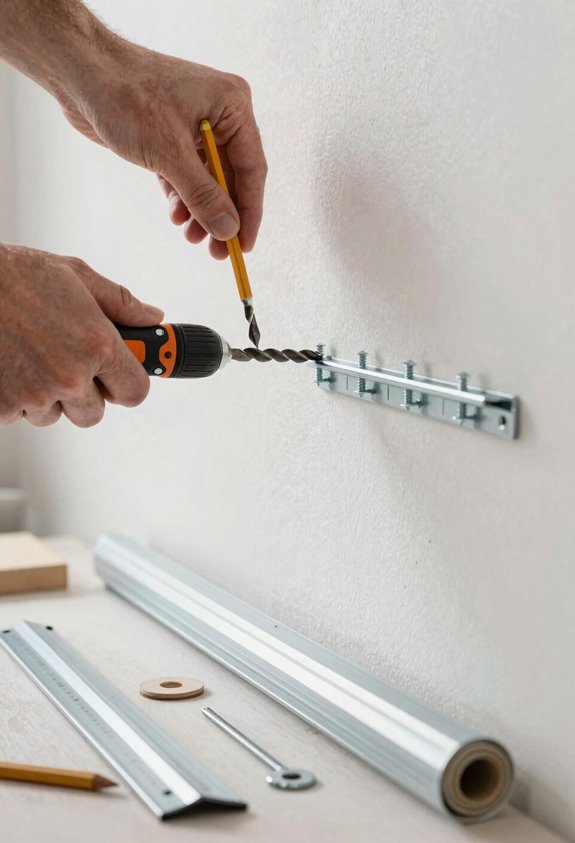
Ever mounted something only to realize your holes are crooked. I have unfortunately done this several times, and this process is worth following.
Ever mounted something only to realize your holes are crooked? I’ve done this too many times—learn from my mistakes and follow this process.
For inside mount brackets, mark 1/8″ below the headrail on each side inside the frame. For outside mount, center below the headrail and mark beyond the ends. Use your level to ensure these marks align. Crooked brackets result in crooked blinds.
Next, position each bracket over your marks and trace the screw holes with your pencil. Double-check everything with your level one more time. Then drill pilot holes, keeping your drill straight. Go slow here, because rushing this step creates problems later.
This preparation makes everything that follows easier.
Install Brackets Securely for Inside or Outside Mount
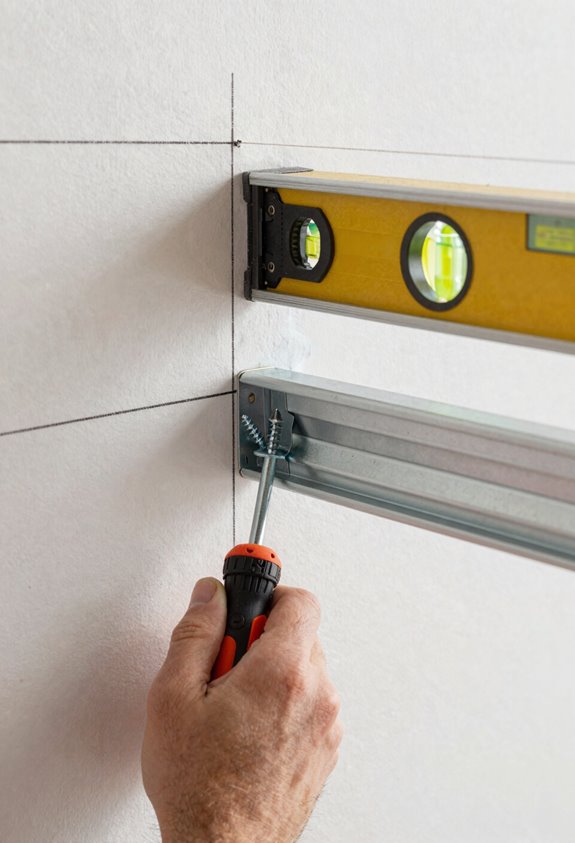
Where exactly you place those brackets makes all the difference between blinds that glide smoothly and ones that hang like a crooked picture frame. Getting this right is essential.
For inside mounts, position brackets 1/8″ below the headrail on each side of your window frame. Outside mounts center against the wall above your window, marked below the headrail and beyond the ends for full coverage. Either way, grab your level; proper alignment is essential.
Add auxiliary brackets centered between installation points for wider windows, such as a kitchen or entryway. Then secure everything with two screws per bracket, with orientation matching your mount type. Successful blinds mounting requires measuring twice and leveling always to ensure your headrail operates properly.
Snap the Headrail Into Your Blind Brackets
Grab your headrail and get it locked in place. This is the moment where everything starts looking like actual blinds instead of a collection of loose parts. I have done this several times without checking alignment first, so the headrail snap-in step is easier than you think if you follow it closely.
Get your headrail locked in place—this is where loose parts finally become actual blinds.
Here’s exactly how to handle this every single time:
- Insert the headrail into your mounted brackets, lifting carefully to align the back edge
- Tilt the front upward until you feel it catch the groove, like a satisfying little “click”
- Press firmly until the notch engages completely with no wiggle room whatsoever
- Test by rotating gently, confirming it cannot shift or slide free
Secure your headrail before moving forward, especially in high-traffic spots. A properly seated headrail prevents sagging and operational problems over time.
Attach the Valance and Wand to Finish
Now that your headrail is locked in place, you need to hide those brackets and give your blinds a polished, finished look. The valance accomplishes this.
For wood blinds, hold the valance up to the headrail and let the magnets do the work. They’ll snap right into place on that metal rail. Take a moment to check it’s flush, as improper alignment can occur.
Metal blinds need valance clips and a slat instead. Slide the clips onto the headrail, then insert the slat bottom-first. Once your valance sits uniform along the top, you’ll have the clean, professional finish you’re aiming for.