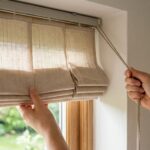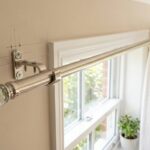
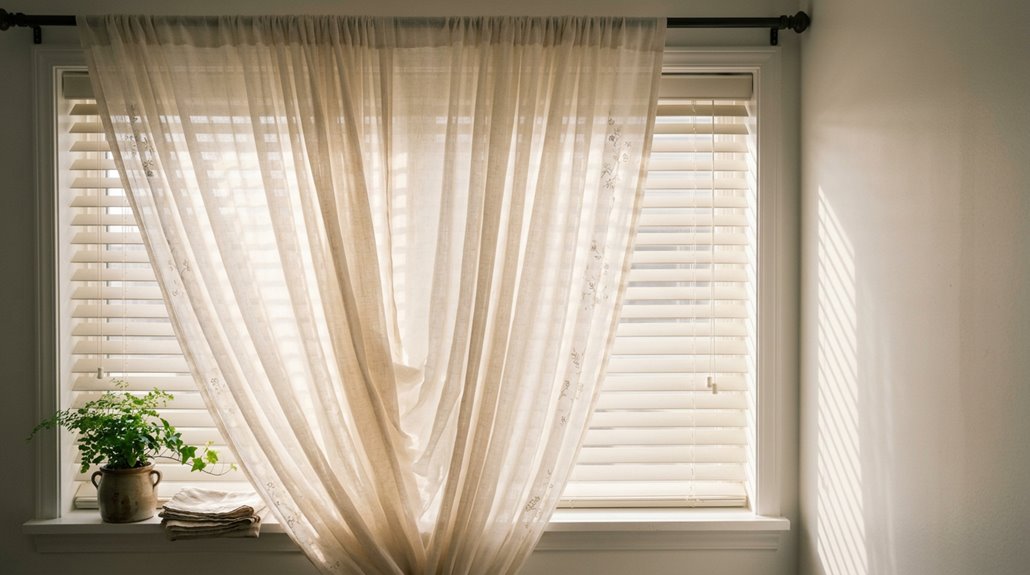
You can absolutely hang curtains over blinds, and I do it in nearly every room because it adds instant warmth and that finished look bare windows always miss. The trick is starting with your blinds as the foundation, then mounting your curtain rod at least 4 inches out from the wall so nothing catches or bunches awkwardly. I learned this the hard way after fabric snagged on my roller blind three times.
Stick with solid colors on one layer, pair timber or aluminum blinds with neutral curtains, and extend your rod 12 to 24 inches past the window frame for proper clearance. The right hardware finishes matter significantly; matte brackets hide everything better than shiny ones, and exterior mounting above the frame works effectively when your blinds stick out too far. Once you nail the projection and height, the whole room feels intentional and layered without a designer budget, and there’s a straightforward system for picking colors and patterns that always works.
How to Hang Curtains Over Blinds (Yes, It Works)
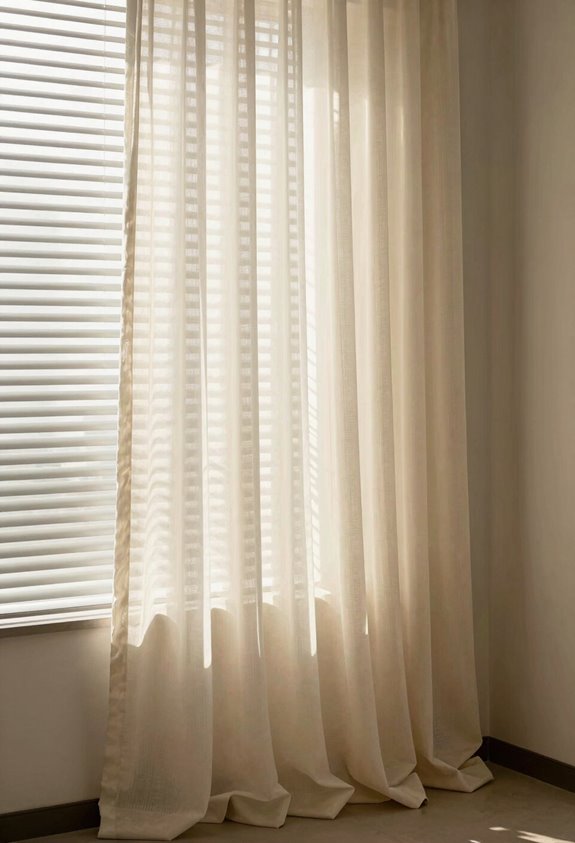
Why settle for plain blinds when you can layer curtains right over them? Curtains over blinds create gorgeous layered window treatments that add depth and visual interest to your windows.
Layering curtains over blinds transforms a simple window into a designer-worthy focal point with rich depth and dimension.
First, pick your blinds (blockout, sunscreen, your choice), then match compatible curtains. Planning ahead makes this process straightforward and prevents the need to start over.
Here’s the practical stuff:
- Grab a curtain rod extension; 4+ inches past each window edge, mounted high to hide blind bulk.
- Check curtain and blind compatibility; solid blind with patterned curtains, or vice versa. Never both busy patterns together.
- Install projecting brackets and clearance so fabric slides freely past the blind stack.
The result is a polished, layered window treatment that looks intentional and well-designed.
Mounting Curtains When Blinds Protrude: Bracket and Rod Solutions
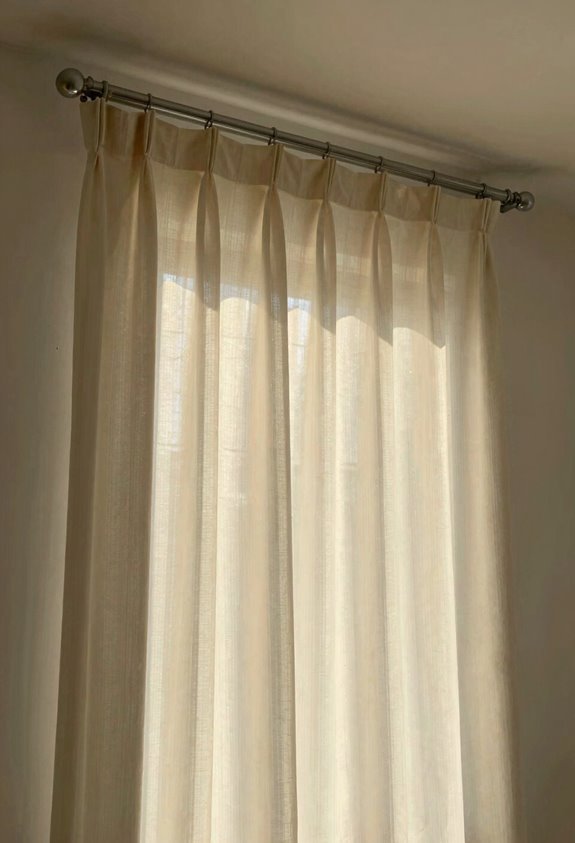
I’ve wrestled with protruding blinds multiple times and learned that bracket projection, rod height, and smart hardware selection determine the final result. When your blinds stick out, you can’t install a standard rod and expect the curtains to hang properly. I’ve made this mistake several times, and the curtains bunch up awkwardly every time. This guide covers the bracket and rod solutions that work, so you can achieve a clean, layered window treatment without frustration.
Bracket Projection Options
When your blinds stick out from the window frame, standard curtain brackets won’t work. Curtains that bunch up or drag against the blinds create frustration and don’t look polished.
What actually works:
- Extend your curtain brackets at least 4 inches beyond the blinds. This projection distance gives you proper rod clearance and prevents fabric from catching.
- Try exterior mounting above the window frame. It hides blind bulk and creates visual balance.
- Select brackets that sit higher and farther from the wall. This maintains blind stack clearance without blocking operation.
- Extend your rod 12–24 inches past each side (30–60 cm). This maximizes coverage and creates a larger-window effect.
These adjustments deliver functional results that prevent damage to both your curtains and blinds.
Rod Height Placement
How high should you actually mount that curtain rod when your blinds refuse to sit flush? Rod height placement makes or breaks your window treatments. When your blinds stick out, exterior mounting saves the day. I mount my curtain rod at least 4 inches from the wall, extending brackets past the blinds’ depth so curtains glide without catching.
| Mounting Height | Visual Effect | Best For |
|---|---|---|
| Ceiling height | Elongates walls, hides bulk | Low ceilings, heavy blinds |
| 6-12 inches above frame | Balanced, traditional look | Standard rooms |
| Just above frame | Minimal, casual feel | Small spaces, sheers |
Proper placement allows your blinds and curtains to coexist beautifully, creating that layered, designer look. This approach eliminates catching and friction between layers while maximizing your window’s visual impact.
Hardware Selection Tips
The appropriate hardware makes all the difference when your blinds protrude. Mounting rods that sag, snag, or look misaligned can undermine an otherwise polished installation.
For proper hardware mounting, follow these proven steps:
- Bracket depth matters. Choose brackets extending beyond your blind for window treatment clearance (like a kitchen, entryway, or child’s room).
- Curtain rod projection is critical. Select rods projecting 4+ inches outward to hide blind bulk.
- Consider exterior mounting above the window, at least 4 inches out from the wall, to visually balance top protrusion.
Rod alignment with ceiling height and window proximity creates the clean, cohesive look you want.
How to Pick Blinds That Work With Your Curtains
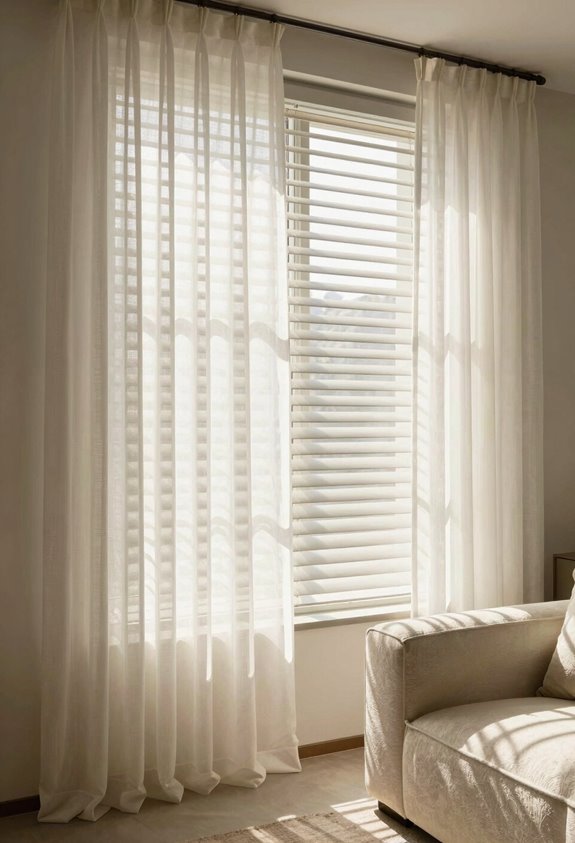
I’ll start by choosing my blinds first, since that gives me a solid color base I can build around with curtains, and this order makes everything easier. Next, I’ll walk you through color coordination basics, like pairing a single-color blind with patterned curtains so you don’t end up with a busy mess. I have done this several times, and a balanced approach produces better results. Finally, I’ll cover material compatibility, breaking down when timber or aluminum blinds work best with different curtain fabrics to achieve that cohesive, professional look.
Blind Selection Priority
When planning a layered window treatment, start with the blinds as your foundation. Blockout roller blinds work best for light control in bedrooms or media rooms, since they’re the easiest way to build a solid curtain pairing without visual chaos.
What matters in blind selection:
- Choose single-color blinds, not prints. Let the curtains carry any pattern for true window treatment balance.
- Match hardware finishes to both layers and favor matte hardware over shiny finishes, as glossy metal creates visual clashes.
- Extend rods 30–60 cm past the frame so everything sits right.
Timber or aluminium blinds work beautifully with most fabrics.
Color Coordination Basics
Once you’ve got your blind foundation locked in, the real fun starts because now we’re talking color, and this is where I’ve seen gorgeous rooms fall apart fast. I have unfortunately done this several times, so this approach is worth following.
For natural color coordination, choose blinds first to set your base tone. Timber blinds are the easiest way to ground a space, and they pair beautifully with most fabrics. When pairing curtains and blinds, stick to one rule: one pattern, one solid. A single-color blind with patterned curtains keeps things balanced, not busy.
| Blind Type | Best Curtain Pairing |
|---|---|
| Timber blinds | Natural linen or cotton |
| Solid white blind | Bold floral print |
| Matte finish grey | Soft textured weave |
| Natural timber | Neutral sheer |
| Blackout blind | Lightweight pattern |
Match your hardware in a matte finish, not high-shine, for a pulled-together look. This combination creates visual cohesion without requiring extensive effort.
Material Compatibility Guide
Why do some curtain and blind combinations look effortlessly layered while others feel like a clash of textures fighting for attention? Material compatibility makes all the difference.
Pick your blinds first, as kitchens, entryways, and children’s rooms need practical bases. Timber or aluminum blinds give you that solid, natural foundation, and aluminum mini blinds stay flexible enough for almost any curtain fabric you choose later.
Here’s my layering formula:
- Match weight: heavy curtains need sturdier blind materials
- Consider light control: pair blackout blinds with lighter curtains, or double up for maximum UV protection
- Test textures together before buying
Skipping the compatibility check leads to poor results. The most effective approach is holding fabric samples against your blind choice before making a purchase decision.
How to Match Colors, Patterns, and Hardware for Curtains Over Blinds
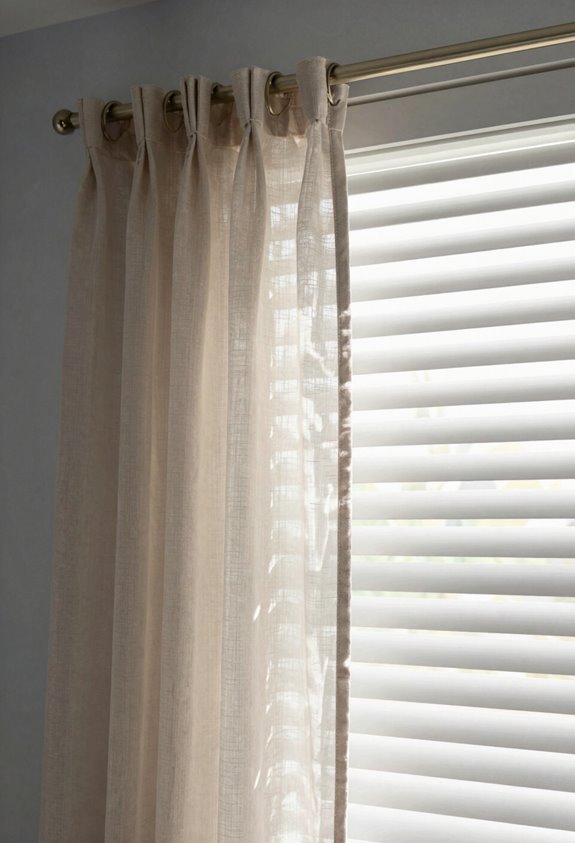
How do you pull off curtains over blinds without making your windows look like a mismatched mess? Color matching is essential when layering these two elements together.
Here’s my approach:
- Start with solid-color blinds as your base, then add patterned curtains on top without clashing
- Choose matte hardware instead of shiny metals, matching your rod to both curtain and blind tones
- Pick complementary tones that coordinate with each other, keeping hardware aligned with your overall palette
- Pair timber or aluminium blinds with neutral curtains for instant harmony
When layering, ensure your curtain rod projects at least 4 inches outward. This clears the blinds completely and maintains that balanced silhouette. The proper projection distance prevents interference between your window treatments and creates a cohesive appearance.
Mistakes to Avoid When Layering Curtains and Blinds
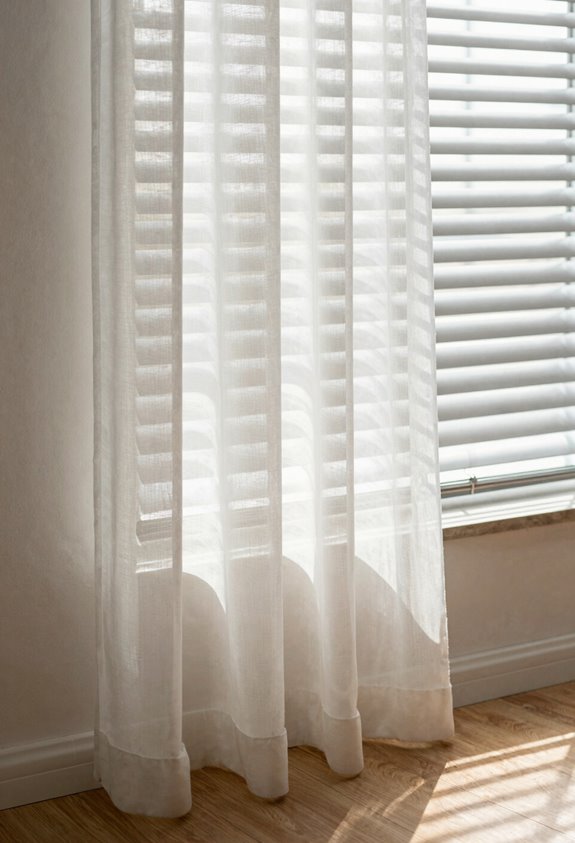
Where do most people go wrong with curtains over blinds? I’ve made these mistakes myself, so let’s fix them together.
First, avoid pairing busy patterns on both layers. Keep one solid. For curtains and blinds layering, mix textures freely, but don’t clash heavy patterns. Kitchens, entryways, and children’s rooms need calmer visual schemes.
Use matte hardware, not shiny finishes, and match the rod color to both treatments. Don’t skip the curtain rod extension. Extend 30–60 cm past the window for proper clearance over blinds.
Finally, tailor each room’s setup for light control and privacy needs. Bedrooms benefit from blackout options, while living spaces need flexibility. Following these steps will prevent common installation problems.
When to Call a Pro for Curtains Over Blinds
Mostly, I’m pretty good at figuring out curtain installs on my own, but I’ve definitely hit walls, literally and figuratively, where calling a pro saved me hours of frustration.
Consider calling a professional in these situations:
- You’re unsure about rod height and clearance over your blinds
- Exterior mounting feels tricky with ceiling proximity or awkward angles
- You chose blinds first but can’t visualize the layered look
- Complex mounting threatens improper alignment
I have unfortunately done this several times, eyeballing measurements and skipping the math. A professional install ensures your hardware projects outward enough, clears blind bulk, and sits above the window remains consistently. When precision matters, avoid guessing. Professional installation delivers the polished, cohesive look that layered window treatments require.