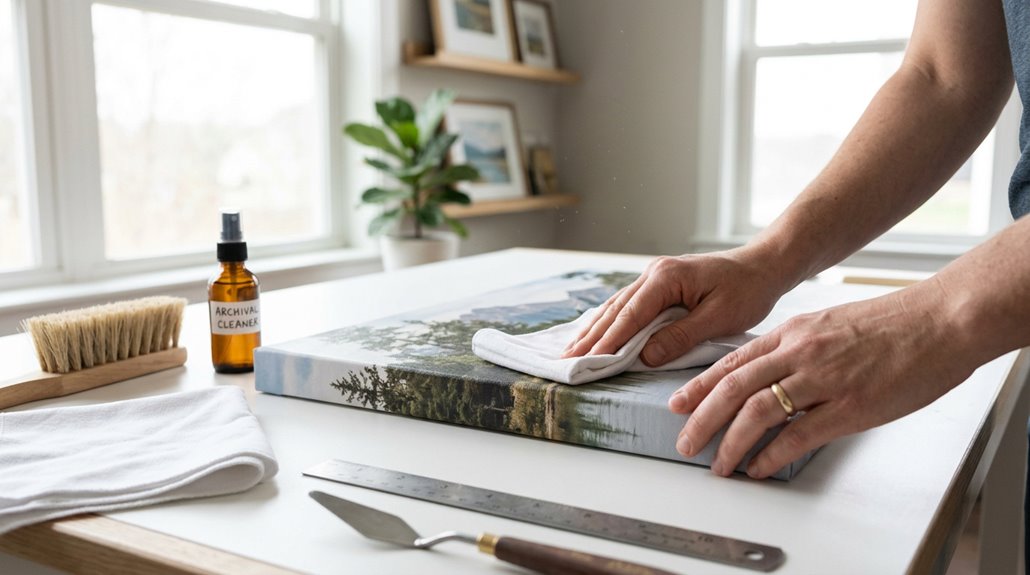
I clean my canvas prints in ten straightforward steps. First, I dust weekly with a dry microfiber cloth, sweeping in one direction. Back-and-forth motion scratches prints.
For textured weaves, I use a barely damp cloth with distilled water, never tap water, and I always spot-test a hidden corner first. I dab stubborn marks gently; rubbing embeds oils and lifts pigments.
I let everything air dry completely, keeping the canvas flat in a ventilated space. I avoid bathrooms, kitchens, radiators, and direct sun. Climate-controlled rooms work best.
Near fireplaces or cooking areas, I clean every 1–2 months instead of weekly. I never use household cleaners, steam, or paper towels. If I see color transfer, ghosting, or lingering odors after cleaning, I stop immediately and call a professional. Consistency with these gentle habits is the most effective way to protect your print.
Dust Your Canvas Print Weekly With a Dry Cloth
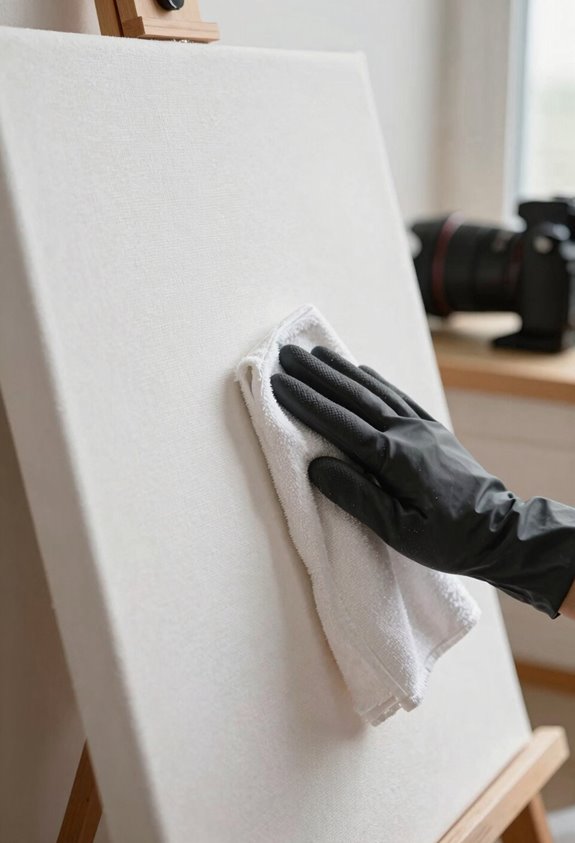
I dust my canvas prints every Sunday morning, and this routine is effective. Weekly maintenance keeps your artwork vibrant and prevents buildup that damages the surface over time.
The easiest way to do this takes just five minutes:
- Grab a clean, dry microfiber cloth, nothing fancy, just a basic one from any home goods store.
- Sweep in one direction across the canvas print, never back and forth. I learned this after creating streaks, and I have unfortunately done this several times.
- Check textured areas afterward. If your piece has a deep weave, follow with a soft-bristled brush (like a clean makeup brush) to lift hidden particles without rubbing.
Keep your cloth completely dry; no moisture whatsoever during this weekly step. For pieces in high-traffic spots (like a kitchen, entryway or child’s room), this simple habit will visibly preserve your artwork by preventing dust accumulation and surface degradation.
Damp-Clean Textured Weaves With Distilled Water
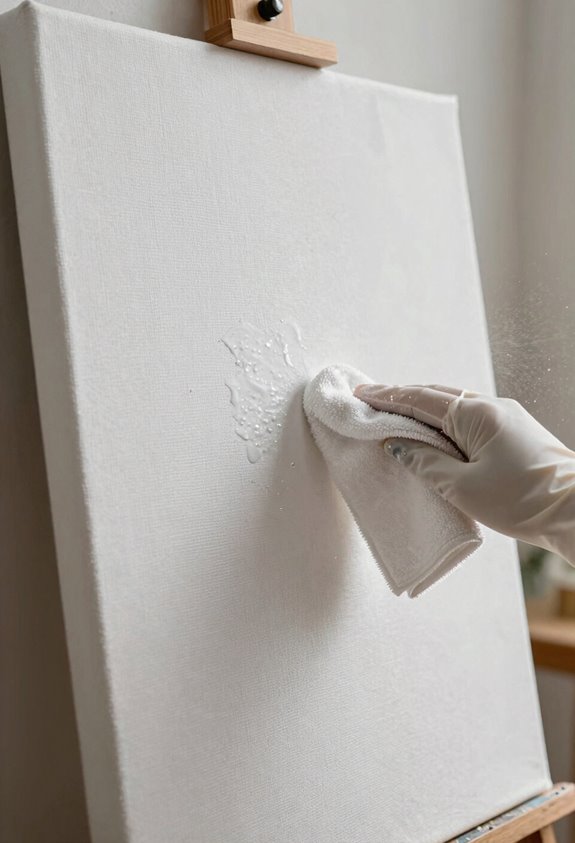
Why let dust settle into those textured grooves when a simple damp wipe removes it. I grab a barely damp microfiber cloth with distilled water, not tap water, to gently wipe textured weave surfaces. I avoid soaking the canvas at all costs; we’re damp-cleaning, not drowning.
Here’s my approach:
- Dab rather than rub to protect ink and coating on areas where fibers grip tightly
- Start at the top and move in one direction so dust doesn’t resettle behind the weave
For stubborn dust stuck in crevices, I use a soft-bristled brush with distilled water in light, sweeping motions. This method prevents moisture damage and extends the life of textured canvas. Finally, I dry the surface with a separate dry microfiber cloth to remove moisture and reduce streaks.
Spot-Test a Hidden Corner Before Adding Moisture
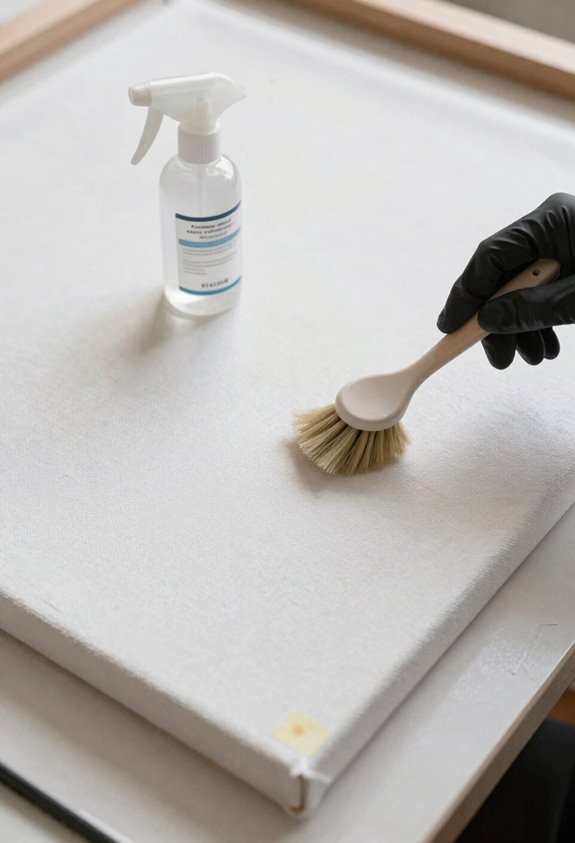
Where exactly should you test before applying moisture to your precious print? Test a hidden corner, like the bottom edge you never see (such as a kitchen, entryway, or child’s room canvas tucked behind furniture). Grab a white cotton cloth, barely damp with distilled water or mild soap, and gently press. Watch for any color sneaking onto that cloth; color transfer indicates you need to use less moisture. Note whether the paint is oil, acrylic, or water-based, since that determines your approach. Then wait. The spot-test corner must dry fully with no ghosting or smears before you continue. Skipping this step ruins prints. This simple test prevents artwork damage.
Lift Stubborn Marks by Dabbing, Never Rubbing
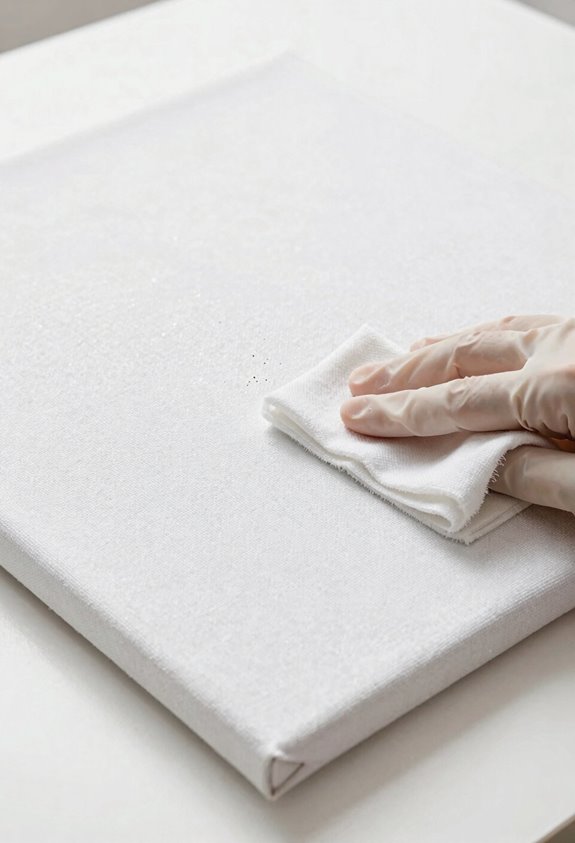
When I’m faced with a stubborn smudge that won’t budge with dry cleaning, I reach for a barely damp microfiber cloth and tap, tap, tap. Never rub, because friction lifts ink and ruins the finish. Dabbing from the outside in prevents the mark from spreading toward the center. Rubbing risks permanent damage you can’t undo. A few techniques work well for marks that resist initial attempts: varying the dampness of the cloth, adjusting the pressure of each dab, and allowing time between applications for the moisture to penetrate. Getting this right takes patience, and that patience produces better results than aggressive rubbing.
Dabbing Technique Explained
How exactly do you lift a stubborn mark off canvas without turning a small problem into a disaster? I’ve unfortunately done this several times, and it works.
Dabbing is the easiest way. Here’s how I do it:
- Grab a white cotton cloth, barely damp, not wet.
- Place it on the stain, don’t slide it.
- Lift straight up, or lift-and-repeat, letting the cloth do the work.
For stubborn marks, like a kitchen, entryway or child’s room, I add a drop of mild soap to my dab. I always test on a corner first. Color transfer is real.
After each dab, I let the area dry completely. Moisture sneaks into coatings and inks if you’re impatient, and this causes damage that’s difficult to reverse.
Rubbing Risks Detailed
One wrong move can turn a tiny smudge into ruined artwork. When you rub a canvas print, you’re not cleaning it. You’re grinding trouble deeper into the fibers. I have done this several times, and the consequences are worth avoiding.
The rubbing risks are real: embedded oils, lifted pigments, and permanent surface damage that no amount of care can undo.
For stubborn marks, dab with a barely damp microfiber cloth instead. This lifts loosened particles without spreading stains or pushing them deeper into the coating. Always test a hidden corner first to check for color transfer. If marks persist, stop immediately and call a professional. Some damage cannot be reversed.
Mark Removal Tips
Three stubborn marks have ruined more canvas prints than I care to count, and I’ve learned through experience that patience beats force every time. When you’re facing stubborn spots, follow these steps:
- Grab a white cotton cloth, barely dampen it, and use light, short taps. Never rub.
- Test first on a hidden corner; skipping this step can result in permanent damage.
- If the mark lingers, switch to a fresh cloth section rather than soaking the area again.
This approach is effective. Scrubbing lifts ink and destroys coatings, which is particularly damaging on kitchen, entryway, or child’s room prints. After dabbing, let your canvas rest in a well-ventilated space. Moisture buildup causes more damage than the original mark.
Let Your Canvas Print Air Dry Completely
Where exactly should you put your canvas while it dries? I always choose a dry, well-ventilated space, like my hallway or a spare bedroom, and I never cover it with plastic. I’ve done this several times, and moisture buildup will damage your work.
Always dry your canvas in a well-ventilated space, never covered with plastic—moisture buildup will quietly ruin your work.
Here’s what I’ve learned about proper drying:
- Keep it flat or propped upright, never stacked against other artwork
- Maintain space around all sides for air to circulate freely
- Stay away from windows, radiators, or vents that blast heat
- Don’t speed things up with a hairdryer. The extra heat can damage the ink and canvas coating.
- Wait a full 24 hours, longer if it’s humid, before you touch it again
Once you’ve used that microfiber cloth and cleaned your piece, patience is essential. Rushing leads to mold, ink damage, or ruined art you can’t fix.
Dust the Back of Your Canvas and Check the Frame
Why stop at the front when the back of your canvas holds just as much dust, grime, and hidden trouble? I grab a clean, dry microfiber cloth and work from top to bottom on the back. This keeps particles from resettling where I’ve already cleaned. I have skipped the back several times and watched dust migrate to the edges within days. Completing this step prevents that problem.
| What I Check | What I Look For | Why It Matters |
|---|---|---|
| Frame joints | Looseness, gaps | Prevents wobbling damage |
| Wood surface | Warping, cracks | Catches problems early |
| Hardware | Protruding screws, brackets | Stops scratches on canvas |
| Dust buildup | Near mounting points | Blocks transfer to front |
| Overall stability | Secure hanging | Protects your investment |
I wipe gently around screws with my dry cloth. No moisture is needed. I schedule this check every few months. The process takes minimal time and prevents dust transfer, frame deterioration, and hardware damage to your artwork.
Never Rub, Soak, or Use Household Cleaners
Although it seems tempting to grab whatever cleaner is under your sink, canvas prints demand a gentler touch. Protecting your artwork is easier than you think once you know what to avoid.
- Never rub the surface, as aggressive friction lifts ink
- Don’t soak the canvas; excessive moisture warps it
- Skip household cleaners entirely
- Avoid paper towels or rough cloths that scratch
- Never use steam near your print
Instead, reach for a soft-bristled brush to gently lift dust. Light, sweeping motions with the right tool work best. Your artwork will last for years with this careful approach.
Keep Canvas Prints Away From Humidity and Heat
I keep my canvas prints out of bathrooms and kitchens, including entryways and children’s rooms, since humidity accelerates ink fading and warps the fabric. Excessive heat cracks coatings as well. The right placement will protect your artwork for years to come.
Ideal Display Locations
Placement makes or breaks the lifespan of your canvas print. Finding the right spot is easier than you think, and your artwork deserves a home where it will thrive for years.
- Choose climate-controlled rooms (like bedrooms or offices) for consistent canvas stability
- Skip the kitchen, fireplace, or bathroom
- Pick shaded walls away from windows, or use UV protection when sun’s unavoidable
- Check regularly for condensation, especially during seasonal changes
- Maintain steady room temperature, avoiding vents and radiators entirely
Monitor your display areas monthly, adjusting placement when you spot moisture buildup. This simple habit protects your investment by preventing water damage and color fading.
Humidity Damage Risks
Once you’ve found that perfect wall spot, you’re not quite done protecting your canvas. I have unfortunately done this several times and watched my prints warp from ignoring humidity, so this step is worth your attention.
Humidity above 60–70% accelerates ink degradation, causes mold, and makes canvas expand until inks bleed. Rapid fluctuations (damp days, then dry ones) create micro-cracks in coatings. The sweet spot is a steady 40–50%.
Avoid these trouble zones:
- Basements (always damp)
- Bathrooms (steam city)
- Kitchens (cooking moisture)
I use a small dehumidifier, and it’s easier than you think. Climate control isn’t fancy. It’s the most effective way to preserve your UV protection and keep edges from lifting. Your artwork requires stable air, not a damp environment.
Heat Source Dangers
Where exactly do your canvas prints live right now? I have unfortunately done this several times: hung a favorite piece above a radiator, only to watch it warp within months. Heat destroys canvas faster than expected.
Excess heat accelerates ink degradation, dries protective coatings, and causes warping. This damage is worth avoiding. Direct sun is especially brutal, fading colors and embrittling the surface before you notice.
Heat sneaks in at these locations:
- Above fireplaces and radiators
- Near kitchen stoves or appliances
- In bathrooms with poor ventilation
- Against exterior walls with temperature swings
- In direct sun through unfiltered windows
Keep humidity between 40–60%, use dehumidifiers if needed, and display in climate-controlled spaces. Stable conditions prevent the deterioration that occurs in fluctuating temperatures.
Clean More Often Near Kitchens or Fireplaces
Why do some canvas prints seem to age faster than others? It’s usually where we hang them. Kitchens and fireplaces expose your artwork to heat, smoke, cooking oils, and airborne grease, which accelerate dust buildup and degrade canvas coatings.
I dust my prints every 1–2 months in these zones, using a dry microfiber cloth. Moisture reacts badly with oil-based residues, so I keep it strictly dry. For textured areas, I grab a soft brush to lift soot or grease without rubbing the surface. Never use water; this prevents damage to the coating.
I inspect edges and mounting hardware more frequently too, since heat and humidity loosen frames, letting dust sneak behind protective coatings. If odors or grime linger after dusting, I relocate the piece and repeat gentle, dry cleaning.
When to Skip Cleaning and Call a Professional
I have unfortunately done this several times: pushed ahead with cleaning when I should have stopped. This is worth avoiding. Sometimes your canvas shows clear warning signs that DIY methods will only make things worse. Knowing these red flags (like flaking paint, stubborn stains, or mysterious old pigments) will help you decide when to stop cleaning and call a professional. Professional restoration protects your artwork from further damage and prevents costly mistakes that cannot be undone.
Severe Damage Signs
Before checking my cleaning supplies, I inspect my canvas for trouble spots that indicate whether I’m the right person for this job or risk making things worse. I have done this several times, and this extra minute of inspection is necessary.
I contact professional help when I identify these signs:
- Cracking, flaking, or pigment loss that worsens with touch
- Visible ink fading or color bleeding when I test a hidden corner
- Mold, deep stains, or bubbling under the surface coating
- Large tears or delamination pulling away from the frame
- Warping, puckering, or new mildew after my cleaning attempt
Recognizing these signs early prevents damage to your artwork and prevents costly professional restoration later.
Professional Restoration Need
Although I’ve learned a lot from cleaning my own canvases over the years, I’ve also learned that knowing when to stop is just as important as knowing how to start. I’ve pushed too hard several times, and calling for professional restoration when you spot real trouble will prevent costly damage.
| What I See | What I Do |
|---|---|
| Flaking paint, heavy stains, color bleeding | Stop immediately, call a pro |
| Unknown inks or paint bases I’m unsure about | Skip DIY, get expert assessment |
| Grime that won’t lift, edge lifting, cracked varnish | Admit defeat, seek help |
| Warped stretchers, loose joints, structural damage | Don’t risk it, make the call |
For pieces with history, religious meaning, or significant family value, professional restoration is the appropriate choice. These canvases require expert care to preserve their condition and integrity.
Risk Assessment Guide
How do you know when a simple cleaning job is actually a disaster waiting to happen? Some canvas prints need professional hands, not mine.
Spot these warning signs before you start:
- Color transfer during testing, cracked ink, or flaking surfaces
- Loose canvas, separated seams, or damaged mounting hardware
- Oil- or water-based prints where test spots bleed or fade
- Peeling coating, raised waxy, or sticky residues that won’t budge
- Heavy soiling with oils, varnish, or varnish-like substances
Ignoring this list leads to damaged artwork. When your canvas prints show these red flags, professional conservators have the solvents and skills required for restoration. Stop cleaning and contact a conservator when you encounter any of these conditions.