
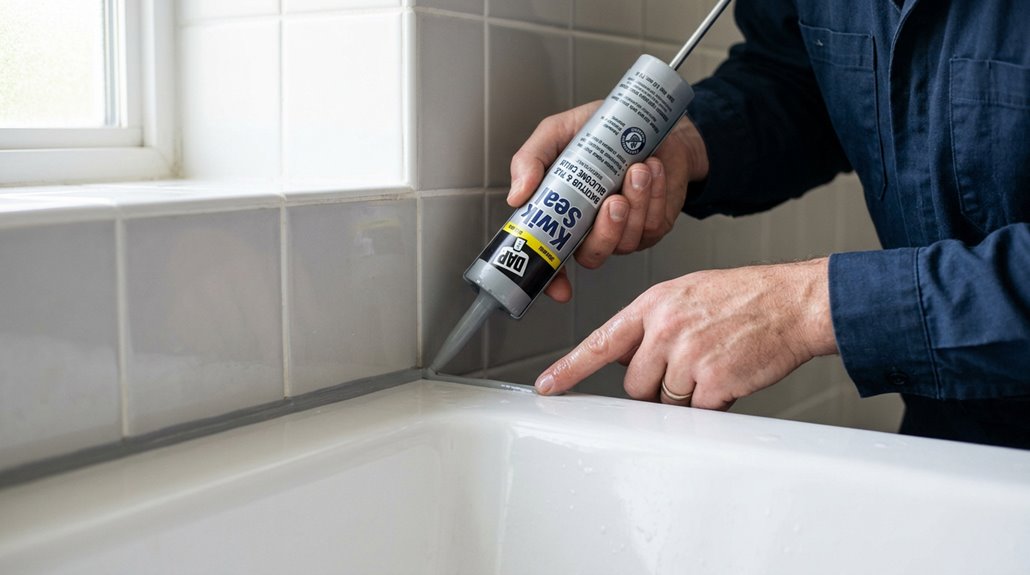
I have recaulked my bathtub many times, and this is much easier than you think once you break it down into five clear steps: knowing when your caulk has failed (look for cracks, discoloration, or brittle texture), removing the old material and treating any mold with the right cleaner, prepping the joint with thorough drying and painter’s tape for clean edges, applying and smoothing new silicone sealant at a 45-degree angle with a wet finger, then allowing proper cure time (typically 24 hours) before using your tub. Follow each step with the specific tips that will save you from countless do-overs.
Know When to Recaulk Your Bathtub
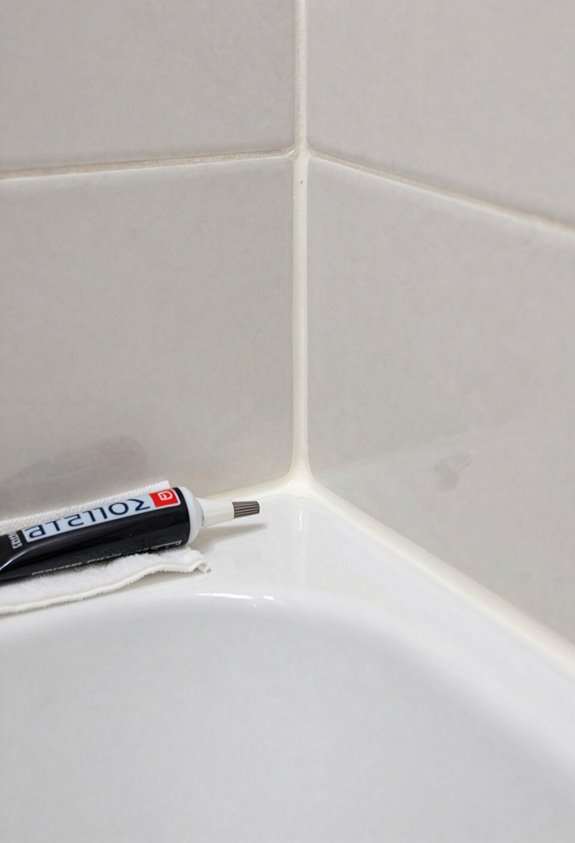
How do you know when your bathtub caulk has given up on you? I have unfortunately done this several times, waiting too long and dealing with the aftermath.
Watch for these clear signs of caulk failure:
Watch for these clear signs of caulk failure: cracked, flaking, or pulling caulk, discoloration at the edges, brittle texture, and any splits in the caulk line.
- Cracked, flaking, or pulling caulk means your watertight seal is compromised
- Discoloration at the edges signals moisture trapped behind (mold and mildew love this)
- Brittle texture that shifts or crumbles under light pressure
- Any splits in the caulk line, even narrow ones
Catching these warning signs early prevents water damage behind the walls and tile. Once water sneaks through, you’re looking at caulk removal plus damage repair, not just simple re-caulk steps. The actual fix is straightforward once you identify the problem.
Remove Old Caulk and Treat Mold
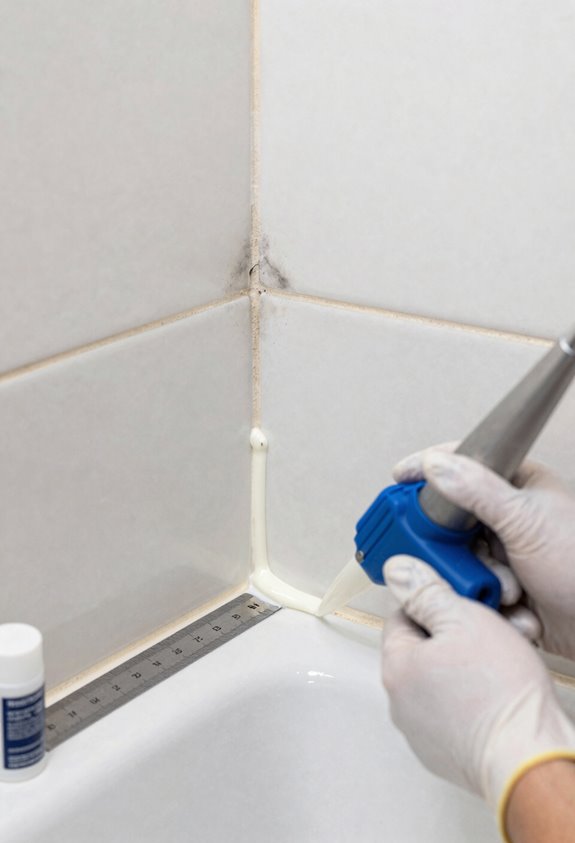
Why start with the hardest part first? Because skipping proper caulk removal only creates bigger headaches down the road.
Here’s my three-step approach that makes this manageable:
- Slice along the top and bottom edges with your utility knife to break that stubborn seal
- Dig out the old tub caulk using a caulk removal tool. Work slowly.
- Vacuum thoroughly, then wipe everything down with rubbing alcohol to banish residue
This process prevents water damage and mold growth. Spot any dark patches in the grout? That’s where mold treatment becomes essential. Scrub those areas with a mold-killing product before moving forward. Optional but smart: fill your tub with water now to weight it properly. Proper preparation ensures a caulk seal that lasts for years.
Prep the Joint: Clean, Dry, and Tape
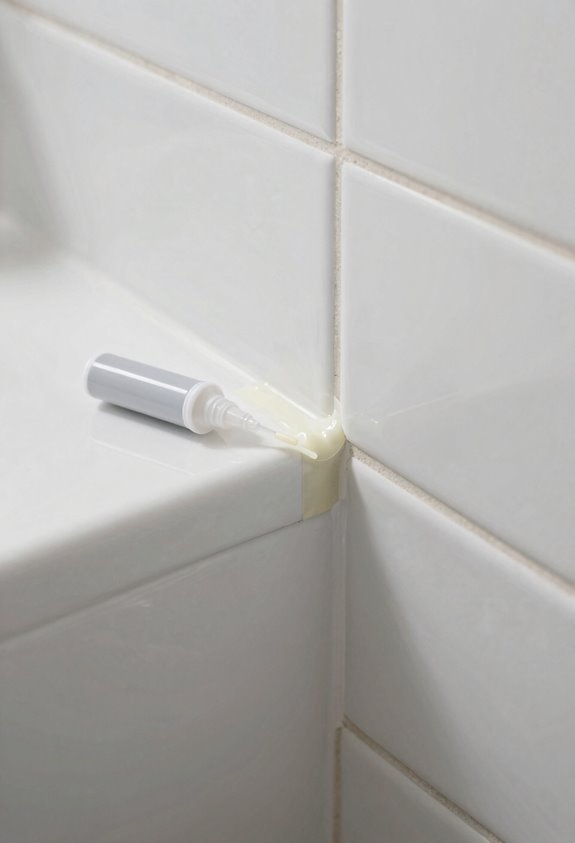
Once you’ve stripped away that old caulk and handled any mold, you’re ready to apply fresh caulk. Proper joint preparation prevents caulk failure down the line.
Here’s how to do this:
- Clean thoroughly. Use rubbing alcohol or mold-resistant cleaner to wipe away soap scum and gunk from tiles and tub edge. Remove loose grout; skipping this step causes new caulk to fail within months.
- Dry completely. Keep surfaces bone-dry. Any moisture kills adhesion and curing.
- Tape for precision. Apply painter’s tape about 1/8 inch from the edge on both wall and tub, creating straight guidelines for a neat bead.
Remove tape before caulk skins over.
Apply and Smooth Silicone Sealant
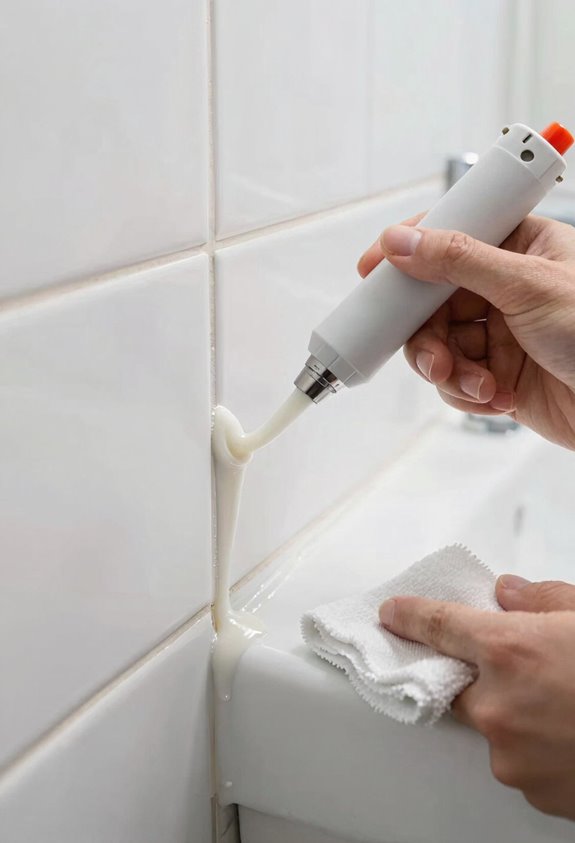
Now that your joint is prepped and taped, it’s time to lay down that fresh silicone.
I cut the nozzle to a 1/4 inch opening, then I hold my caulk gun at a blunt 20-degree angle. This prevents the caulk bead from sagging while still filling the gap properly.
Here’s exactly how I do it:
- Position the caulk gun at a 90-degree angle to the joint, advancing steadily to apply just enough silicone sealant to fill the gap.
- Smooth the bead immediately with a wet finger or a baby wipe. Working quickly prevents a real mess.
- Peel away the painter’s tape while the silicone is still wet for that clean, professional line, then allow it to cure.
This method delivers reliable results.
Cure Time and Annual Maintenance
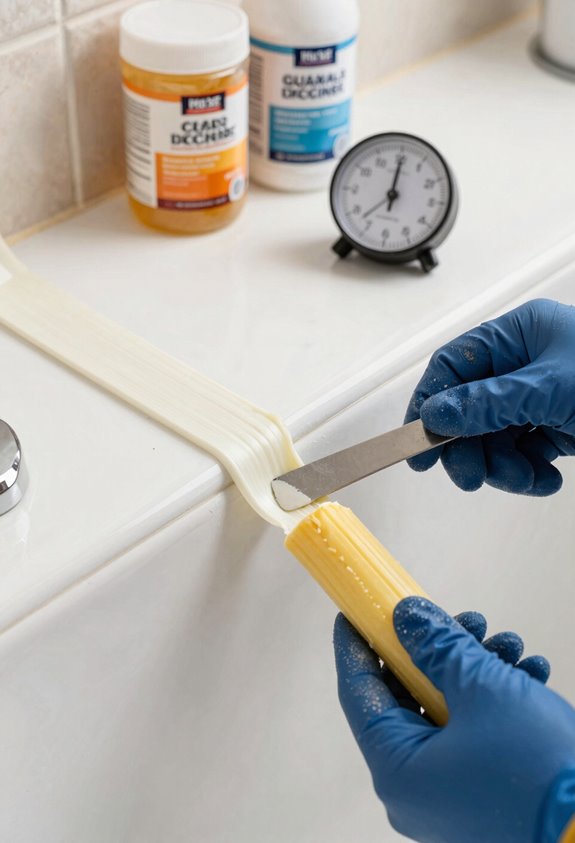
With your fresh bead of silicone smoothed and the tape peeled away, the hardest part is behind you. Let the silicone caulk reach full cure time, typically 24 hours, before using your tub. Some products allow water contact in 30 minutes, but check your manufacturer’s guidelines. Keep a fan running or a window open for ventilation during drying. This prevents mold and ensures proper curing.
Annual maintenance keeps your re-caulk steps from repeating too soon. Inspect the caulk line yearly for cracks or gaps. For mold prevention, dry the sealant after showers and check hidden spots like grout edges. Regular attention prevents the need for major repairs.