
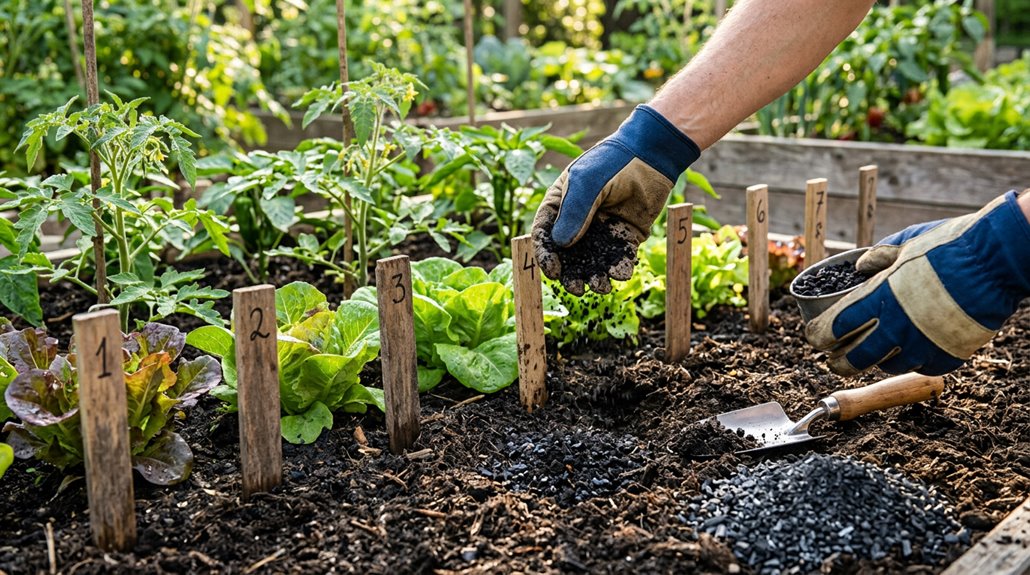
I learned the hard way that raw biochar stunts plants, so here’s what actually works. First, grab stable biochar with an H:C_org ratio below 0.7, which locks in decades of benefits. Pre-soak it for 24 hours so it won’t steal moisture from your soil, then charge it with compost (I use 70-90% compost to 10-30% biochar) for two full weeks. Calculate your rate: 10-20% for raised beds and containers, 5-10% for field soil. Work it 6-12 inches deep, water thoroughly to wake up microbes, and watch for yellowing leaves that first season. That’s nitrogen immobilization, easily fixed with liquid fertilizer. This approach builds soil that sustains productivity for years. The following steps detail how to avoid the mistakes I made.
Start With the Right Biochar for Vegetables
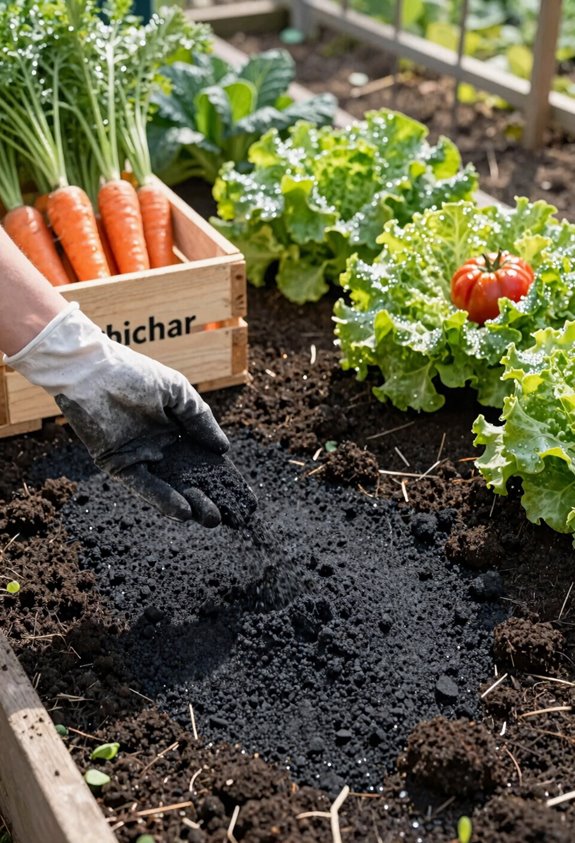
Starting with biochar requires understanding what to look for. Biochar stability matters most. Look for an H:C_org ratio below 0.7, and you’ll lock in decades of soil benefits.
Biochar stability matters most—look for an H:C_org ratio below 0.7 to lock in decades of soil benefits.
For vegetables, charged biochar is the best choice. It’s practical to blend yourself. Mix a compost-biochar mix (70-90% compost, 10-30% biochar) to jumpstart nutrient availability and skip that first-year nitrogen crash.
Here’s your vegetable garden guidelines checklist:
- Verify it’s contaminant-free and properly cured
- Use pre-soaked biochar for better water retention
- Blend thoroughly for soil inoculation success
Apply at 6-12 inches deep, starting with 5-10% by volume. Adjust based on your soil type and crop needs.
Pre-Soak and Charge It Two Weeks Before Planting
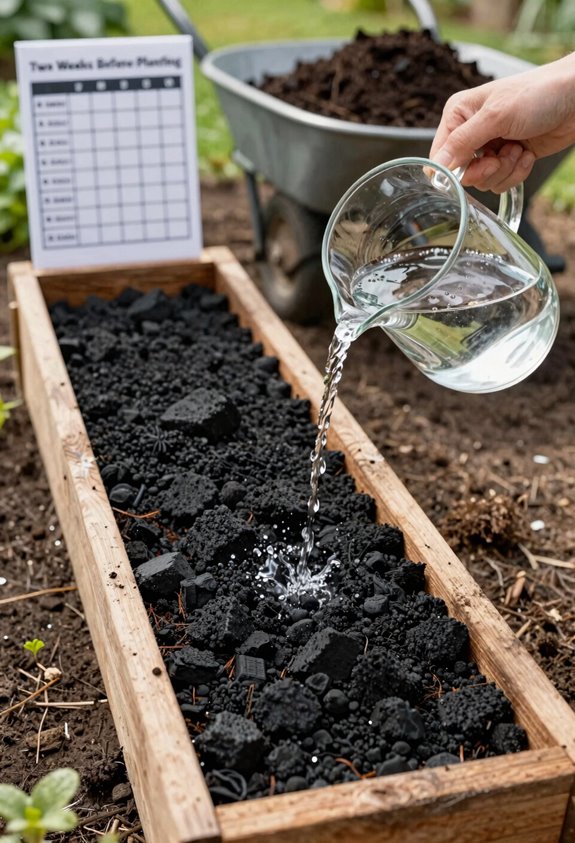
I start soaking and charging my biochar two full weeks before I plan to plant. Skipping this step produces rushed results. Pre-soak the biochar first so it can actually hold water instead of stealing it from your plants, then charge it with compost so those nutrients get locked into the porous structure where roots can find them later. Give the whole mix fourteen days to marinate, and you’ll have a living, ready-to-roll amendment instead of a dry, barren addition to your soil.
Pre-Soak The Biochar
Why rush this step when a little patience transforms raw biochar into a garden powerhouse. I start by pre-soaking my biochar, and this is worth the effort. Raw biochar acts like a dry sponge; it will steal water and nutrients from your plants if you skip this. I fill a bucket with water, add my biochar, and let it absorb for at least 24 hours. This simple step releases its moisture-holding potential before it ever touches your soil. Once saturated, I’m ready for charging. I mix the damp biochar with compost, creating a nutrient retention system that feeds your vegetables for seasons. This soil amendment becomes a living, breathing partner in your garden. Two weeks of waiting delivers years of rewards. I have tested this approach multiple times, and the difference is measurable.
Charge With Compost
How do you turn pre-soaked biochar into a nutrient-packed ally for your vegetables? I blend mine with high-quality compost, and this approach is worth the effort. Charging lets that porous biochar soak up nutrients and beneficial microbes, so it doesn’t steal them from your plants later.
Here’s what happens during charging:
| What You Need | Why It Matters | What to Watch |
|---|---|---|
| Diverse compost | Inoculates biochar with microbial activity | Moisture levels, don’t let it dry out |
| 14 days minimum | Allows full nutrient adsorption into pores | Consistent dampness, not soggy |
| 1:1 ratio (biochar to compost) | Creates balanced soil amendment | Mix thoroughly for even distribution |
I keep my charging pile damp like a wrung-out sponge and check it every few days. Once charged, I blend this mixture into my garden soil, where it improves plant nutrient availability and microbial activity.
Allow Two Weeks
Timing your biochar prep right can make or break your garden’s first season. Rushing it means watching your seedlings struggle while you wait for that charcoal to settle in. Two weeks is essential, not optional; it’s the optimal timeframe.
During this charging period, several chemical and biological processes occur:
- Water-holding capacity improves as pores fill with moisture, not air pockets waiting to steal nitrogen from your plants
- Microbial inoculation kicks in as compost-borne life colonizes every crevice
- Nutrient adsorption peaks around day ten, locking fertility into your compost-charged biochar
- Biochar charging completes, preventing the first-year yield reduction that occurs with inadequately prepared biochar
Once ready, mix the biochar to your preferred soil incorporation depth, usually six to twelve inches, and plant. This timeframe delivers measurable results in plant establishment and growth.
Calculate Your Application Rate by Garden Type
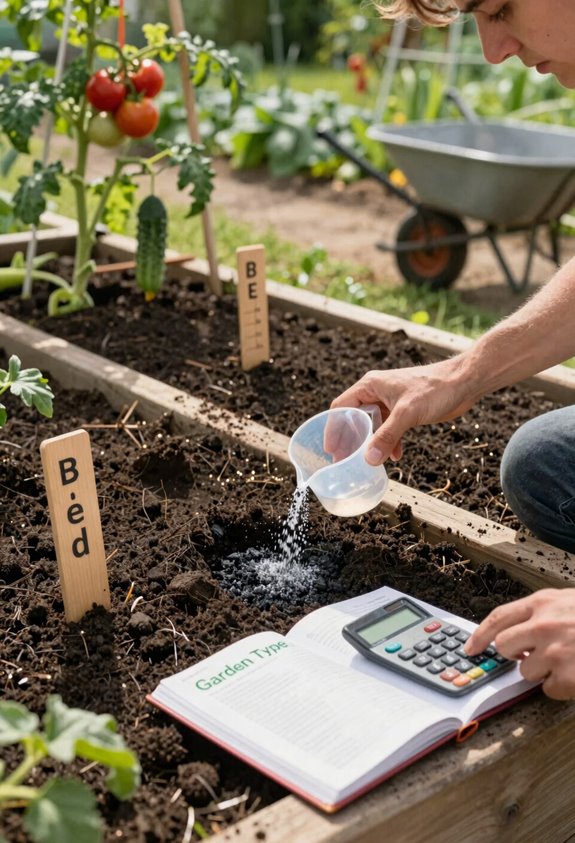
Before you apply biochar everywhere, getting your application rate right makes the difference between thriving plants and a garden that simply underperforms. I have unfortunately applied biochar incorrectly several times, and this step is worth your attention.
Your garden type determines everything here:
- Potting mix: Blend 10–20% biochar by volume into your soil amendment. Pre-soak it first for better water retention.
- Raised beds: Stick with that same 10–20% range, adjusting upward for thirsty crops.
- Field soils: Start lighter at 5–10%, then scale up where drainage allows.
For compost blends, aim for a compost-to-biochar ratio of roughly 70–90% compost to 10–30% biochar. This cuts first-year yield drag while building long-term soil health. The process is straightforward.
Work Biochar Into the Top 6-12 Inches of Soil
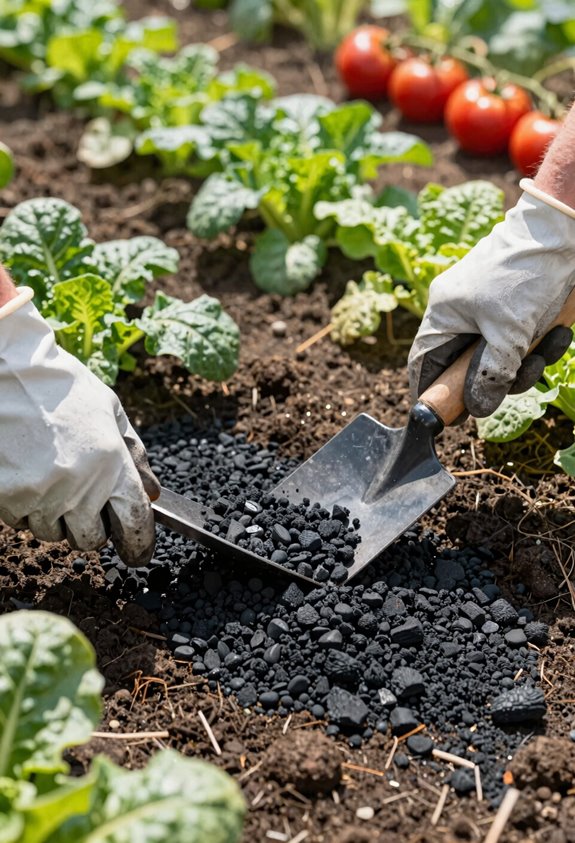
I like to work biochar into the top 6–12 inches of soil, where your vegetable roots actually live and feed. Using a garden fork or tiller makes this mixing job easier than it might seem, and the effort delivers real results. Even distribution prevents dry spots, which I’ve experienced firsthand, and gives your plants the conditions they need to thrive from planting day forward.
Optimal Depth Range
When I first started using biochar in my vegetable beds, I made the classic rookie mistake of sprinkling it on top like mulch and calling it a day. I’ve unfortunately done this several times. I’ve learned that getting the biochar depth right makes all the difference for your plants.
Here’s what I’ve figured out about working in that 6–12 inch sweet spot:
- Target the root zone where your vegetables actually feed, not just the surface
- Pre-wet your biochar to boost water holding capacity before soil mixing
- Layer in compost integration so microbial activity kicks in fast
- Aim for uniform nutrient binding throughout the full depth, not just patches
Placing biochar where roots live transforms your garden’s potential and delivers measurable improvements in plant growth and nutrient availability.
Mixing Techniques
Although I’ve wasted bags of biochar by dumping them in uneven clumps, I’ve finally established a mixing method that works. Biochar incorporation succeeds when you pre-soak your material first, boosting water-holding capacity before it enters your vegetable garden beds.
My approach for soil amendment success:
| Mixing Goal | My Ratio |
|---|---|
| Garden beds | 5-10% biochar by volume |
| Containers or raised beds | 10-20% biochar by volume |
| Compost blend | Equal parts, mixed thoroughly |
| Final check | Uniform distribution throughout |
I have skipped the compost blend step several times, but this step matters. Work your material into that top 6-12 inches, and results will follow. The easiest way to test: grab a handful. You shouldn’t see dry black chunks, just rich, even soil.
Blend With Compost for Nutrient Synergy
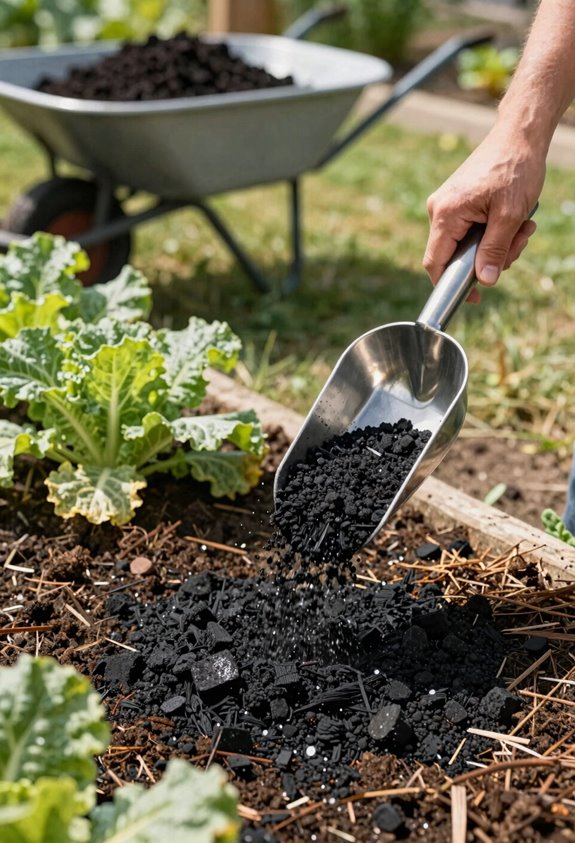
Why does biochar sometimes disappoint gardeners in its first year? Raw biochar application often causes plants to struggle as it pulls nutrients from the soil. This problem has a straightforward solution:
- Mix 70-90% compost with 10-30% biochar for nutrient synergy that actually works
- Let this charged biochar rest for a couple of weeks so soil microbes can colonize it
- This pre-charging step significantly improves nutrient retention
- Apply at 2-3% by volume, ensuring uniform distribution in your growing mix
When you inoculate biochar with compost, you’re creating a system for nutrient exchange that reduces leaching. This charged biochar approach delivers measurable results. Vegetables grown with pre-charged biochar show improved vigor and productivity compared to applications using raw biochar alone.
Water Deeply to Wake Up the Microbes
- After mixing biochar into your beds, soak everything thoroughly. This means deep watering, not a sprinkle.
- Check soil moisture daily. We’re building a home for microbes, not drowning them.
That irrigation matters because dry biochar won’t activate. I have unfortunately done this several times, skipped on water, and watched plants struggle. Don’t repeat that mistake.
Dry biochar won’t activate. I learned that the hard way—skipped water, watched plants struggle. Don’t repeat my mistake.
Those thirsty adsorption sites inside biochar need moisture so microbes can move nutrients where roots reach them. Keep soil moisture steady, not soggy, and you’ll prevent waterlogging as well.
This step builds soil health faster than you’d expect. The investment in consistent watering pays dividends in microbial activity and nutrient cycling.
Watch for Nitrogen Deficiency That First Season
How do you know if your biochar is working against you? I watch for pale, yellowing leaves that first season. That’s nutrient immobilization in action, and I’ve unfortunately done this several times. Your soil amendment is hungry, and microbes are tying up nitrogen as they decompose the carbon. Stay ahead of it with these steps:
- I charge my biochar with compost (70-90% compost, 10-30% biochar) for a couple weeks before planting
- I mix in manure or rich compost when charging biochar to buffer nitrogen loss
- I keep liquid fertilizer handy for quick fixes if yellowing appears
- I test soil or check plant tissue to confirm what’s actually happening
Charging biochar properly makes nitrogen deficiency manageable. This approach prevents costly crop losses and ensures your soil amendment becomes a productive asset rather than a liability.