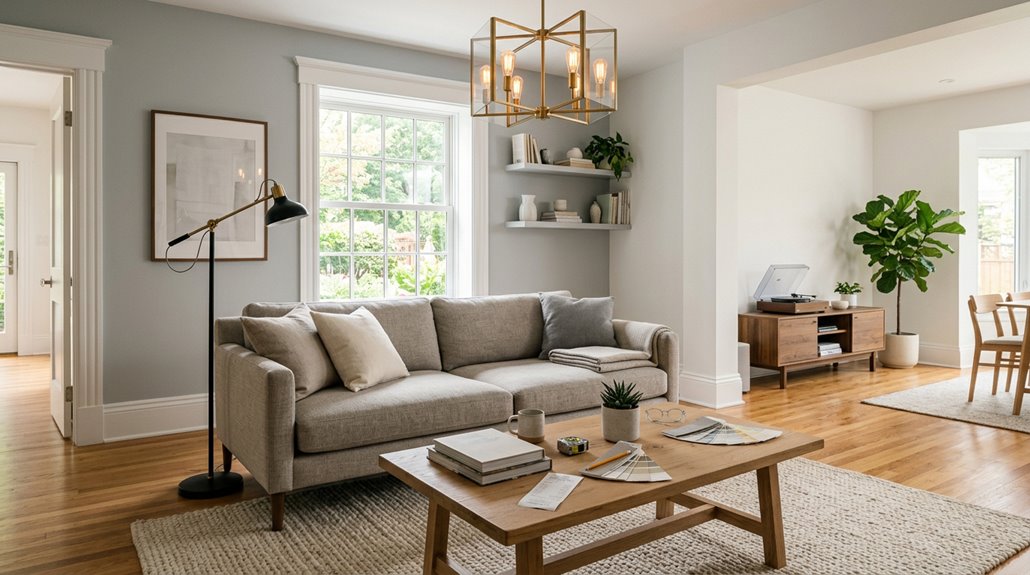
I’ve planned room makeovers that cost $500 and others that ballooned past $10,000, and the difference rarely comes down to square footage. It’s almost always about whether you know where to spend, where to save, and which mistakes to avoid before you start.
A basic bedroom refresh runs $500–$1,000 (paint, thrifted finds, DIY updates), while mid-range overhauls hit $3,000–$7,000 (better furniture, cohesive rugs, real lighting).
High-end transformations start at $7,000+ with bespoke pieces and custom work. The key is anchoring your budget around daily-use items first: sofa, rug, lighting in living spaces; headboard, duvet, rug in bedrooms. Then layer accessories later.
Start with your biggest eyesore and fix that first. Build outward in phases so you don’t exhaust your budget upfront and regret it later. This approach prevents overspending and ensures you’re investing in what matters most to your space.
What Makes Room Makeovers Cheap or Shockingly Expensive?
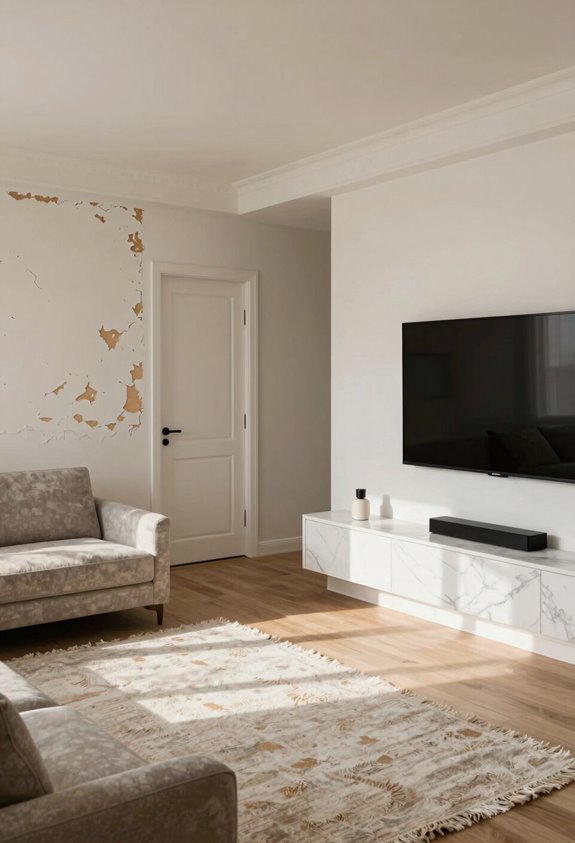
Why do some room makeovers cost less than a nice dinner out, while others rival a down payment on a car? Understanding the price differences requires looking at what actually drives costs.
Your budget ranges tell the whole story:
- $1,500–$3,000: Paint, thrifted finds, DIY updates. This tier is achievable for those willing to do the work themselves.
- $3,000–$7,000: Better furniture, cohesive rugs, real lighting (like a kitchen, entryway or child’s room).
- $7,000+: Bespoke pieces, custom cabinetry, the works.
What catches people off guard: labor and design fees aren’t included in that shiny furniture quote. Tracking these separately is essential. The most effective strategy is to splurge on daily-use pieces and save on accessories.
500 Bedroom Makeover: What Actually Changes?
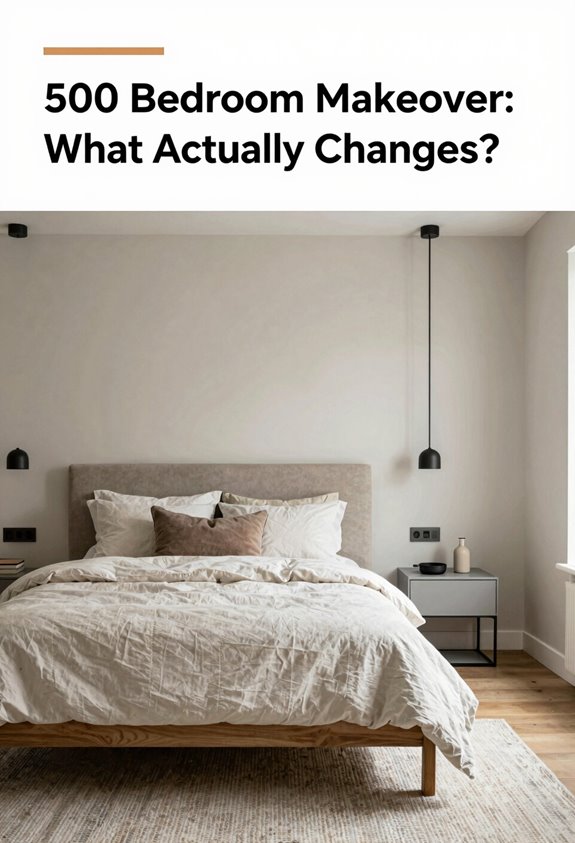
I’ve found that $500 changes more than you’d expect when you focus on three key strategies. Paint transformations give you the biggest visual impact for the smallest spend. Smart splurges like a quality rug anchor the whole room, and phased priorities let you build on what works. I’ll break down exactly how I’d allocate every dollar so you’re not guessing where your money goes.
Paint Transformations
Sometimes the simplest change creates the biggest impact, and paint proves this every single time. I have unfortunately done this several times, jumping straight to furniture before establishing my base color. This is worth fixing first.
Paint transforms everything without draining your budget. On a $500 plan, you’re looking at roughly $33 for supplies, making it the easiest way to establish mood before layering in other elements.
Here’s how I tackle it:
- Choose your color (test samples on multiple walls)
- Address ceilings and trim first
- Roll walls in manageable sections
Paint costs stay similar across options, so focus on sheen. Use eggshell for bedrooms and semi-gloss for trim. Completing this phase early maximizes every dollar and creates a cohesive foundation that makes subsequent additions feel intentional rather than scattered.
Smart Splurges
Three things make or break a bedroom: where you sleep, what covers you, and how the light hits when you first wake up. I’ve done this several times and learned where to splurge for maximum design impact without blowing your budget.
Here’s where your money actually matters:
- Your mattress and bedding — you’ll spend a third of your life here. This investment pays dividends.
- Lighting — wall lamps ($83) and fixtures ($268) transform the entire mood of a space.
- One statement piece — a quality rug ($279) anchors everything.
At $500, start with paint ($33), a duvet ($25), and that rug. Hit $1,000, add nightstands ($89 each). Under $2,000, layer in pillows ($475), a mirror ($169), and upgraded lighting.
The easiest way to avoid a disjointed look: choose larger, cohesive items over cheap, scattered buys. Your bedroom will look intentional rather than inexpensive.
Phased Priorities
Where do you start when everything feels wrong. Tackle what bugs you most first, and this is worth it.
Here’s my phased approach:
- Fix the biggest eyesores (paint, storage) for maximum impact
- Add core pieces that anchor your design
- Layer in details later
With $500, I started with a headboard ($93), duvet ($25), rug ($279), paint ($33), and prints ($40). At $1,000, I added lamps ($69-$83) and nightstands ($89 each). The full room refresh stays under $2,000 with pillows, a mirror, and a light fixture.
I’ve bought too many cheap, single items that clutter the room. Instead, save for bigger, higher-impact pieces that create a cohesive design. This approach prevents wasted spending on items that don’t work together or serve your space.
1,000 Bedroom Makeover: Stretching Every Dollar
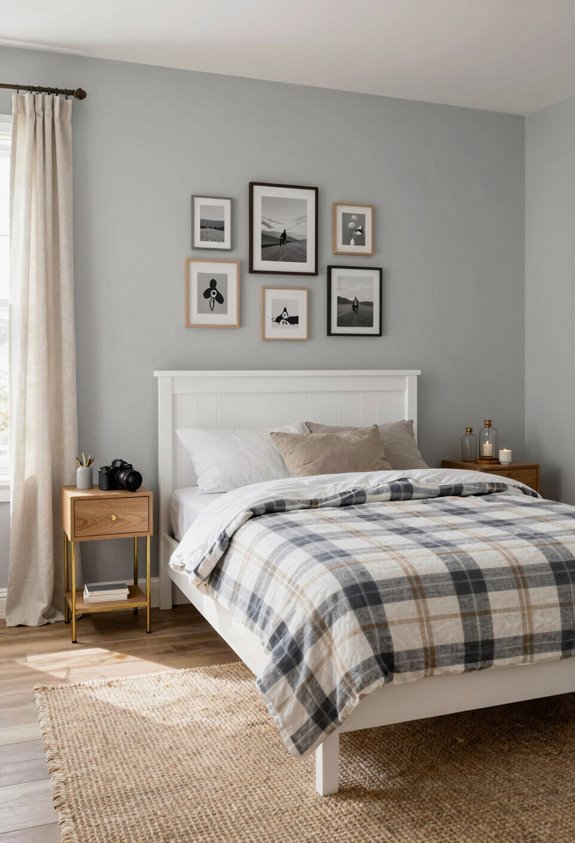
How can you transform an entire bedroom without draining your savings? A smart $1,000 bedroom makeover is achievable when you focus on impact over clutter.
Here’s how to stretch every dollar:
- Anchor the room with a statement rug ($279) and headboard ($93). These create immediate transformation.
- Layer in soft essentials: a $25 duvet set, $33 paint refresh, and $40 prints for personality.
- Finish with functional lighting ($69-$83) and matching nightstands ($89 each) to complete the sanctuary.
I’ve made the mistake of buying dozens of cheap trinkets that add up to nothing cohesive. Fewer, larger pieces beat scattered small stuff every time. Phased purchases let you build your dream bedroom without exceeding your budget.
2,000 Room Makeover: Full Transformation Breakdown
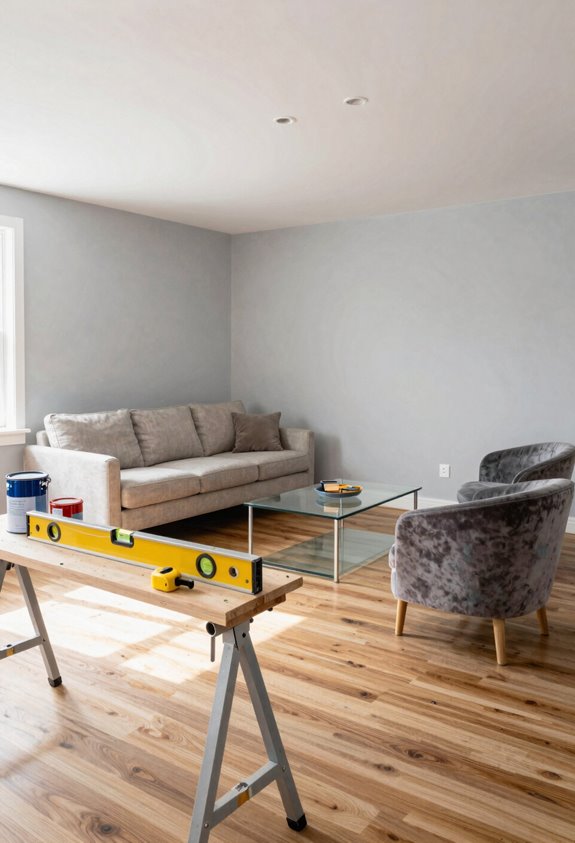
I’m breaking down exactly how I’d spend $2,000 to completely transform a room, and I’ll show you where every dollar goes. We’ll cover the budget breakdown essentials, my guide to meaningful additions that actually matter, and a phased spending strategy I’ve used myself when I can’t do everything at once. Spending smarter produces better results than buying a cart full of cheap, mismatched pieces you’ll regret later.
Budget Breakdown Essentials
Why start a room makeover without a clear budget? I have done this several times, and planning ahead prevents overspending and wasted purchases.
I break budget planning into three tiers that help us find where we belong:
- $1,500–$3,000 gives you a solid budget setup with core furnishings like a headboard and rug
- $3,000–$7,000 creates that ideal cohesive look designers dream about
- $7,000+ lets you go high-end with every detail perfected
I always prioritize the most bothersome elements first, like paint color or storage, then add larger impactful pieces to maximize perceived value. Completing your space in phases aligns spending with reality while leaving room for future additions.
Impactful Additions Guide
Once I’ve mapped out my budget tiers, I turn my attention to the pieces that actually change how a room feels. A few strategic additions beat a cart full of cheap knick-knacks every time.
For my own home, I prioritize high-impact items first:
- A larger rug (anchors everything)
- A statement headboard (instant focal point)
- Wall lighting (adds depth and warmth)
These three pieces deliver more transformation per dollar than anything else. The cost of a full refresh can stay under $2,000 when approached strategically; think $475 for quality pillows, $268 for a fixture that wows, and smaller touches like a $19 vase with $38 faux stems. Buying tiny trendy items adds up fast but leaves the room feeling scattered. Investing in fewer, bigger pieces creates a cohesive look instead.
Phased Spending Strategy
The smartest way to tackle a full room makeover is breaking it into phases. I’ve done the opposite several times, blowing my budget all at once and regretting it. Phased spending lets you live in the space, understand what you actually need, and build a cohesive look. Budget planning becomes less stressful when you spread purchases across months.
My base phase starts around $500: headboard, duvet, rug, paint, and prints. Layer it in this order:
- Foundation pieces first — bed, rug, paint (the bones that ground everything)
- Functional additions next — lamps, nightstands, curtains (items you’ll use daily)
- Finishing touches last — pillows, mirror, light fixture (these pull the room together)
This approach keeps you under $2,000 and is more manageable than you might expect.
Living Room Makeover: Budget Tiers From $1,500 to $10,000
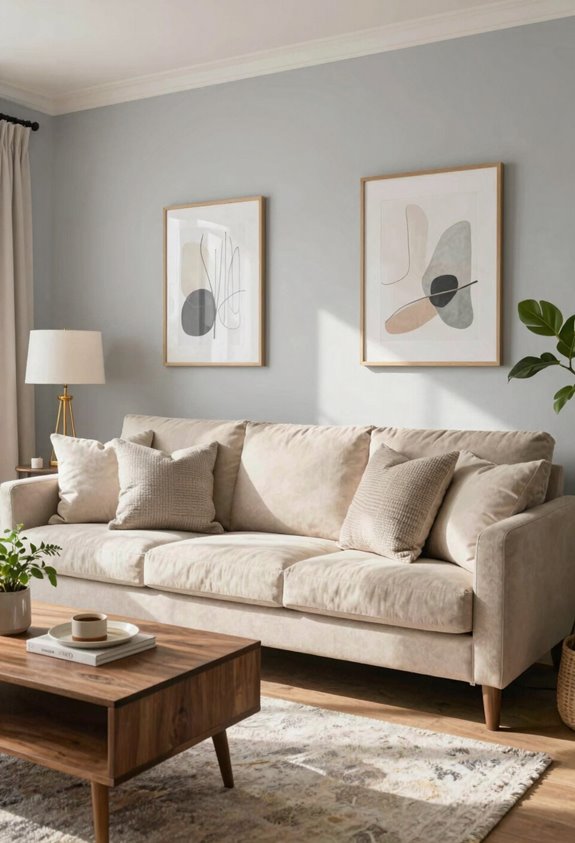
Where exactly should your living room budget land? Living room budget tiers break down into three key spending ranges.
1) Budget-Friendly ($1,500–$3,000)
You’ll grab a decent sofa, coffee table, basic lighting, a rug, and some wall art. Focus on daily-use pieces first.
2) Mid-Range ($3,000–$7,000)
This is where you add quality. Accent chairs, an entertainment console, a larger rug, and cohesive styling make a measurable difference in function and appearance.
3) High-End ($7,000–$10,000+)
Premium furniture, bespoke finishes, and curated décor create that polished look you’re craving.
Across all tiers, invest in your sofa, rug, and lighting first. Upgrade accessories later as your budget allows.
Kitchen Makeover Costs: Why Cabinets Change Everything
I’ve learned the hard way that cabinets consume a significant portion of your kitchen budget, so I’m going to break down exactly what drives those costs and how you can allocate your money wisely. I’ll walk you through the key factors—like materials, sizing, and hardware—that determine whether you’re spending $1,000 or $30,000, plus I’ll share the allocation strategies I’ve used to keep my own projects from spiraling. Understanding this part right makes everything else easier to manage.
Cabinet Cost Drivers
Cabinet costs can swallow up to 40% of your total kitchen budget. After underestimating my first renovation by about $3,000, I’ve learned this is avoidable through careful planning.
Storage solutions like pull-out pantries and drawer organizers feel essential, but they add up fast. Several cost factors drive cabinet pricing:
- Material grade: Stock cabinets keep things budget-friendly, while solid wood frames with soft-close hardware push prices higher per foot.
- Customization level: Built-ins and specialty sizing add $2,000–$4,000, depending on your layout.
- Interior features: Roll-out trays, full-height cabinetry, and built-in organizers dramatically impact material and installation costs.
The most effective approach is to prioritize what you’ll use daily and skip unnecessary add-ons.
Budget Allocation Strategies
Understanding what drives cabinet costs is only half the battle. You also need to decide where that money actually goes. I have done this several times: blowing my whole budget on gorgeous cabinetry, then scrambling to cover installation and hardware. This requires planning.
Here’s how I break it down:
| Budget Tier | What Your Cabinetry Gets You |
|---|---|
| Under $3,000 | Paint, open shelving, basic updates |
| $3,000–$10,000 | Mid-range cabinetry and surfaces |
| $10,000+ | Premium, custom finishes |
When cabinetry changes, countertops and installation shift too. Modular options like IKEA systems save money without sacrificing style. Allocate your budget strategically across cabinetry, countertops, hardware, and installation to create a functional kitchen that reflects your preferences.
What to DIY in a Room Makeover (and What to Skip)
When I’m planning a room makeover, the first thing I do is grab a notebook and divide my wish list into two columns: “I’ll handle this” and “I’m calling a pro,” because enthusiasm doesn’t equal skill. I learned this after attempting to wire a pendant light and short-circuiting half my apartment, something that has happened to me several times.
Enthusiasm doesn’t equal skill—divide your wish list into what you’ll handle and what demands a pro.
For my living room, I stick to DIY projects that save money without risking disaster.
- Paint and accessories — I refresh walls, swap pillows, and style shelves for instant impact.
- Simple storage builds — floating shelves and basic bookcases are easier than you think.
- Textile updates — I sew or hem curtains myself using affordable fabric.
Skip electrical, plumbing, and anything structural. Phase your plan, invest in daily-use pieces first, and build confidence gradually. This approach prevents costly mistakes and safety hazards while allowing you to develop DIY skills over time.
Paint, Textiles, Lighting: Big Impact, Small Budget
I learned the hard way that you don’t need a blank check to make a room feel brand new, and that’s where paint, textiles, and lighting come in.
Paint delivers the biggest bang for your buck. I’ve transformed cramped bedrooms, kitchens, entryways, and child’s rooms for under $50. Color costs stay similar across brands, so pick what speaks to you.
For textiles, anchor with one large piece, such as a rug or headboard, and build around it. I have unfortunately done this several times: buying small accessories first, then having no budget for the statement item. Don’t be me.
Designer fabrics and curated prints elevate everything without a full gut job. Layer affordable lighting options like floor lamps, sconces, and pendants to watch the room warm up. These three elements, phased in, create a functional and welcoming space without straining your budget.
Phased vs. All-at-Once: What Saves More?
Why drain your savings when you can spread the transformation across months? A phased approach lets you tackle what bugs you most first, keeping your budget under control while building momentum.
Here’s how I break it down:
- Start with $500 for paint, a headboard, duvet, rug, and prints—these deliver instant impact
- Add $500 more for lamps and curtains once you’ve lived with the space a bit
- Finish with larger pieces like mirrors and fixtures, staying under $2,000 total
This strategy beats draining your account in one weekend. You’ll make smarter choices, avoid buyer’s remorse, and actually enjoy the process.
The One Expensive Thing That Makes Cheap Stuff Look Good
I’ve learned that one standout piece can trick the eye into seeing luxury everywhere, even when everything else came from a bargain bin. I call this the anchor piece strategy, and it delivers results, whether that’s a thick, hand-knotted wool rug like the one I purchased for my living room or a custom-upholstered headboard that grounds the whole bedroom. Splurge selectively because one well-chosen investment draws attention away from the cheaper stuff surrounding it. This is the easiest way to make your budget stretch further than you’d think.
Anchor Piece Strategy
The anchor piece strategy is one of the smartest ways to make a room look expensive without draining your savings account completely. Scattering your budget across too many mediocre items creates a disjointed result that fails to impress.
Here’s how to get it right in your living room:
- Choose your anchor piece first (a quality sofa or vintage rug sets the tone for everything else)
- Build around it with budget-friendly complements (inexpensive curtains, thrifted frames, and simple textiles work beautifully)
- Phase your purchases (the room feels complete even while you save for the next addition)
One stunning focal point elevates the whole space, and nobody notices the affordable accents surrounding it.
Splurge Selectively Always
That anchor piece strategy works because our eyes latch onto quality and forgive everything else around it. This same principle is why I splurge selectively on almost every room I tackle. I have spread my budget thin across too many cheap items several times, and the room always feels scattered. Now I pick one bothersome element to upgrade first, usually lighting or a rug, then build around it with affordable finds that share its vibe. This makes designer decor feel accessible, not impossible.
| Splurge On | Save On |
|---|---|
| Statement light fixture | Basic side tables |
| Quality area rug | Throw pillows |
| Solid sofa frame | Art prints |
| Cabinet hardware | Decorative objects |
One excellent piece elevates everything nearby, so your budget items look intentional, not accidental. Allocate 30-40% of your room budget to anchor pieces, and the whole space will come together cohesively.
Hidden Costs: Permits, Prep Work, and Tool Rentals
Where do room makeover budgets really go off track? I’ve done this several times, and understanding these costs early prevents major problems.
- Permits and inspections are required when you’re moving walls, updating electrical, or touching plumbing. Fees vary widely by city, so check local requirements before you start planning.
- Prep work like demolition, drywall repair, and surface remediation often costs several hundred to thousands before you even pick up a paintbrush. Dust barriers and containment supplies add modest but recurring expenses.
- Tool rentals accumulate quickly. Tile saws, sanders, and scaffolding run $20–$100+ daily, and delays like permit approvals can extend those timelines unexpectedly.
Budget 15–20% extra for these hidden costs. Planning for them prevents budget overruns and schedule disruptions.
Room Makeover Before-and-Afters: 3 Real Budgets
How do you stretch $500, $1,000, or $2,000 into a room you’ll love. These budgets deliver measurable results.
$500 Budget: Start with impact. One effective approach spent $93 on a headboard, $25 on a duvet, and $279 on a rug. That single rug choice transformed the space. Add $33 paint and $40 in prints; you’re at $470 with wiggle room.
$1,000 Budget: Build on that base. Add wall-mounted lamps ($83), matching nightstands ($89 each), and curtains. Your makeover feels complete rather than cobbled together.
$2,000 Budget: This budget allows for quality layering. Cheap items create a visibly lower-quality result. Instead, layer in pillows ($475), a statement mirror ($169), fresh lighting ($268), and finishing touches. Your total of $1,983 creates a space that functions as a welcoming home.
Shop Smart: Look Expensive on a Budget
Those before-and-after budgets prove you don’t need a fortune to transform a room. Spending smart matters more than spending big. I’ve made expensive mistakes several times, blowing my furniture budget on trendy pieces that fell apart, so this advice comes from real experience.
Here’s how I shop smarter now:
- Start with lighting first – it changes everything, and you can find stunning fixtures without the designer markup.
- Invest in large anchors (rug, headboard, curtains) that make the whole room feel expensive.
- Add details in phases – pillows, art, and décor come later when your wallet recovers.
A cohesive $1,000–$2,000 refresh beats a scattered splurge every time. A thoughtfully planned budget of this size gives you a finished room that looks intentional rather than haphazard.
Your Room Makeover Budget: A 30-Minute Starter Plan
Why start with a 30-minute plan? I’ve done this several times without a roadmap and regretted the scattered results. A quick plan protects your budget and reduces decision fatigue.
Here’s how phased spending works for any space, like a kitchen, entryway, or child’s room:
| Budget Tier | Core Pieces You Get | Add-Ons Included |
|---|---|---|
| $500 | Headboard, duvet, rug, paint, prints | Small accents |
| $1,000 | Above plus wall or table lamp | Nightstands |
| $2,000 | Expanded pillows, mirror, faux stems | Light fixture |
Start with what bothers you most. Maybe that’s a living room paint color or storage mess. Fix it first, then build. Completing your makeover in phases creates cohesion without requiring a large upfront investment.